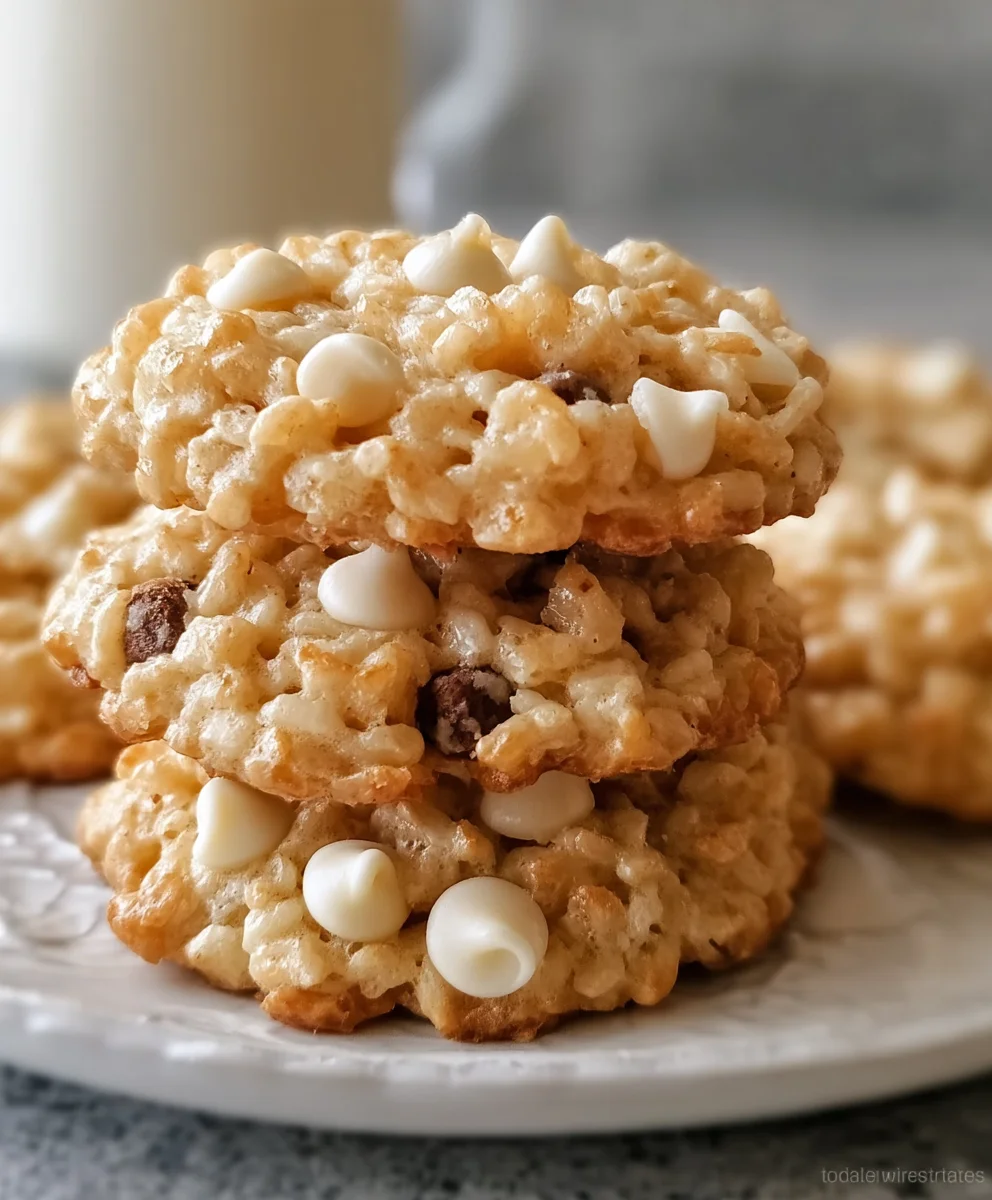
Easy Rice Krispie Cookies-Chewy & Delicious Treats
Rice Krispie Cookies are more than just a nostalgic treat; they are a gateway to pure, unadulterated joy in every bite. Forget those overly complicated baking projects that leave you stressed and covered in flour. This recipe for Rice Krispie Cookies is designed for instant gratification, offering a delightfully chewy, crispy, and sweet experience that will have everyone reaching for seconds. We all love them because they capture the essence of childhood magic, transforming a simple cereal into something truly extraordinary. What makes this particular version of Rice Krispie Cookies so special is the perfect balance of textures and flavors. It’s the ideal blend of gooey marshmallow goodness clingin extractg to those iconic crispy rice puffs, all held together in a perfectly sized cookie. Whether you’re looking for a quick after-school snack, a fun weekend baking activity with the kids, or a crowd-pleasing dessert for your next get-together, these cookies are guaranteed to be a hit.
Ingredients:
- 1 cup (2 sticks) unsalted butter, softened
- 1 cup packed light brown sugar
- 1 cup granulated sugar
- 2 teaspoons pure vanilla extract
- 2 large eggs
- 2 cups all-purpose flour
- 1 teaspoon baking powder
- 1 teaspoon baking soda
- 2 cups rolled oats (not instant or quick oats)
- 2 cups Rice Krispie cereal
- 1 to 2 cups semi-sweet chocolate chips (adjust to your preference for chocolatey goodness)
Getting Started: Prepping Your Dough
Creaming the Butter and Sugars
First, in a large mixing bowl, I combine the softened butter with both the light brown sugar and granulated sugar. It’s really important that the butter is softened and not melted; this helps create a lighter, airier cookie. I use an electric mixer on medium speed to cream these together for about 2 to 3 minutes. You want the mixture to become light and fluffy, almost like a pnon-alcoholic ale yellow cloud. This process incorporates air, which is crucial for the cookie’s texture. Scrape down the sides of the bowl occasionally to ensure everything is evenly mixed.
Adding the Wet Ingredients
Once the butter and sugars are beautifully creamed, I add the vanilla extract and the two large eggs, one at a time. After adding each egg, I mix on medium speed until it’s just incorporated. Overmixing at this stage can lead to tough cookies, so be mindful of that. The vanilla extract adds a wonderful warmth and depth of flavor that complements the sweetness perfectly. The mixture might look a little curdled at this point, but don’t worry, it will come together once the dry ingredients are added.
Incorporating the Dry Ingredients and Oats
Whisking the Dry Ingredients
In a separate medium bowl, I whisk together the all-purpose flour, baking powder, and baking soda. Whisking these dry ingredients together helps to evenly distribute the leavening agents (baking powder and soda), ensuring that our cookies rise evenly. This prevents pockets of baking soda or powder and results in a more consistent texture throughout.
Combining Wet and Dry
Now, I gradually add the dry ingredient mixture to the wet ingredients in the large bowl. I mix on low speed until just combined. It’s tempting to mix until it’s perfectly smooth, but again, resist the urge to overmix. A few streaks of flour are okay at this point. Overmixing develops the gluten in the flour, which can make your cookies tough and chewy rather than tender and slightly crisp.
Adding the Oats and Cereal
This is where the magic of our Rice Krispie Cookies really starts to happen! I stir in the rolled oats. I prefer using old-fashioned rolled oats for a nice chew and texture, but you can use quick oats if that’s what you have. Then, I gently fold in the Rice Krispie cereal. Be careful not to crush the cereal too much as you stir it in; you want those signature crispy bits intact for that delightful crunch. Finally, I add the semi-sweet chocolate chips. I like to use between 1.5 to 2 cups, depending on how chocolatey I want them to be. I stir everything together until it’s just evenly distributed. The dough will be thick and studded with oats, cereal, and chocolate chips.
Baking Your Delicious Cookies
Preheating and Preparing Baking Sheets
Before I start forming the cookies, I preheat my oven to 375°F (190°C). It’s essential to have your oven at the correct temperature from the start for even baking. I then line two large baking sheets with parchment paper. Parchment paper is a lifesaver – it prevents sticking and makes for easy cleanup. If you don’t have parchment paper, you can lightly grease your baking sheets, but parchment is my preferred method.
Scooping and Arrangin extractg the Dough
Using a medium cookie scoop (about 1.5 tablespoons), I portion out the dough. This ensures that all the cookies are roughly the same size, which means they’ll bake more evenly. I place the dough balls about 2 inches apart on the prepared baking sheets. They will spread as they bake, so giving them enough space is important. I sometimes like to gently press down on the top of each dough ball with the back of a spoon or my fingers to give them a slightly flatter base, which helps them spread a bit more and cook through evenly.
Baking to Perfection
I bake the cookies for 9 to 11 minutes, or until the edges are lightly golden brown and the centers look set but still slightly soft. Because these cookies have a lot of texture and are studded with cereal and chocolate, it can be a little harder to tell when they’re done just by looking. The key is to watch the edges. Don’t overbake them, or they will become dry and crum extractbly. Remember that ovens can vary, so the first batch is always a bit of an experiment to find your perfect baking time.
Cooling and Enjoying
Once they’re done, I let the cookies cool on the baking sheets for about 5 minutes. This is a crucial step because the cookies are still quite soft when they come out of the oven. Allowing them to cool on the hot baking sheet gives them time to set up and firm up. After 5 minutes, I carefully transfer them to a wire rack to cool completely. This allows air to circulate around them, preventing the bottoms from becoming soggy. Once cooled, they are ready to be devoured! The combination of chewy cookie, crunchy cereal, and melty chocolate is simply irresistible.

Conclusion:
And there you have it – your guide to creating the most delightful Rice Krispie Cookies! We’ve walked through each step to ensure you achieve that perfect chewy interior with those irresistible crispy edges. These cookies are wonderfully versatile and a guaranteed crowd-pleaser for any occasion, from casual get-togethers to special celebrations. They bake up quickly, making them an ideal treat when you’re craving something sweet and satisfying with minimal fuss.
For serving suggestions, these Rice Krispie Cookies are divine on their own, paired with a glass of cold milk, or even alongside a scoop of vanilla ice cream for a decadent dessert. Don’t be afraid to get creative with variations! Consider adding a drizzle of chocolate or caramel after they’ve cooled, or perhaps some sprinkles for a festive touch. You could also introduce a hint of cinnamon or a touch of lemon zest to the dough for a subtle flavor twist. We encourage you to experiment and find your own perfect rendition of this classic treat!
Frequently Asked Questions:
Q: How should I store my Rice Krispie Cookies to keep them fresh?
A: Once completely cooled, store your Rice Krispie Cookies in an airtight container at room temperature for up to 3-4 days. You can also freeze them for longer storage; simply wrap them individually in plastic wrap and then place them in a freezer-safe bag or container. Thaw at room temperature before enjoying.
Q: Can I make these Rice Krispie Cookies vegan or gluten-free?
A: Yes, absolutely! For a vegan version, you can substitute the butter with vegan butter and use an egg replacer (like a flax egg or commercial egg replacer) for the egg. For a gluten-free option, use a good quality gluten-free all-purpose flour blend. The texture might vary slightly, but they will still be delicious!
Easy Rice Krispie Cookies – Chewy & Delicious Treats
A delightful recipe for chewy and delicious cookies packed with the crunch of Rice Krispies, oats, and chocolate chips. Perfect for any occasion!
Ingredients
-
1 cup unsalted butter, softened
-
1 cup packed light brown sugar
-
1 cup granulated sugar
-
2 teaspoons pure vanilla extract
-
2 large eggs
-
2 cups all-purpose flour
-
1 teaspoon baking powder
-
1 teaspoon baking soda
-
2 cups rolled oats
-
2 cups Rice Krispie cereal
-
1.5 cups semi-sweet chocolate chips
Instructions
-
Step 1
In a large bowl, cream together softened butter with light brown sugar and granulated sugar using an electric mixer on medium speed for 2-3 minutes until light and fluffy. Scrape down the sides of the bowl as needed. -
Step 2
Add vanilla extract and eggs, one at a time, mixing on medium speed until just incorporated after each addition. Avoid overmixing. -
Step 3
In a separate bowl, whisk together all-purpose flour, baking powder, and baking soda. Gradually add this dry mixture to the wet ingredients, mixing on low speed until just combined. Do not overmix. -
Step 4
Gently stir in rolled oats, then fold in Rice Krispie cereal and semi-sweet chocolate chips until evenly distributed. The dough will be thick. -
Step 5
Preheat oven to 375°F (190°C). Line baking sheets with parchment paper. -
Step 6
Scoop dough using a medium cookie scoop (about 1.5 tablespoons) and place balls about 2 inches apart on prepared baking sheets. Gently flatten the tops slightly if desired. -
Step 7
Bake for 9-11 minutes, or until the edges are lightly golden brown and the centers are set but still slightly soft. -
Step 8
Let cookies cool on the baking sheets for 5 minutes before carefully transferring them to a wire rack to cool completely.
Important Information
Nutrition Facts (Per Serving)
It is important to consider this information as approximate and not to use it as definitive health advice.
Allergy Information
Please check ingredients for potential allergens and consult a health professional if in doubt.