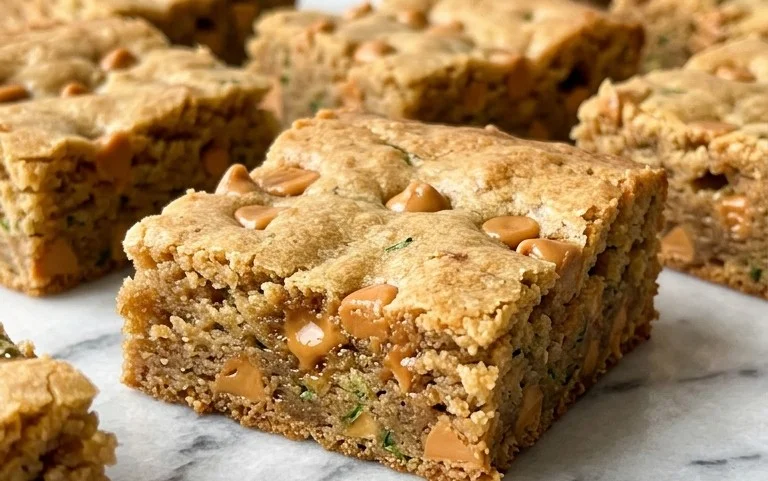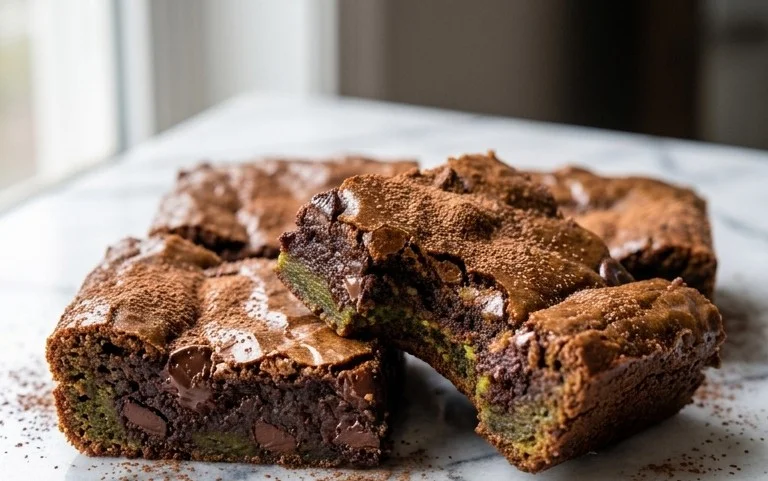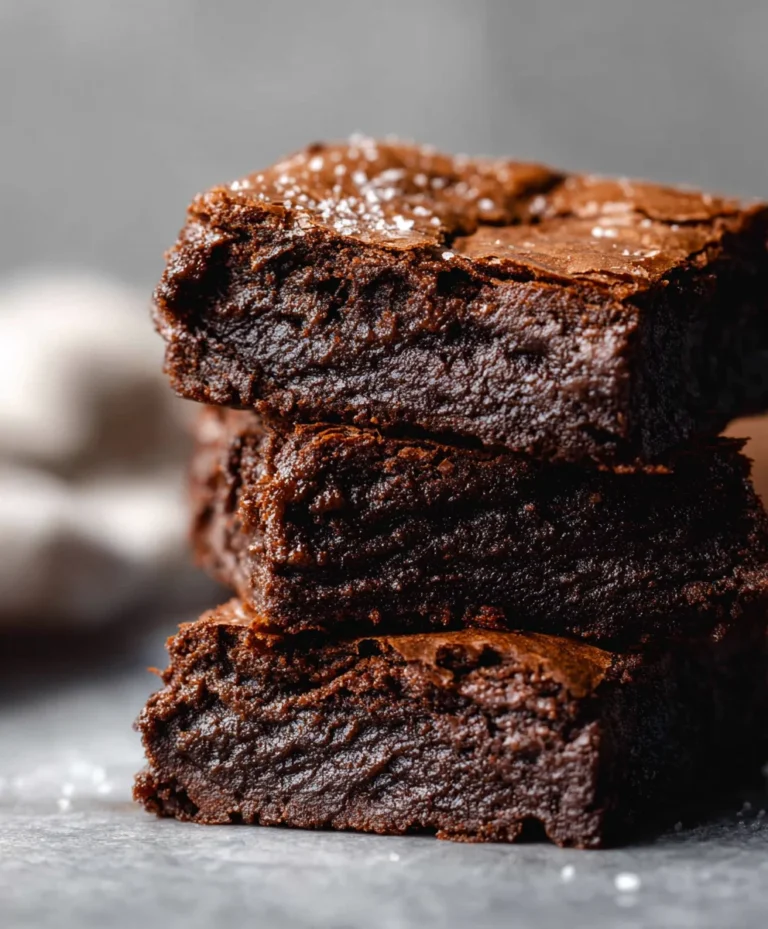
Healthy Chocolate Black Bean Brownie Bites – Easy Dessert
Chocolate Black Bean Brownie Bites are about to redefine your dessert game. Forget everything you thought you knew about brownies; these little powerhouses are secretly good for you, and nobody will ever guess why. We’ve all been there, craving something rich and chocolatey, but feeling that pang of guilt. Well, prepare to have that guilt banished forever! These delightful chocolate black bean brownie bites offer all the fudgy, decadent satisfaction of a traditional brownie, but with an incredible hidden ingredient that adds fiber, protein, and a wonderfully moist texture. They’re the perfect guilt-free indulgence for busy weeknights, a healthier treat for the kids’ lunchboxes, or an impressive (and surprisingly wholesome) addition to your next gathering. Get ready to be amazed by the magic of these utterly delicious chocolate black bean brownie bites – they’re a true game-changer!
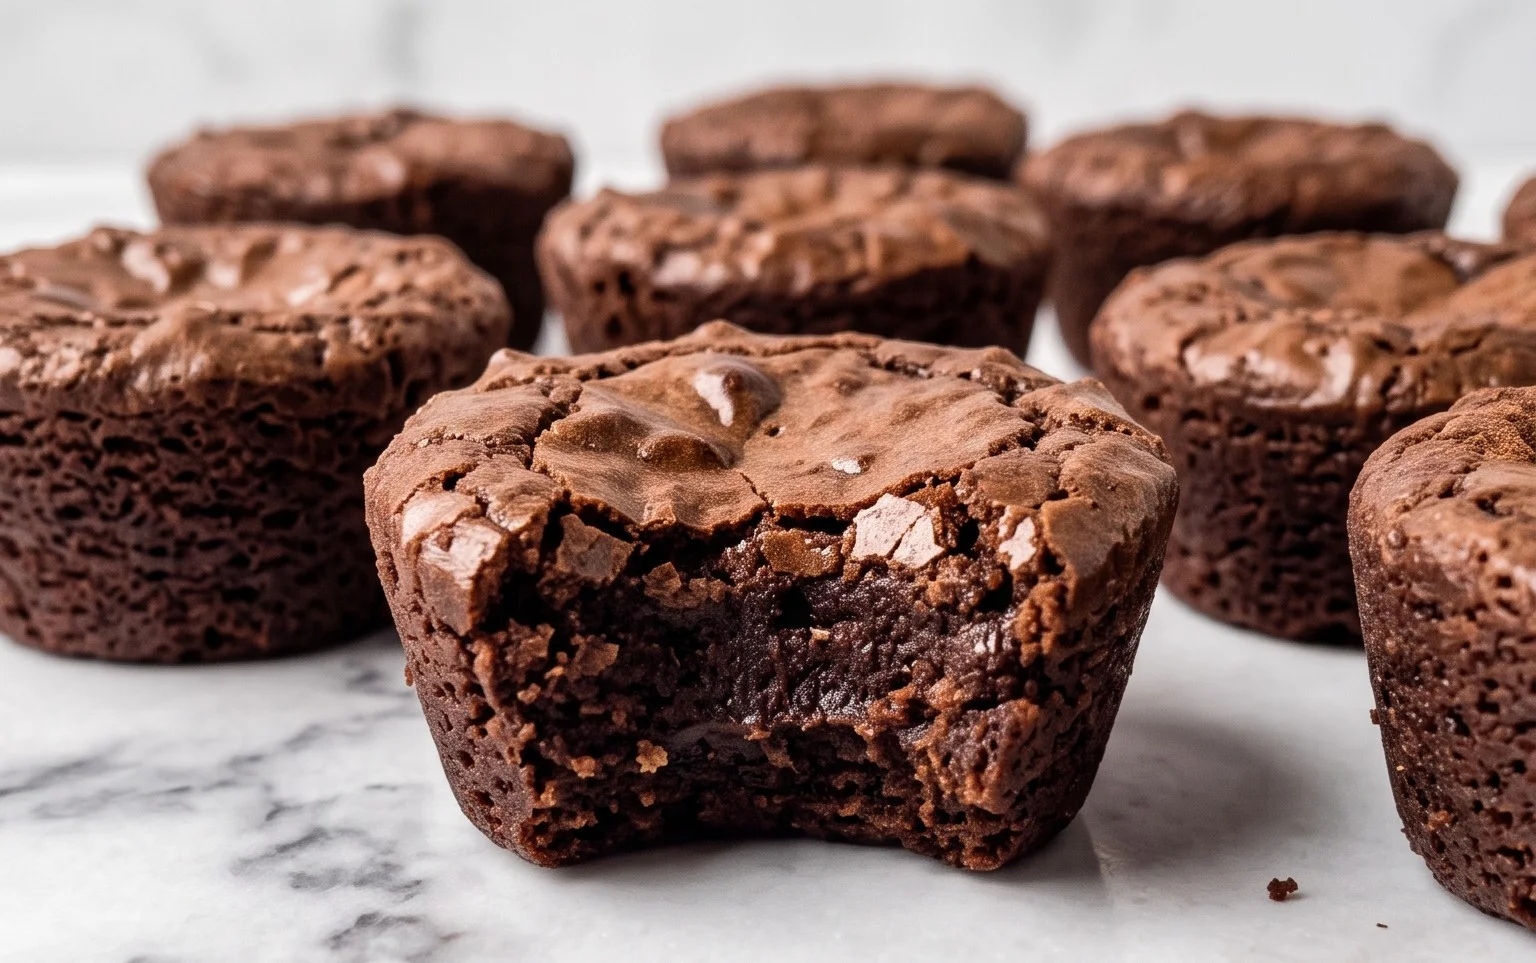
Chocolate Black Bean Brownie Bites
Hello, fellow dessert lovers! Today, I’m incredibly excited to share a recipe that might sound a little unusual at first, but trust me, it’s a game-changer. We’re diving into the world of “Chocolate Black Bean Brownie Bites.” Yes, you read that right – black beans! Don’t let that deter you; these little bites are unbelievably fudgy, rich, and deeply chocolatey, with a secret ingredient that adds incredible moisture and a boost of nutrients without compromising on taste. They’re perfect for a guilt-free treat, a quick snack, or even a healthier dessert option. I’ve been tweaking this recipe to get it just right, and I’m thrilled with the results. They’re naturally gluten-free (if you use gluten-free oats) and can easily be made vegan by ensuring your chocolate chips are dairy-free. Let’s get baking!
Ingredients:
Making Your Fudgy Brownie Bites
The magic of these brownie bites lies in their simplicity and the clever use of ingredients. We’re aiming for a texture that’s dense, chewy, and intensely chocolatey, and the black beans play a crucial role in achieving this. They provide a wonderful moistness and a creamy base that traditional flour-based brownies often struggle to replicate without becoming dry. Plus, they add a subtle protein and fiber boost, making these a more satisfying treat.
Step-by-Step Instructions
1. Prepare Your Beans and Oats: The first step is crucial for the success of our brownie bites. Take your can of black beans and drain them thoroughly. I mean really drain them – you want to get as much liquid out as possible. Then, give them a good rinse under cool water. This helps to remove any residual “beany” flavor that you definitely don’t want in your brownies. Pat them dry with a paper towel as best you can. Next, measure out your rolled oats. You can use them whole, or if you prefer a smoother texture in your brownie bites, you can give them a quick pulse in a food processor or blender to break them down slightly. This is entirely up to your preference!
2. Blend the Base: In a food processor or a high-powered blender, add the rinsed and drained black beans. Process them until they are as smooth as possible. You want a creamy puree. If your blender is struggling, you can add a tiny splash of water or a bit more of your liquid sweetener to help it along, but be conservative. Once you have a smooth bean paste, add the rolled oats, both types of cocoa powder (regular and Dutch – Dutch cocoa offers a deeper, smoother chocolate flavor, but regular works just fine if that’s what you have), salt, pure maple syrup (or your chosen liquid sweetener), the oil (or nut butter), vanilla extract, and baking powder.
3. Achieve the Perfect Brownie Batter Consistency: Now, it’s time to blend everything together until you have a thick, cohesive batter. Scrape down the sides of the food processor or blender bowl as needed to ensure all ingredients are incorporated. The batter should be thick and fudgy, similar to a traditional brownie batter. It shouldn’t be too runny. If it seems a little too thick, you can add another tablespoon of oil or nut butter. If it seems too thin, you can add another tablespoon of oats or cocoa powder, but be careful not to overdo it. The goal is a batter that holds its shape somewhat and has a rich, chocolatey aroma.
4. Incorporate the Chocolate Chips: Once your batter is perfectly blended, it’s time to add the star of the chocolate show – the mini chocolate chips! Gently fold in about half a cup of mini chocolate chips. You can reserve a few for sprinkling on top before baking if you like, for an extra touch of chocolatey goodness. Stir them in just until they are evenly distributed throughout the batter. Don’t overmix at this stage; we just want to ensure those delicious little pockets of melted chocolate are present in every bite.
5. Form and Bake Your Brownie Bites: Preheat your oven to 350°F (175°C). Line a mini muffin tin with paper liners or lightly grease it. This recipe makes bite-sized brownies, so a mini muffin tin is perfect. You can also use a regular muffin tin, but the baking time will be slightly longer, and the portions will be larger. Spoon the brownie batter into the prepared muffin cups, filling each about two-thirds full. If you reserved some chocolate chips, press a few into the top of each brownie bite now. Bake for 15-20 minutes for mini muffin tins, or 20-25 minutes for regular muffin tins. The brownies are done when a toothpick inserted into the center comes out with moist crum extractbs attached, but no wet batter. Be careful not to overbake, as this can make them dry.
6. Cool and Enjoy! Allow the brownie bites to cool in the muffin tin for about 10-15 minutes before carefully transferring them to a wire rack to cool completely. This cooling period is important for them to set properly and develop their signature fudgy texture. Once they are completely cool, they are ready to be enjoyed! These Chocolate Black Bean Brownie Bites are incredibly versatile. You can enjoy them as is for a healthy-ish sweet treat, or you can get a little fancy. Try topping them with a dollop of Greek yogurt or a sprinkle of flaky sea salt for an extra layer of flavor and texture. They store well in an airtight container at room temperature for a few days, or you can keep them in the refrigerator for longer storage. I find they are even better the next day as the flavors meld and the texture becomes even more fudgy. Enjoy your delicious, secretly healthy brownie bites!

Conclusion:
So there you have it – a delightfully decadent, yet surprisingly wholesome recipe for Chocolate Black Bean Brownie Bites! These little gems are a testament to how delicious and satisfying healthier baking can be. The black beans, far from being detectable, lend an incredible fudgy texture and boost the fiber content, making them a guilt-free indulgence. They’re perfect for satisfying that chocolate craving without the usual sugar and refined flour overload. I’ve found they’re fantastic served slightly warm, perhaps with a dollop of coconut whipped cream or a sprinkle of sea salt for an extra flavor pop. Feel free to get creative with variations too! Adding a handful of chopped nuts, some mini chocolate chips for extra gooeyness, or even a hint of espresso powder to deepen the chocolate flavor can elevate these brownie bites even further. I truly encourage you to give these Chocolate Black Bean Brownie Bites a try; I have a feeling you’ll be as pleasantly surprised as I was by their incredible taste and texture.
Frequently Asked Questions:
Can I taste the black beans?
Absolutely not! The rich chocolate flavor is so dominant that the black beans are completely undetectable. They are simply there to provide moisture and that wonderfully fudgy texture.
How should I store these brownie bites?
These bites are best stored in an airtight container at room temperature for a couple of days, or in the refrigerator for up to a week. They also freeze beautifully, making them a great make-ahead treat.
Can I make these gluten-free?
Yes! You can easily make these gluten-free by substituting the all-purpose flour with a good quality gluten-free all-purpose baking blend. Ensure your baking powder is also certified gluten-free.
Chocolate Black Bean Brownie Bites
Decadent and fudgy brownie bites made with hidden black beans for a healthier twist. These are naturally gluten-free and incredibly easy to make.
Ingredients
-
2 tbsp regular cocoa powder
-
1 tbsp Dutch cocoa powder
-
1/3 cup rolled oats
-
1 can black beans, rinsed and drained
-
1/4 tsp salt
-
1/2 cup pure maple syrup
-
1/4 cup oil
-
2 tsp pure vanilla extract
-
1/2 tsp baking powder
-
1/2 cup mini chocolate chips
Instructions
-
Step 1
Preheat oven to 350°F (175°C). Line a mini muffin tin with liners or grease well. -
Step 2
In a food processor, combine the rinsed and drained black beans, maple syrup, oil, and vanilla extract. Process until smooth. -
Step 3
Add the rolled oats, regular cocoa powder, Dutch cocoa powder, salt, and baking powder to the food processor. Pulse until just combined, being careful not to overmix. -
Step 4
Gently fold in the mini chocolate chips. -
Step 5
Spoon the batter into the prepared mini muffin cups, filling each about two-thirds full. -
Step 6
Bake for 15-20 minutes, or until a toothpick inserted into the center comes out with moist crumbs. -
Step 7
Let the brownie bites cool in the tin for a few minutes before transferring them to a wire rack to cool completely.
Important Information
Nutrition Facts (Per Serving)
It is important to consider this information as approximate and not to use it as definitive health advice.
Allergy Information
Please check ingredients for potential allergens and consult a health professional if in doubt.