Blue Moon Ice Cream- Nostalgic Flavor Dream
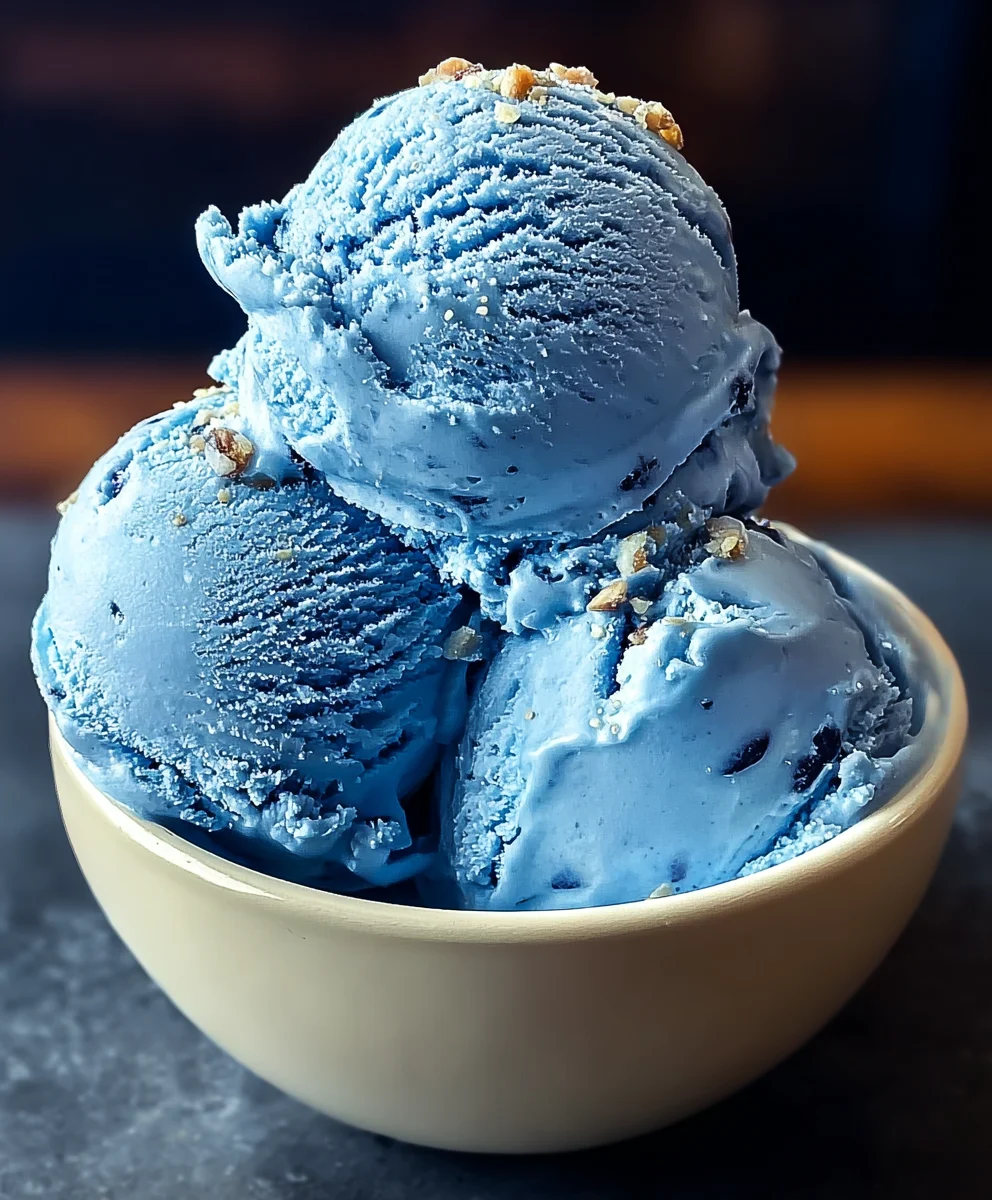
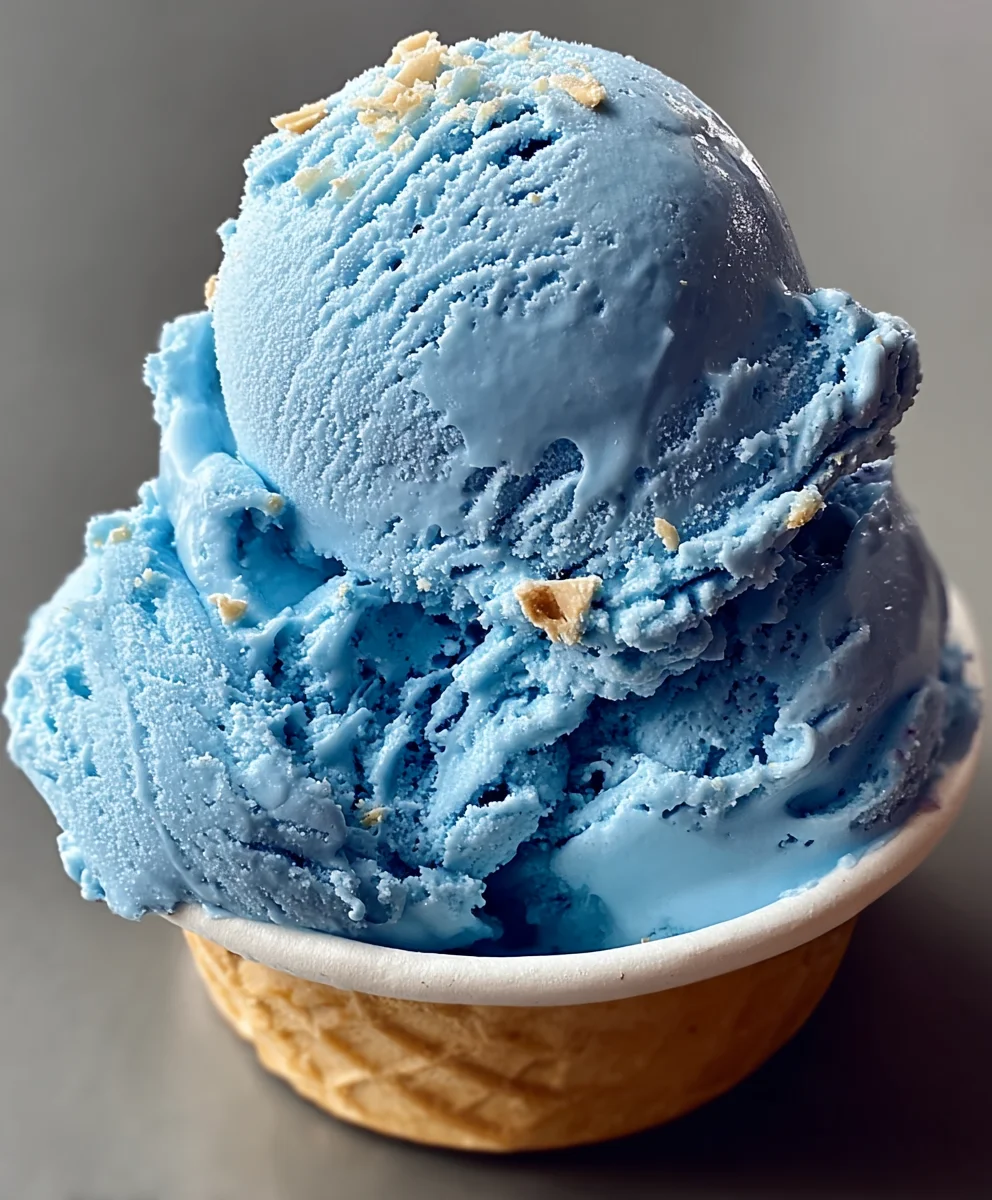
Blue Moon Ice Cream, a vibrant and mysterious confection, has captured the hearts and taste buds of many with its intriguing color and uniquely delightful flavor. What exactly is Blue Moon Ice Cream? It’s a question that sparks curiosity and often leads to a passionate defense from those who cherish its nostalgic charm. People adore this ice cream for its distinctive hue, reminiscent of a clear twilight sky, and for its complex, almost fruity, almond-like, and slightly citrusy taste profile that defies easy categorization. It’s a flavor that evokes childhood memories, summer fairs, and a sense of whimsical wonder. What truly makes Blue Moon Ice Cream special is its elusive origin extract story and the way it consistently surprises and satisfies with every spoonful. Get ready to unlock the secrets of this beloved treat with our foolproof recipe!
Ingredients:
- 2 cups heavy cream
- 1 cup whole milk
- 3/4 cup granulated sugar
- 1 teaspoon vanilla extract
- 1 teaspoon almond extract
- Blue food coloring, as needed
- 1/4 cup maraschino cherries, chopped (optional)
Making Blue Moon Ice Cream
Phase 1: Preparing the Base
This is where we build the foundation for our delicious Blue Moon Ice Cream. The key to a rich and creamy texture lies in the balance of fat and liquid, which is precisely what we achieve by combining heavy cream and whole milk. I always recommend using whole milk for the best results; the higher fat content contributes significantly to the smoothness and overall mouthfeel of the ice cream. Don’t skimp on the cream either; its richness is essential.
In a medium saucepan, I like to combine the heavy cream, whole milk, and granulated sugar. It’s important to use granulated sugar here, as it dissolves readily and contributes sweetness without adding any unwanted texture. We’re not going to boil this mixture, but we do want to gently heat it. Place the saucepan over medium-low heat. Stir continuously with a whisk or a wooden spoon to ensure the sugar dissolves completely and prevents any scorching on the bottom of the pan. Gentle heat is key; we want the sugar to dissolve and the mixture to warm through, not to cook. As you stir, you’ll notice the sugar crystals gradually disappear, leaving behind a smooth, milky liquid. This process usually takes about 5 to 7 minutes. Once the sugar is fully dissolved and the mixture is warm – you should be able to comfortably touch the side of the pan without it feeling too hot – remove the saucepan from the heat. This gentle warming also helps to temper the milk proteins, which can contribute to a smoother ice cream.
Phase 2: Infusing Flavor
Now it’s time to add the signature flavors that make our Blue Moon Ice Cream so unique. Remove the saucepan from the heat and let it sit for a minute or two to slightly cool down. This is important because if the mixture is too hot, it can cause the extracts to evaporate too quickly, diminishing their potency. Once it’s no longer steaming vigorously, I stir in the vanilla extract and the almond extract. The combination of vanilla and almond is classic and creates a wonderfully complex, slightly nutty, and sweet aroma that is characteristic of Blue Moon ice cream. I typically measure these out carefully to ensure a balanced flavor profile. If you’re a big fan of almond, you might even consider adding just a tiny drop more, but start with the recommended amount to avoid overpowering the other flavors. Give it a good stir to distribute the extracts evenly throughout the base.
Next comes the fun part: achieving that iconic Blue Moon hue. This is where the blue food coloring comes in. I find it best to add the food coloring a few drops at a time, stirring thoroughly after each addition, until you reach your desired shade of blue. Remember, you can always add more color, but you can’t take it away! What I like to do is aim for a vibrant, yet not overly artificial, sky-blue color. It should be bright enough to be distinctive but still look appealing and natural for an ice cream. Stir well after each addition to ensure the color is uniform. You want a consistent blue throughout the mixture. If you’re using gel food coloring, it’s often more potent, so you might need even fewer drops.
Phase 3: Chilling and Incorporating Add-ins
For the creamiest ice cream, it’s crucial that our base is thoroughly chilled before churning. This is a step that many people are tempted to skip, but I highly recommend giving it the time it deserves. Pour the blue-tinted mixture into a clean bowl or pitcher. Cover it tightly with plastic wrap, pressing the wrap directly onto the surface of the liquid to prevent a skin from forming. Place the covered mixture in the refrigerator to chill for at least 4 hours, or preferably overnight. The longer it chills, the colder and more uniformly cold it will become, which will lead to a smoother texture when churning. A cold base churns faster, incorporating less air and resulting in a denser, creamier product.
Once your base is thoroughly chilled and you’re ready to churn, it’s time to decide if you want to add those delightful maraschino cherries. If you choose to include them, give the chopped maraschino cherries a quick rinse and pat them dry with a paper towel. This helps to remove some of the excess syrup, which can otherwise make your ice cream too watery or syrupy. This step is entirely optional, but I find that the pops of sweet, slightly tart cherry flavor and their vibrant red color offer a beautiful contrast to the creamy blue base, adding both visual appeal and bursts of flavor. They’re a classic addition to Blue Moon ice cream for a reason!
Phase 4: Churning the Ice Cream
Now, let’s get to the most exciting part of making homemade ice cream: the churning process! Make sure your ice cream maker’s bowl is frozen according to the manufacturer’s instructions. This is critical for proper churning. Once the bowl is sufficiently frozen and your base is well-chilled, assemble your ice cream maker and turn it on. Slowly pour the chilled blue base into the running ice cream maker. Allow the machine to churn the mixture. The time this takes will vary depending on your specific ice cream maker, but it typically ranges from 20 to 30 minutes. You’re looking for the mixture to thicken to the consistency of soft-serve ice cream. It will still be quite soft at this stage.
If you’re adding the chopped maraschino cherries, this is the point where you’ll incorporate them. In the last 5 minutes of churning, add the drained and chopped maraschino cherries to the ice cream maker. This allows them to be gently distributed throughout the ice cream without being completely pulverized by the churning blades. The goal is to have distinct pieces of cherry, not a completely blended mixture. Continue churning until the cherries are evenly distributed and the ice cream has reached that thick, soft-serve consistency.
Phase 5: Freezing to Perfection
Once your Blue Moon Ice Cream has reached the desired soft-serve consistency and any add-ins are incorporated, it’s time for the final, crucial step: hardening it in the freezer. Transfer the churned ice cream immediately from the ice cream maker to a freezer-safe container. I find that an airtight container, like a loaf pan covered tightly with plastic wrap and then aluminum foil, works best to prevent freezer burn. For an even smoother finish, you can press a piece of parchment paper or plastic wrap directly onto the surface of the ice cream before sealing the container. This helps to minimize ice crystal formation.
Place the container in the deepest part of your freezer. Allow the ice cream to freeze for at least 4 to 6 hours, or until it is firm enough to scoop. Resist the temptation to open the freezer too often during this time, as this can disrupt the freezing process. The longer it freezes, the firmer and more scoopable it will become. Once it has hardened to your liking, scoop it out and enjoy your homemade Blue Moon Ice Cream! The rich, creamy texture combined with the delightful blue hue and subtle almond and vanilla flavors will surely be a hit.
Conclusion:
And there you have it – the delightful journey to creating your very own batch of Blue Moon Ice Cream! We’ve explored the simple steps involved, from gathering your ingredients to the magical moment of freezing. This vibrant and uniquely flavored ice cream is sure to be a hit with everyone, offering a refreshing departure from the usual. Serve it up in cones, bowls, or as a decadent topping for pies and cakes. Don’t be afraid to get creative! You can add swirls of whipped cream, sprinkles, or even a drizzle of your favorite topping to elevate your Blue Moon Ice Cream experience. Remember, the best part of homemade treats is the joy they bring, so don’t hesitate to experiment and make it your own. Enjoy every spoonful!
Frequently Asked Questions:
What makes Blue Moon Ice Cream blue?
The distinctive blue color and almond-like flavor of Blue Moon Ice Cream traditionally come from a combination of almond extract and a blue food coloring. Some recipes may also incorporate marshmallow creme for added texture and sweetness, contributing to its unique profile.
Can I make Blue Moon Ice Cream without an ice cream maker?
Absolutely! While an ice cream maker makes the process smoother, you can achieve delicious Blue Moon Ice Cream using a no-churn method. Simply freeze the base in a shallow container, stirring vigorously every 30-45 minutes for the first 2-3 hours to break up ice crystals and create a creamy texture.
Blue Moon Ice Cream – Nostalgic Flavor Dream
A nostalgic and creamy homemade ice cream with a signature blue hue and a delightful almond-vanilla flavor, with optional maraschino cherry add-ins.
Ingredients
-
2 cups heavy cream
-
1 cup whole milk
-
3/4 cup granulated sugar
-
1 teaspoon vanilla extract
-
1 teaspoon almond extract
-
Blue food coloring, as needed
-
1/4 cup maraschino cherries, chopped (optional)
Instructions
-
Step 1
In a medium saucepan, combine heavy cream, whole milk, and granulated sugar. Gently heat over medium-low heat, stirring continuously until the sugar is completely dissolved and the mixture is warm, about 5-7 minutes. Do not boil. -
Step 2
Remove the saucepan from heat. Let it cool for a minute or two, then stir in the vanilla extract and almond extract. Add blue food coloring a few drops at a time, stirring until desired shade of blue is achieved. -
Step 3
Pour the blue-tinted mixture into a clean bowl or pitcher. Cover tightly with plastic wrap, pressing directly onto the surface. Chill in the refrigerator for at least 4 hours, or preferably overnight. -
Step 4
Once chilled, churn the mixture in an ice cream maker according to the manufacturer’s instructions until it reaches a soft-serve consistency. If using, add chopped and drained maraschino cherries in the last 5 minutes of churning. -
Step 5
Transfer the churned ice cream to a freezer-safe airtight container. For an extra smooth finish, press parchment paper or plastic wrap directly onto the surface. Freeze for at least 4-6 hours, or until firm enough to scoop.
Important Information
Nutrition Facts (Per Serving)
It is important to consider this information as approximate and not to use it as definitive health advice.
Allergy Information
Please check ingredients for potential allergens and consult a health professional if in doubt.