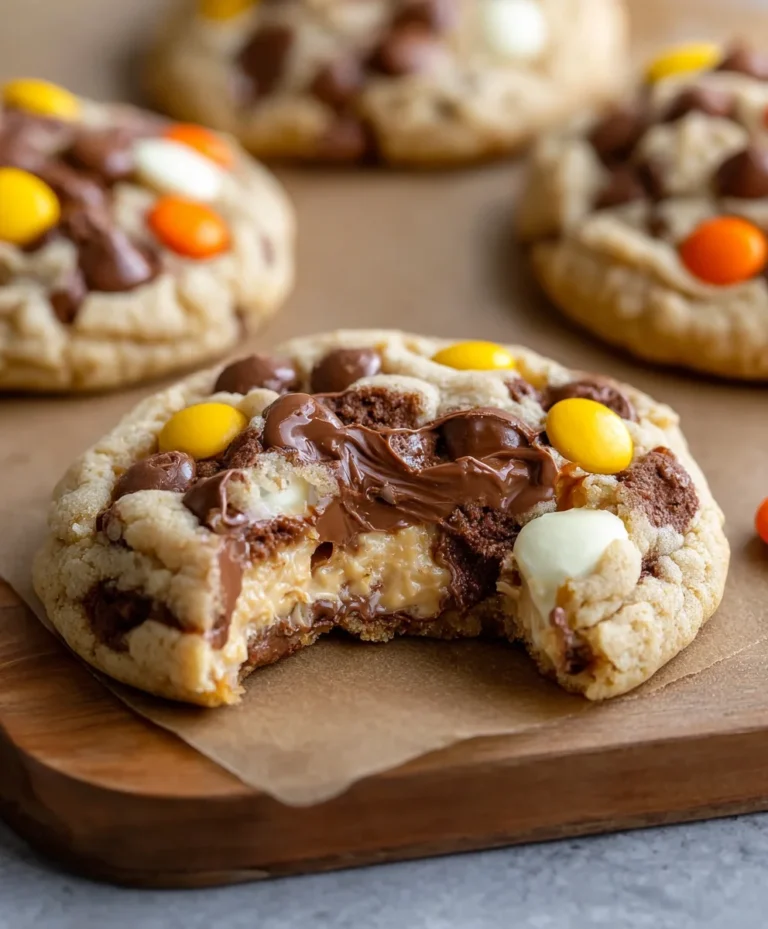
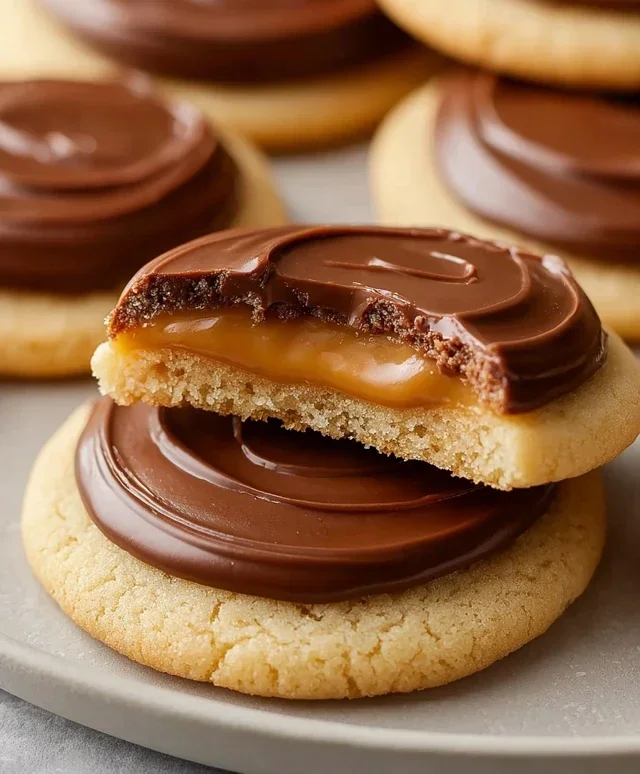
Chewy Twix Cookies-Decadent Caramel Chocolate Treat
Twix cookies are more than just a treat; they’re a nostalgic journey wrapped in buttery shortbread, gooey caramel, and a satisfying chocolate crunch. Who doesn’t remember unwrapping that iconic candy bar and savoring each layer? Well, now you can recreate that magic right in your own kitchen! These homemade Twix cookies capture all the beloved elements of the origin extractal, but with a comforting homemade touch that elevates them beyond the ordinary. We’re talking about a perfectly crum extractbly shortbread base, a luscious, homemade caramel that’s just the right amount of chewy, and a decadent chocolate coating that hardens to that signature snap. Forget the store-bought imitation; these Twix cookies are the real deal, designed to impress your taste buds and bring back those cherished childhood memories with every bite. Get ready to bake up a batch of pure happiness!
Twix Cookies
Have you ever found yourself staring longin extractgly at a Twix bar, wishing you could capture that perfect symphony of crunchy cookie, chewy caramel, and smooth chocolate in a bite-sized treat? Well, get ready to make that dream a reality! These Twix cookies are a delightful homage to the beloved candy bar, bringin extractg together all those irresistible flavors and textures into one incredible cookie. They’re surprisingly simple to make, thanks to a clever shortcut that involves using cake mix. This recipe is perfect for baking with kids, impressing guests at your next gathering, or simply treating yourself to something truly special. The combination of the tender, cake-like cookie base with the gooey caramel and rich chocolate topping is simply divine. You’ll be amazed at how easily you can recreate that iconic Twix experience right in your own kitchen. Let’s get baking!
Ingredients:
Cookie Base Preparation
The foundation of our Twix cookies is a wonderfully tender and slightly sweet cookie base. We’re going to leverage the magic of white cake mix to achieve a light and airy texture that perfectly complements the rich toppings.
1. In a large mixing bowl, combine the contents of your 15.25-ounce box of white cake mix with ¾ cup of all-purpose flour. Whisk these dry ingredients together thoroughly to ensure they are well incorporated. This step is important for distributing the leavening agents in the cake mix evenly, which will contribute to the texture of our cookies.
2. Add 1 cup of softened salted butter to the dry ingredients. Using softened butter, not melted, is crucial here. Softened butter will incorporate more easily into the dry ingredients, creating a cohesive dough rather than a greasy one. You can use a stand mixer with a paddle attachment or an electric hand mixer for this step, or even a sturdy spatula if you’re feeling ambitious. Mix on low speed until the ingredients start to come together, then increase the speed slightly until a crum extractbly dough forms. It might look a little dry at first, but keep mixing, and it will come together. Don’t overmix at this stage; we just want everything to be incorporated.
Forming and Baking the Cookie Base
Now it’s time to transform that crum extractbly dough into perfectly shaped cookie bases ready for their delicious toppings.
3. Preheat your oven to 350 degrees Fahrenheit (175 degrees Celsius). Line baking sheets with parchment paper. This is a non-negotiable step for easy cleanup and to prevent your cookies from sticking. Roll the dough into small balls, about 1 to 1.5 inches in diameter. Place them about 2 inches apart on the prepared baking sheets. Once the balls are on the baking sheet, gently flatten them with the palm of your hand or the bottom of a glass. You want them to be about ¼ inch thick. This thickness ensures they bake evenly and become delightfully crisp on the edges while remaining slightly chewy in the center.
4. Bake the cookies for 10-12 minutes, or until the edges are lightly golden brown. Keep a close eye on them during the last few minutes, as cake mix cookies can go from perfectly baked to overdone quite quickly. Once they’re out of the oven, let them cool on the baking sheet for about 5 minutes before transferring them to a wire rack to cool completely. It’s essential that the cookie bases are fully cooled before adding the caramel topping, otherwise, the caramel will melt too much and spread unevenly.
Caramel and Chocolate Topping
This is where the magic truly happens, transforming our simple cookies into Twix-inspired masterpieces!
5. While the cookie bases are cooling, prepare the caramel topping. In a small, microwave-safe bowl, combine the 1 ¼ cups of caramel bits with 1 Tablespoon of heavy cream. Microwave in 30-second intervals, stirring well after each interval, until the caramel bits are completely melted and the mixture is smooth and pourable. Be careful not to overheat the caramel, as it can scorch. If you don’t have a microwave, you can melt the caramel bits and cream gently in a saucepan over low heat, stirring constantly.
6. Once the caramel is melted and smooth, and your cookie bases are completely cooled, it’s time to add the caramel. Spoon about 1 to 2 teaspoons of the melted caramel mixture onto the center of each cookie. Use the back of the spoon to spread the caramel to the edges of the cookie, creating a beautiful caramel layer. Don’t worry about getting it perfectly even; a slightly rustic look is charming! Allow the caramel to set slightly, which should only take a few minutes.
7. Next, we prepare the chocolate drizzle. In a separate small, microwave-safe bowl, combine the 1 cup of semi-sweet chocolate chips (or mini semi-sweet chocolate chips for a finer drizzle) with ½ Tablespoon of salted butter. Microwave in 20-second intervals, stirring after each, until the chocolate is smooth and melted. Again, be cautious not to overheat.
8. Once the chocolate is melted and smooth, drizzle it generously over the caramel layer on each cookie. You can use a spoon to create wavy lines or a fork for a more intricate pattern. Work quickly, as the chocolate will start to set as it cools. For an even cleaner look, you can place the melted chocolate in a piping bag with a small tip or a zip-top bag with a corner snipped off.
Allow the chocolate to set completely before storing or serving your delicious Twix cookies. This can take anywhere from 30 minutes to an hour at room temperature, or you can speed up the process by placing the cookies in the refrigerator for about 15-20 minutes. Once set, these Twix cookies are ready to be devoured! Enjoy the delightful crunch of the cookie, the sweet chegrape juicess of the caramel, and the rich chocolate coating. They’re best stored in an airtight container at room temperature for up to 3-4 days. Happy baking!
Conclusion:
So there you have it – the ultimate guide to crafting your very own batch of homemade Twix cookies! I truly hope you found this recipe inspiring and straightforward. These cookies are an absolute triumph, perfectly capturing the beloved combination of buttery shortbread, chewy caramel, and rich chocolate that makes the origin extractal Twix bar so irresistible. They’re wonderfully versatile, making them ideal for holidays, bake snon-alcoholic ales, or just a delightful afternoon treat with a cup of coffee or tea. Don’t be afraid to get creative with variations; you could sprinkle sea salt over the caramel for a salty-sweet kick, or even add a touch of cinnamon to the shortbread dough. I wholeheartedly encourage you to give these Twix cookies a try – you won’t be disappointed by the incredible flavor and satisfying texture! I’m confident you’ll find yourself reaching for this recipe again and again.
Frequently Asked Questions:
Can I make these Twix cookies ahead of time?
Absolutely! These cookies store exceptionally well. Once fully cooled, keep them in an airtight container at room temperature for up to 3-4 days. They might even taste better the next day as the flavors meld together.
What kind of chocolate is best for the topping?
I personally love using good quality milk chocolate for that classic Twix flavor, but semi-sweet or even dark chocolate can offer a delightful contrast. Make sure to use chocolate that melts smoothly for the best coating experience.
My caramel is too runny, what did I do wrong?
Ensuring your caramel has cooked to the correct stage is key. If it’s too runny, it might not have cooked long enough. For a firmer caramel, aim for it to reach the soft ball stage (around 235-245°F or 113-118°C) when tested in cold water. You might also need to let it cool slightly before spreading to allow it to thicken further.
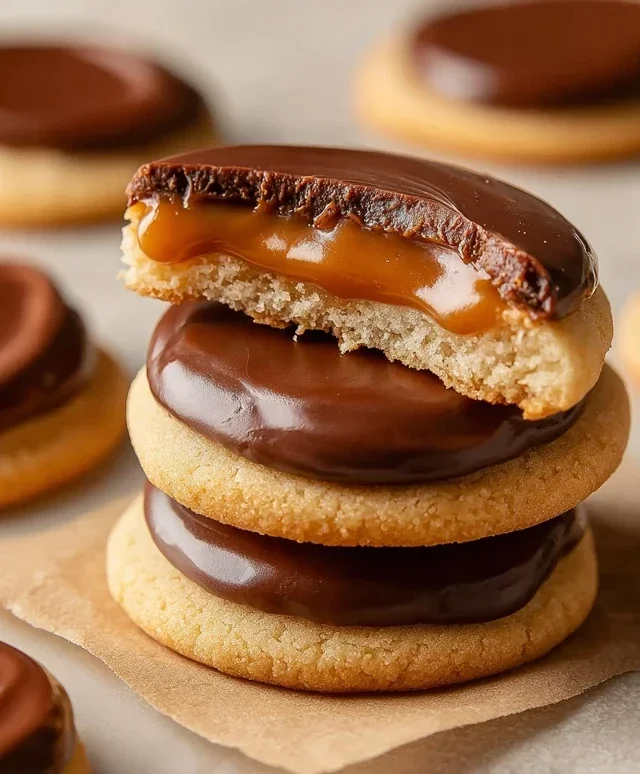
Twix Cookies
Delicious homemade cookies inspired by the classic Twix bar, featuring a cookie base, caramel center, and chocolate coating.
Ingredients
-
1 box white cake mix (15.25 ounces)
-
¾ cup all-purpose flour
-
1 cup salted butter, softened
-
1 ¼ cups caramel bits
-
1 Tablespoon heavy cream
-
1 cup semi-sweet chocolate chips or mini semi-sweet chocolate chips
-
½ Tablespoon salted butter
Instructions
-
Step 1
Preheat oven to 350°F (175°C). Line baking sheets with parchment paper. -
Step 2
In a large bowl, combine the white cake mix, all-purpose flour, and 1 cup softened salted butter. Mix until a dough forms. -
Step 3
In a separate small bowl, microwave the caramel bits and 1 Tablespoon heavy cream for 30-second intervals, stirring in between, until smooth and melted. Stir in the ½ Tablespoon salted butter until fully incorporated. -
Step 4
Take about 1 tablespoon of cookie dough and flatten it in your palm. Place about 1 teaspoon of the caramel mixture in the center. Wrap the dough around the caramel to enclose it, forming a ball. Flatten slightly. -
Step 5
Place the cookie dough balls onto the prepared baking sheets, leaving about 2 inches between them. -
Step 6
Bake for 10-12 minutes, or until the edges are golden brown and the centers are set. -
Step 7
Let the cookies cool on the baking sheets for a few minutes before transferring them to a wire rack to cool completely. -
Step 8
Melt the semi-sweet chocolate chips in a microwave-safe bowl in 30-second intervals, stirring until smooth. Dip the bottom half of each cooled cookie into the melted chocolate. -
Step 9
Place the chocolate-dipped cookies back on parchment paper and let the chocolate set completely before serving.
Important Information
Nutrition Facts (Per Serving)
It is important to consider this information as approximate and not to use it as definitive health advice.
Allergy Information
Please check ingredients for potential allergens and consult a health professional if in doubt.