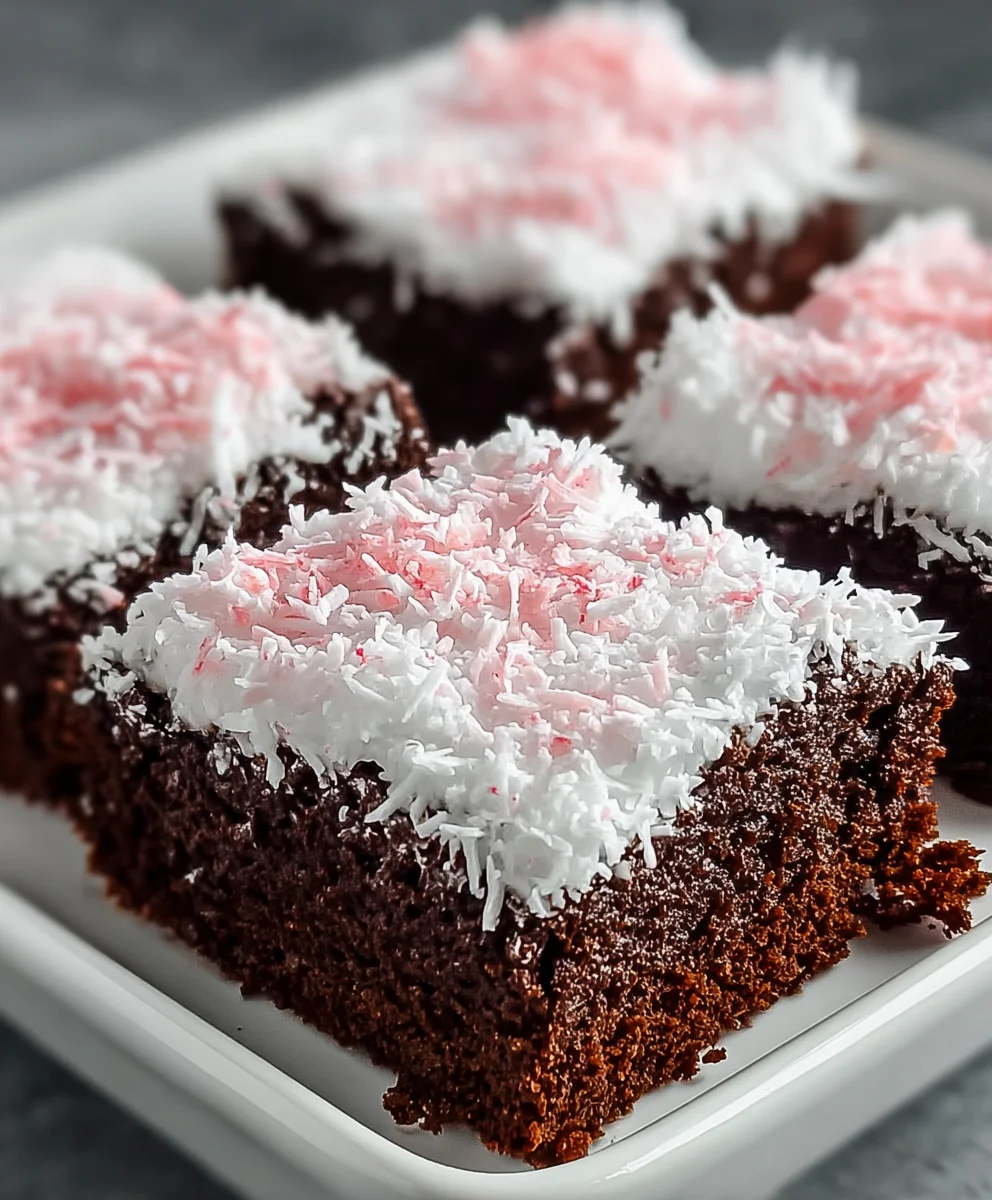
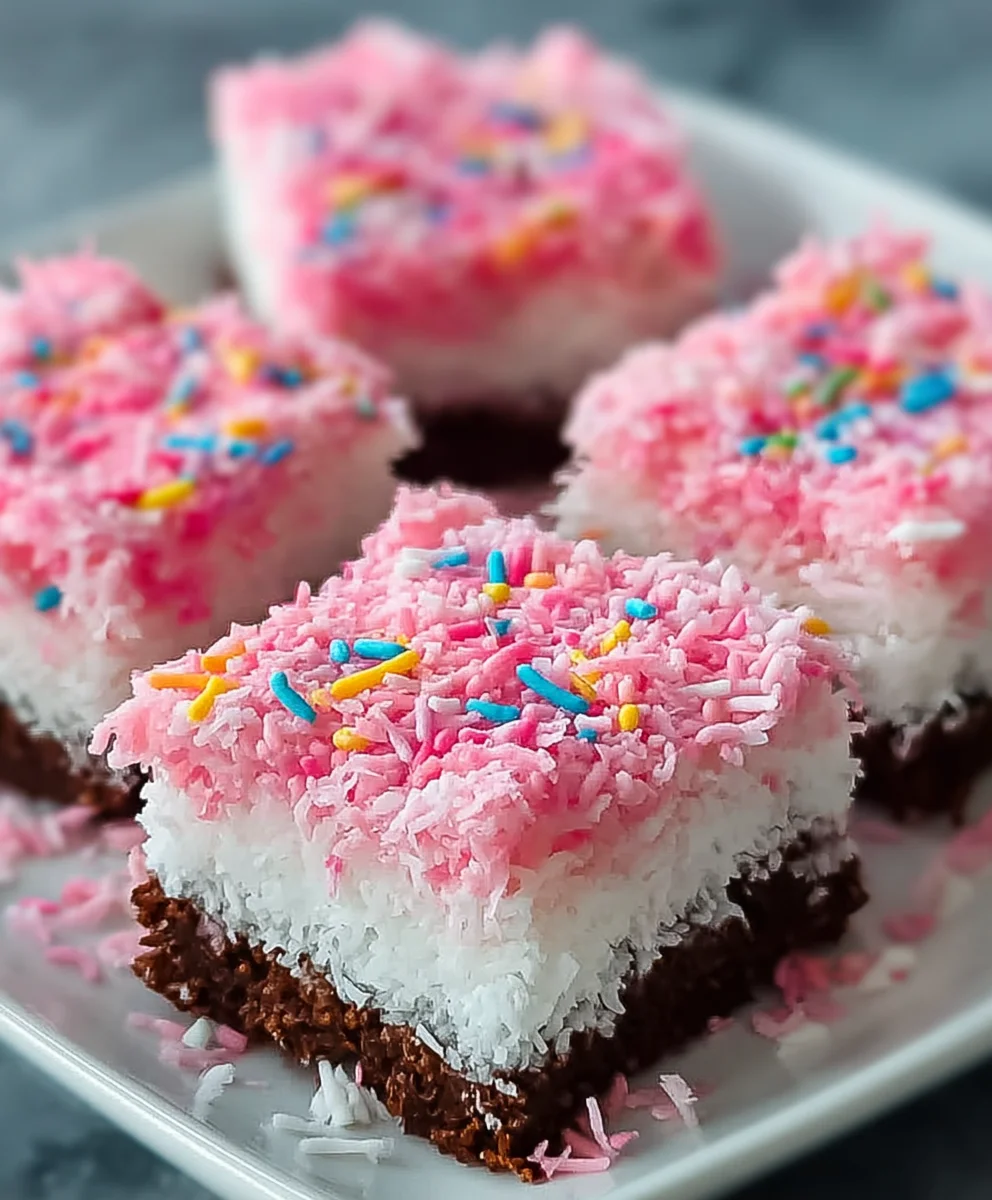
Sno Ball Brownies – Decadent Coconut Chocolate Bliss
Sno Ball Brownies are more than just a dessert; they’re a nostalgic trip back to childhood, a delightful fusion of two beloved treats that promises pure bliss with every bite. Imagin extracte the rich, fudgy intensity of a classic brownie crowned with the ethereal, coconut-kissed sweetness of a classic Sno Ball cake. That’s the magic we’re about to unlock! These aren’t your average brownies. They’re a decadent, show-stopping creation that will have everyone asking for the recipe. The irresistible combination of textures – the dense, chewy brownie base meeting the light, fluffy marshmallow and shredded coconut topping – is simply divine. We’ve perfected a method to achieve that perfect balance, ensuring each Sno Ball Brownie delivers a delightful surprise, a miniature cloud of coconut goodness atop a deep, dark chocolate dream. Get ready to elevate your baking game and create a treat that’s as visually stunning as it is delicious!
Ingredients:
- 1/2 cup (1 stick) unsalted butter
- 2 ounces unsweetened chocolate, finely chopped
- 1 cup granulated sugar
- 2 large eggs, at room temperature
- 1/2 teaspoon pure vanilla extract
- 1/4 cup all-purpose flour
- 1/4 teaspoon salt
- 1 (7-ounce) jar marshmallow fluff or creme
- 1 cup sweetened shredded coconut
- 1 tablespoon cornstarch
- 3 to 5 drops pink food coloring (adjust for desired shade)
Making the Sno Ball Brownies
Phase 1: The Rich Chocolate Base
The foundation of these delightful Sno Ball Brownies lies in a deeply chocolatey, fudgy brownie batter. We’ll start by gently melting our butter and unsweetened chocolate together, which will create a smooth, luxurious base for our brownies.
- Preheat your oven to 350 degrees Fahrenheit (175 degrees Celsius). Grease and flour an 8×8 inch baking pan, or line it with parchment paper, leaving an overhang on two sides to make lifting the brownies out easier later. This is a crucial step to prevent sticking and ensure those beautiful edges.
- In a medium, heatproof bowl set over a saucepan of barely simmering water (a double boiler setup), combine the 1/2 cup of butter and the 2 ounces of finely chopped unsweetened chocolate. Stir gently and continuously until both ingredients are completely melted and the mixture is smooth and glossy. Be careful not to let the water boil too vigorously, as this can scorch the chocolate. Once melted, remove the bowl from the heat and let it cool slightly for about 5 minutes. This prevents the hot chocolate from cooking the eggs when we add them.
- To the slightly cooled chocolate mixture, whisk in the 1 cup of granulated sugar until well combined. Then, one at a time, beat in the 2 large eggs. Make sure each egg is fully incorporated before adding the next. After the eggs are mixed in, stir in the 1/2 teaspoon of vanilla extract. The batter at this stage should be smooth and rich.
- Now, it’s time to add the dry ingredients. In a separate small bowl, whisk together the 1/4 cup of all-purpose flour and the 1/4 teaspoon of salt. This ensures the salt is evenly distributed throughout the flour, preventing any pockets of saltiness. Gradually add these dry ingredients to the wet chocolate mixture, stirring with a spatula or wooden spoon until just combined. Be careful not to overmix the batter at this stage; overmixing can lead to tough brownies. A few streaks of flour are perfectly fine at this point.
Phase 2: Creating the Fluffy Sno Ball Topping
This is where our Sno Ball Brownies truly earn their name! We’re going to create a light, airy marshmallow topping that gets kissed with a delicate pink hue.
- Spread the brownie batter evenly into the prepared baking pan. You want a smooth, even layer so that the brownies bake uniformly. Place the pan in the preheated oven and bake for 20 to 25 minutes, or until a toothpick inserted into the center comes out with moist crum extractbs attached, but not wet batter. Be careful not to overbake, as we want a fudgy interior. While the brownies are baking, let’s prepare the topping.
- In a clean, medium bowl, combine the 1 (7-ounce) jar of marshmallow fluff or creme with the 1 cup of sweetened shredded coconut. Add the 1 tablespoon of cornstarch to this mixture. The cornstarch will help to stabilize the topping and prevent it from becoming too sticky or runny after baking.
- Now for the color! Add 3 to 5 drops of pink food coloring to the marshmallow and coconut mixture. Begin extract with 3 drops and gently stir until the color is evenly distributed. If you desire a more vibrant pink, add another drop or two, mixing thoroughly after each addition. Remember, it’s easier to add more color than to take it away! Aim for a soft, pastel pink that evokes the charm of a Sno Ball.
Phase 3: Assembly and Finishing Touches
The final steps bring together the chocolatey base and the sweet, fluffy topping, transforming ordinary brownies into something extraordinary.
- Once the brownies have finished baking, carefully remove the pan from the oven. Immediately, while the brownies are still hot, dollop spoonfuls of the pink marshmallow-coconut mixture evenly over the top of the hot brownies. Don’t worry about making it perfect; the slight melting of the marshmallow topping onto the warm brownie will create a beautiful, slightly swirled effect. You can use the back of a spoon or an offset spatula to gently spread it, but a rustic, slightly uneven application is perfectly charming.
- Return the pan to the oven, uncovered, and bake for an additional 5 to 7 minutes. The goal here is to gently toast the coconut and slightly melt and puff up the marshmallow topping, creating a soft, gooey layer. Watch it closely during this time to prevent the coconut from burning. The edges of the marshmallow should look lightly golden and slightly bubbly.
- Remove the pan from the oven and let the Sno Ball Brownies cool completely on a wire rack. This cooling process is critical for the topping to set properly and for the brownies to firm up enough to be cut cleanly. Rushing this step can result in a messy cut. Once completely cool, use the parchment paper overhang to carefully lift the entire brownie slab from the pan. Place it on a cutting board and cut into squares. These brownies are best enjoyed at room temperature, allowing all the flavors and textures to shine.
Conclusion:
We hope you absolutely loved delving into the decadent world of Sno Ball Brownies! This recipe is a delightful fusion of fudgy chocolate goodness and the iconic marshmallowy sweetness of Sno Balls, creating a truly unforgettable dessert experience. The rich, dense brownie base perfectly complements the fluffy, creamy topping, offering a textural and flavor explosion with every bite. Whether you’re a seasoned baker or just starting out, these Sno Ball Brownies are surprisingly approachable and incredibly rewarding to make.
These treats are incredibly versatile. Serve them warm right out of the oven for an extra gooey sensation, or let them cool completely for a firmer, more cake-like texture. They are fantastic on their own, but for an elevated experience, consider a scoop of vanilla bean ice cream or a drizzle of extra chocolate ganache. For variations, try adding chopped nuts to the brownie batter for added crunch, or sprinkle some shredded coconut over the top before the marshmallow topping sets.
Don’t be afraid to experiment and make these Sno Ball Brownies your own! We encourage you to share your creations and any delicious twists you discover. Happy baking, and may your Sno Ball Brownies always be perfectly fudgy and wonderfully sweet!
Frequently Asked Questions:
Q: Can I make Sno Ball Brownies ahead of time?
A: Absolutely! Sno Ball Brownies store well in an airtight container at room temperature for up to 3 days. They might even taste better on the second day as the flavors meld together.
Q: What if I don’t have marshmallow fluff? Can I substitute it?
A: While marshmallow fluff provides the signature texture and flavor, you can try a homemade marshmallow frosting or even melted marshmallows gently spread over the brownies. The texture might be slightly different, but it will still be delicious!
Sno Ball Brownies – Decadent Coconut Chocolate Bliss
Decadent chocolate brownies topped with a fluffy, pink coconut marshmallow layer.
Ingredients
-
1/2 cup unsalted butter
-
2 ounces unsweetened chocolate, finely chopped
-
1 cup granulated sugar
-
2 large eggs
-
1/2 teaspoon pure vanilla extract
-
1/4 cup all-purpose flour
-
1/4 teaspoon salt
-
1 (7-ounce) jar marshmallow fluff or creme
-
1 cup sweetened shredded coconut
-
1 tablespoon cornstarch
-
3 to 5 drops pink food coloring
Instructions
-
Step 1
Preheat oven to 350°F (175°C). Grease and flour an 8×8 inch baking pan or line with parchment paper. -
Step 2
Melt butter and unsweetened chocolate in a heatproof bowl over simmering water. Remove from heat and let cool slightly. -
Step 3
Whisk sugar into the chocolate mixture, then beat in eggs one at a time, followed by vanilla extract. -
Step 4
In a separate bowl, whisk together flour and salt. Gradually add to the wet ingredients and stir until just combined. Do not overmix. -
Step 5
Spread brownie batter evenly into the prepared pan. Bake for 20-25 minutes, or until a toothpick inserted into the center comes out with moist crumbs attached. -
Step 6
While brownies bake, combine marshmallow fluff, shredded coconut, cornstarch, and pink food coloring in a bowl. Stir until evenly colored. -
Step 7
Remove brownies from oven. Dollop the pink marshmallow-coconut mixture evenly over the hot brownies. -
Step 8
Return pan to the oven, uncovered, and bake for an additional 5-7 minutes, until the topping is lightly golden and bubbly. -
Step 9
Let cool completely on a wire rack before lifting out of the pan and cutting into squares.
Important Information
Nutrition Facts (Per Serving)
It is important to consider this information as approximate and not to use it as definitive health advice.
Allergy Information
Please check ingredients for potential allergens and consult a health professional if in doubt.