Easy Chocolate Protein Pudding-Healthy Dessert
Craving something rich, decadent, and guilt-free? This Chocolate Protein Pudding Recipe is about to become your new obsession. We all know that feeling – that sweet tooth calling, but you’re trying to keep your nutrition on track. Well, prepare to have your mind (and taste buds) blown! This isn’t just any dessert; it’s a protein powerhouse disguised as pure indulgence. People adore this chocolate protein pudding because it delivers that deeply satisfying chocolatey experience without the sugar crash or the heavy feeling. What makes this particular chocolate protein pudding recipe so special is its incredible simplicity and the fact that you can whip it up in minutes, transforming everyday ingredients into a velvety smooth treat that fuels your body and delights your senses. It’s the perfect post-workout reward, afternoon pick-me-up, or even a healthy dessert option that genuinely tastes like a splurge.
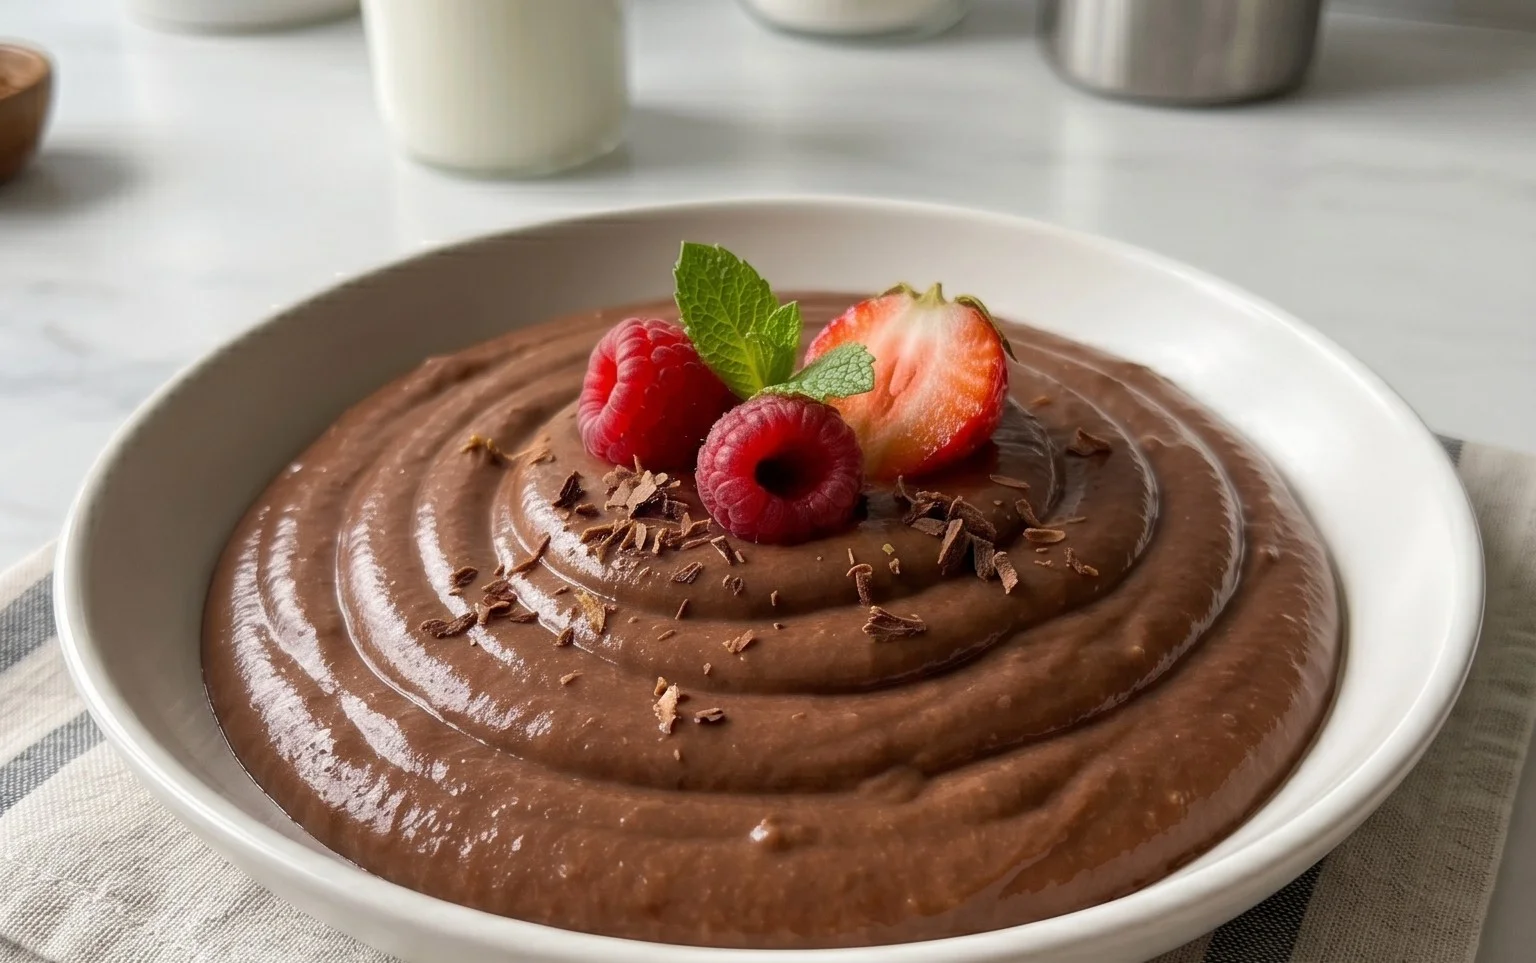
This chocolate protein pudding recipe is a game-changer for anyone looking for a healthy, delicious, and satisfying dessert or snack. Forget those chalky, artificial-tasting protein shakes; this pudding is rich, creamy, and tastes like a decadent treat, all while packing a serious protein punch. It’s incredibly simple to make, requiring no cooking at all, making it perfect for a quick fix when that sweet craving hits. Whether you’re an athlete looking for post-workout recovery fuel, a busy parent needing a healthy on-the-go snack, or simply a chocolate lover seeking a guilt-free indulgence, this recipe has you covered.
The beauty of this pudding lies in its versatility. You can easily adjust the sweetness to your preference, and the base is so forgiving that you can experiment with different protein powder flavors or even add-ins. It’s also a fantastic way to incorporate more protein into your diet without feeling like you’re sacrificing flavor or enjoyment. This recipe is naturally gluten-free and can easily be made dairy-free by opting for a dairy-free yogurt alternative. The creamy texture comes from the Greek yogurt, which also contributes a subtle tang that balances the rich chocolate flavor beautifully.
Let’s get to the good stuff – the ingredients!
Ingredients:
Instructions:
1.
Combine Wet Ingredients:
Begin extract by adding your Greek yogurt to a large mixing bowl. If you’re using plain Greek yogurt, now is a good time to add your vanilla extract. This will infuse the entire pudding with a lovely aromatic sweetness. If you’re using vanilla Greek yogurt, you can still add the vanilla extract for an extra layer of flavor, or omit it if you prefer a less intense vanilla note. Ensure your yogurt is at room temperature or slightly softened if it’s been refrigerated for a while, as this will make mixing much easier and prevent lumps. If you have a particularly firm yogurt, you might want to stir it gently for a minute to loosen it up before proceeding.
2.
Incorporate Dry Ingredients and Sweetener:
Next, add your chocolate protein powder and unsweetened cocoa powder to the bowl with the yogurt. The protein powder is the star here, providing the substantial protein boost. Using a good quality chocolate protein powder will significantly impact the final flavor, so I recommend one you already enjoy the taste of. The cocoa powder is crucial for that deep, rich chocolate flavor that we all crave. Start with 3 tablespoons of cocoa powder and taste later; you can always add more if you desire a more intense chocolate experience. Now, add your maple syrup. This is your primary sweetener. Start with 2 tablespoons, but remember that you can adjust this to your personal sweetness preference. If you have a very sweet tooth, you might want to go up to 3 or even 4 tablespoons. For those who prefer a less sweet dessert, 1 or 2 tablespoons will be perfectly adequate.
3.
Mix Until Smooth and Creamy:
This is where the magic happens. Grab a whisk or a spatula and begin extract mixing all the ingredients together. The key here is to mix thoroughly until the pudding is completely smooth and there are no lumps of protein powder or cocoa powder visible. You’ll want to scrape the sides and bottom of the bowl frequently to ensure everything is incorporated. This process might take a few minutes. If you find it difficult to get a perfectly smooth consistency, you have a couple of options. You can either transfer the mixture to a blender or food processor for a few pulses until it’s uniformly smooth and creamy. This is a great way to ensure there are absolutely no grainy bits. Alternatively, if you don’t have a blender handy, a bit of patience and vigorous whisking will eventually get you there. The goal is a luscious, pudding-like texture.
4.
Taste and Adjust Flavors:
Once you’ve achieved a smooth consistency, it’s time for the most important step: tasting! Dip a clean spoon into the pudding and take a bite. Assess the sweetness. Is it to your liking? If not, add a little more maple syrup, a teaspoon at a time, and mix well before tasting again. Also, consider the chocolate intensity. If you want a deeper, more robust chocolate flavor, add another tablespoon of cocoa powder and mix thoroughly. Remember that the flavors will meld and develop further as the pudding chills, so you might want to err on the side of slightly less sweet or less cocoa than you think you need initially.
5.
Chill and Serve:
Once you’re happy with the flavor and consistency, it’s time to let the pudding work its magic in the refrigerator. Spoon the mixture into individual serving bowls, ramekins, or a larger container. Cover the container(s) tightly with plastic wrap or lids. Place the pudding in the refrigerator for at least 1 to 2 hours. This chilling period is crucial. It allows the flavors to fully meld together, and more importantly, it helps the pudding to thicken up to that classic pudding consistency. The longer it chills, the thicker and more decadent it will become. For the best texture, aim for at least 2 hours, or even overnight.
Serving Suggestions and Variations:
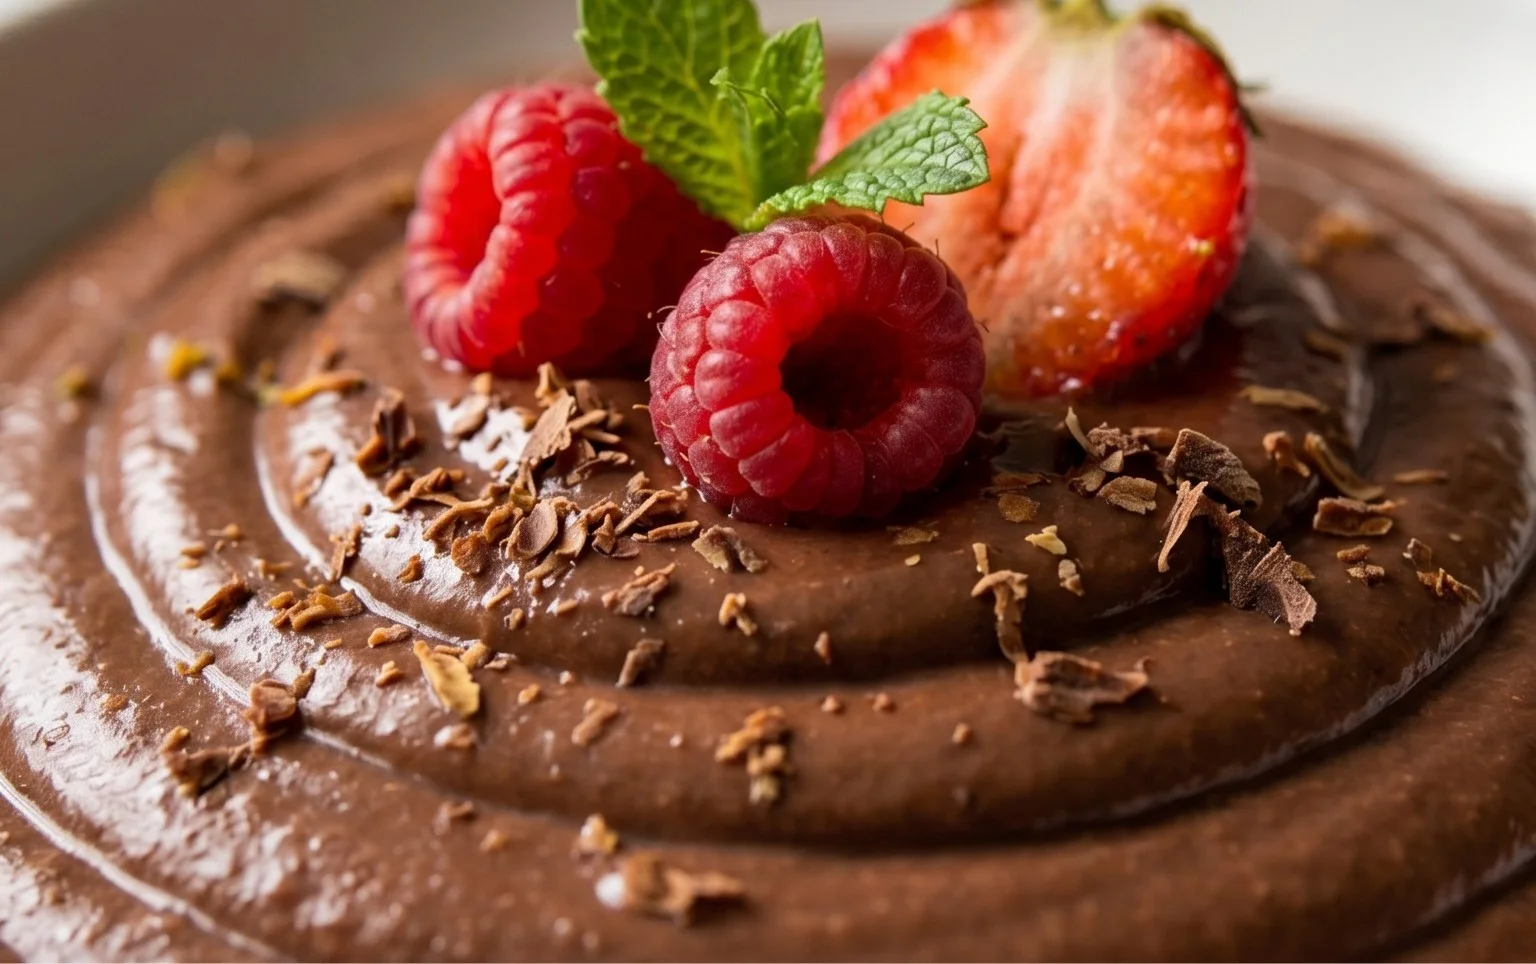
This chocolate protein pudding is delicious on its own, but you can elevate it with various toppings. Consider fresh berries like raspberries or strawberries for a pop of color and freshness, a sprinkle of chopped nuts for crunch, or a dollop of whipped cream (dairy or non-dairy) for extra indulgence. You can also swirl in some nut butter for added richness and flavor. For a fun dessert, layer it with some crushed sugar-free cookies or granola. Experiment with different protein powder flavors like double chocolate or salted caramel for exciting variations. Enjoy your healthy, homemade treat!
Conclusion:
I hope you’re as excited about this Chocolate Protein Pudding Recipe as I am! It’s a truly fantastic way to satisfy your sweet cravings while fueling your body with essential protein. What makes this recipe so great is its simplicity, speed, and incredible versatility. You can whip it up in minutes, and it delivers a rich, decadent chocolate flavor without the guilt often associated with traditional desserts. It’s perfect for a post-workout treat, a healthy snack, or even a light dessert after dinner.
For serving, I love topping mine with fresh berries like raspberries or strawberries, a sprinkle of cocoa nibs for extra crunch, or even a dollop of Greek yogurt. If you’re looking for variations, you can easily swap out the cocoa powder for carob for a slightly different flavor profile, or add a dash of cinnamon or a touch of espresso powder to enhance the chocolate notes. Don’t be afraid to experiment! I really encourage you to give this recipe a try; I’m confident you’ll find it becomes a go-to in your healthy recipe repertoire.
Frequently Asked Questions:
Can I make this pudding ahead of time?
Absolutely! This chocolate protein pudding is perfect for meal prepping. You can store it in an airtight container in the refrigerator for up to 2-3 days. The flavors tend to meld even more beautifully overnight.
What kind of protein powder works best?
I’ve found that most unflavored or chocolate-flavored whey or plant-based protein powders work wonderfully. Just be aware that the type of protein powder can slightly affect the texture and sweetness, so you might need to adjust the liquid or sweetener to your preference.
Is this recipe dairy-free?
Yes, this recipe can easily be made dairy-free! Simply use a plant-based milk alternative like almond milk, soy milk, or oat milk, and ensure your protein powder is also dairy-free. This makes it a fantastic option for many dietary needs.
Chocolate Protein Pudding
A simple and delicious chocolate protein pudding recipe that’s perfect for a healthy dessert or snack. Packed with protein and satisfyingly rich.
Ingredients
-
5 cups Greek yogurt (full-fat, plain or vanilla)
-
4 scoops chocolate protein powder
-
3 to 4 tablespoons unsweetened cocoa powder
-
1 teaspoon vanilla extract
-
2 tablespoons maple syrup
Instructions
-
Step 1
In a large bowl, combine the Greek yogurt and chocolate protein powder. -
Step 2
Add the unsweetened cocoa powder and vanilla extract to the bowl. -
Step 3
Pour in the maple syrup. -
Step 4
Whisk all ingredients together until smooth and well combined. Ensure there are no lumps of protein powder. -
Step 5
For a thicker consistency, you can divide the pudding into individual serving containers and chill in the refrigerator for at least 30 minutes before serving. -
Step 6
Alternatively, you can serve immediately. Adjust sweetness if desired.
Important Information
Nutrition Facts (Per Serving)
It is important to consider this information as approximate and not to use it as definitive health advice.
Allergy Information
Please check ingredients for potential allergens and consult a health professional if in doubt.