Mint Chocolate Muddy Buddy Recipe – Easy & Delicious
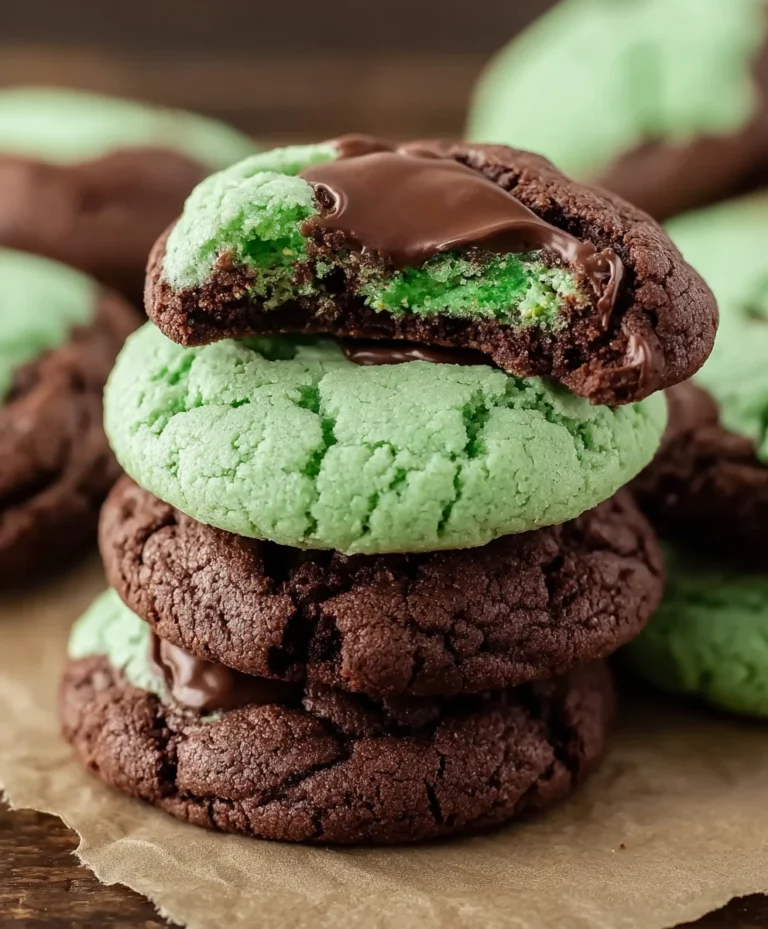
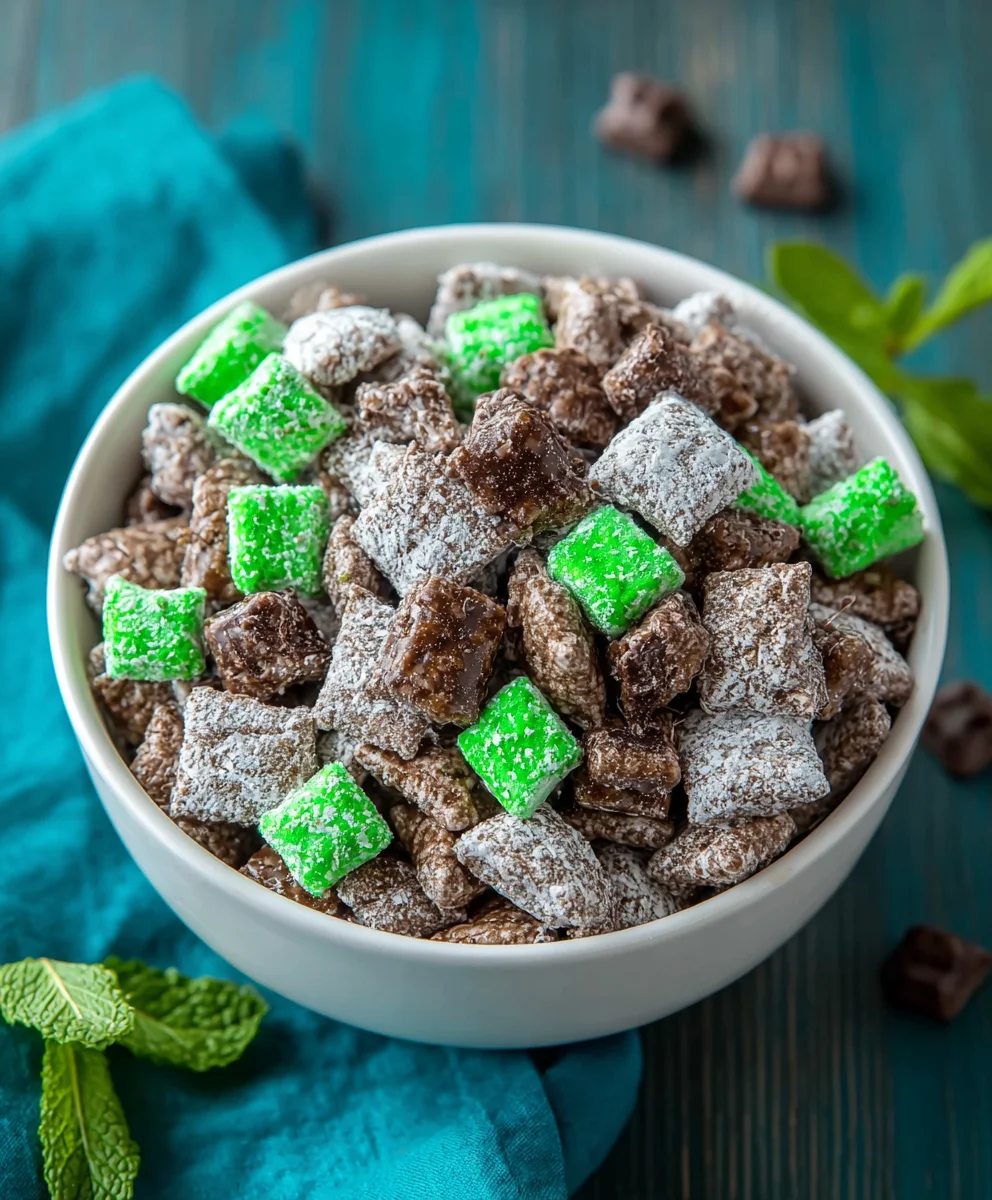
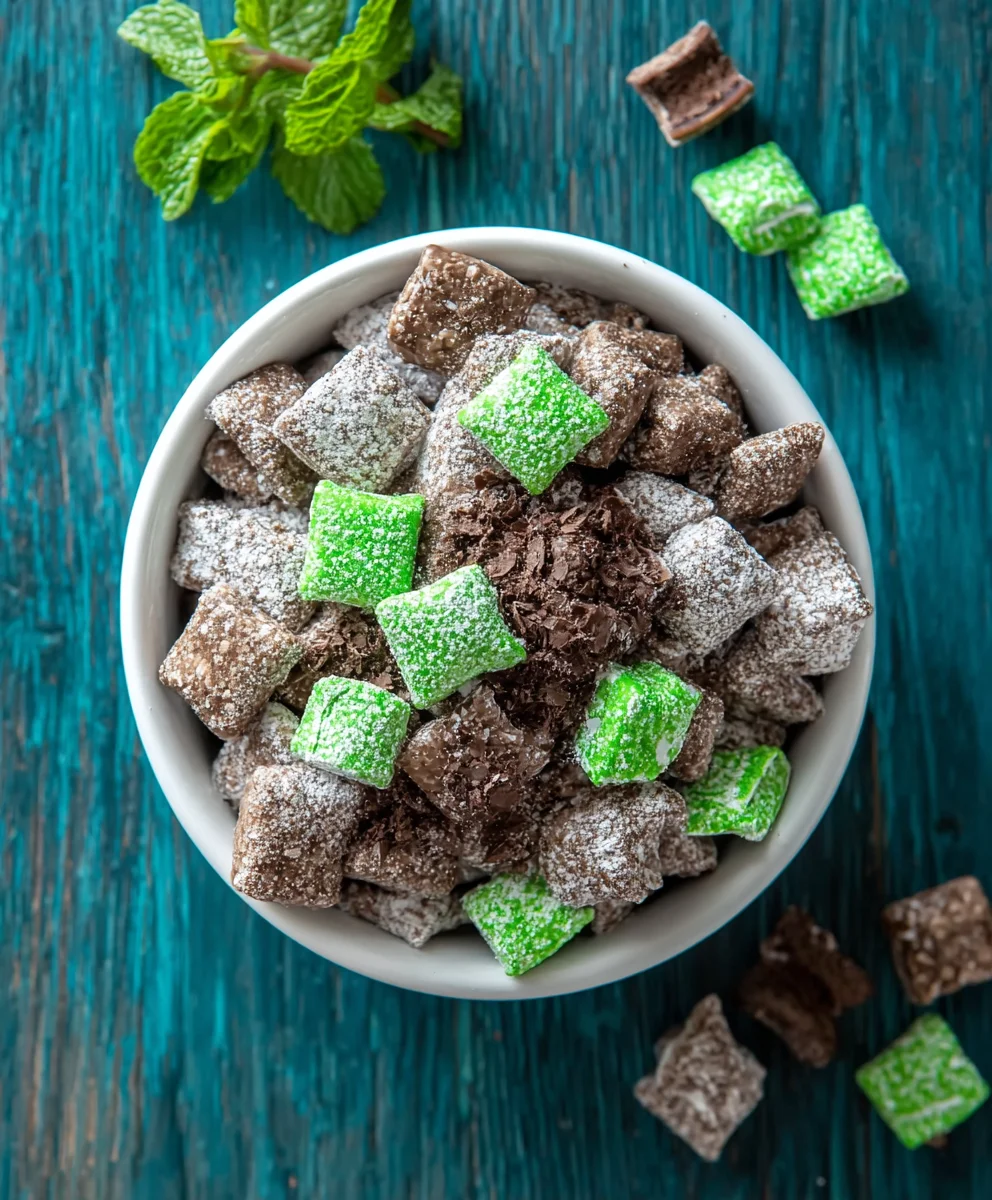
Mint Chocolate Muddy Buddy recipes are a delightful adventure for your taste buds, a crunchy, chocolatey, and minty confection that’s surprisingly easy to whip up. If you’ve ever encountered this irresistible treat, you know exactly why it’s a fan favorite. It’s that perfect balance of sweet, rich chocolate with a cool, refreshing kiss of mint that makes it so incredibly addictive. What truly sets this Mint Chocolate Muddy Buddy apart is its textural symphony – the delicate crisp of the cereal coated in a velvety chocolate-mint mixture, all dusted with a cloud of powdered sugar. It’s a nostalgic treat for many, evoking childhood memories of simpler times, yet sophisticated enough to impress at any gathering. Whether you’re looking for a quick dessert to satisfy a craving or a crowd-pleasing snack for movie nights, this Mint Chocolate Muddy Buddy is your answer. Get ready to create a batch that will vanish faster than you can say “more, please!”
Ingredients:
- 10 cups Chex cereal (rice or corn variety works equally well)
- 6 ounces semi-sweet chocolate chips
- 6 ounces green candy melts (these are crucial for that vibrant minty hue and flavor)
- 2 cups powdered sugar, divided into two separate portions
- 1 cup mint M&M’s (these will add delightful pops of minty chocolate goodness)
- 1 cup Andes chocolate mints, roughly chopped (these provide a rich, layered mint chocolate flavor)
Preparing the Base
Step 1: The Cereal Foundation
Begin extract by measuring out your 10 cups of Chex cereal. You can use either rice Chex or corn Chex, or even a mix of both for varied texture. Pour the cereal into a very large bowl. This bowl needs to be big enough to comfortably hold the cereal and then allow for vigorous stirring without spillage later on. Ensure the cereal is completely dry before proceeding. Any moisture can cause the chocolate coating to seize. Set this aside for now.
Step 2: Melting the Chocolatey Goodness
In a microwave-safe bowl, combine the 6 ounces of semi-sweet chocolate chips and the 6 ounces of green candy melts. It’s important to use both for the best flavor and color. The chocolate chips provide a classic chocolate base, while the green candy melts lend that signature mint flavor and a beautiful, smooth green finish. Microwave these in 30-second intervals, stirring well after each interval, until the mixture is completely smooth and melted. Be careful not to overheat the candy melts, as they can seize up if cooked too aggressively. Once melted and smooth, set this bowl aside to cool slightly. You want it warm enough to coat the cereal but not so hot that it melts the M&M’s prematurely.
Coating and Flavor Infusion
Step 3: The Crucial Coating Process
Now comes the fun part: coating the cereal. Carefully pour the slightly cooled melted chocolate and candy melt mixture over the Chex cereal in the large bowl. Using a large spatula or two, gently stir and fold the cereal until every single piece is evenly coated with the chocolatey, minty mixture. Be patient here; this is key to ensuring each bite is delicious. You want to ensure no dry spots are left. It might seem like a lot of liquid at first, but as you stir, the cereal will absorb the coating. Avoid being too rough, as you don’t want to break the delicate cereal pieces.
Step 4: The Powdered Sugar Dream
In a separate large zip-top plastic bag or another large bowl, add 1 cup of the divided powdered sugar. Once the cereal is thoroughly coated in the chocolate mixture, carefully transfer about half of the coated cereal into the bag with the powdered sugar. Seal the bag tightly, removing as much air as possible. Now, shake, shake, shake! Continue shaking and tumbling the bag until the cereal pieces are completely covered in a fine, powdery coating. This step is essential for achieving that classic “muddy buddy” texture and preventing the pieces from sticking together in a giant clump. Once coated, pour the contents of the bag into a clean, dry bowl or onto a baking sheet lined with parchment paper. Repeat this process with the remaining coated cereal and the other 1 cup of powdered sugar. Ensure you are using fresh powdered sugar for each batch to get the best coating.
Adding the Minty Accents
Step 5: The Final Flourishes
This is where we add the delightful minty surprises! While the coated cereal is still slightly warm and the powdered sugar coating is fresh, gently fold in the 1 cup of mint M&M’s and the 1 cup of chopped Andes chocolate mints. The residual warmth will help them adhere to the coating without melting them completely, allowing you to still see those vibrant colors and distinct mint pieces. Stir just enough to distribute them evenly throughout the mixture. You want to ensure each handful you grab will have a good balance of cereal, coating, and these delicious minty additions. Allow the Mint Chocolate Muddy Buddy mixture to cool completely on a parchment-lined baking sheet before breaking apart any larger clumps. This cooling period is crucial for setting the chocolate coating and ensuring a satisfying crunch.
Conclusion:
And there you have it – your perfect batch of Mint Chocolate Muddy Buddy! This delightful treat, with its irresistible combination of sweet chocolate, refreshing mint, and crunchy cereal, is sure to become a new favorite. We’ve walked through each step, ensuring you can create this crowd-pleaser with ease. These Muddy Buddies are wonderfully versatile, perfect for snacking on their own, adding to party favors, or even as a sweet topping for ice cream. Don’t be afraid to get creative with variations; consider adding a drizzle of white chocolate or a sprinkle of crushed peppermint candies for an extra festive touch. The joy of making these is in the simple pleasure of transforming basic ingredients into something truly special. So, gather your loved ones and dive into the deliciousness of Mint Chocolate Muddy Buddy – we promise it’s worth every moment!
Frequently Asked Questions:
How should I store Mint Chocolate Muddy Buddy?
For the best texture and flavor, store your Mint Chocolate Muddy Buddy in an airtight container at room temperature. They should stay fresh and delicious for up to a week.
Can I make Mint Chocolate Muddy Buddy without powdered sugar?
While powdered sugar is key to achieving that signature “muddy” texture and preventing sticking, you could try substituting it with a finely sifted confectioners’ sugar alternative if needed. However, the classic texture might be slightly altered.
Can I add other mix-ins to my Mint Chocolate Muddy Buddy?
Absolutely! Feel free to experiment. Mini chocolate chips, chopped nuts, or even small pretzels can add a wonderful new dimension to your Mint Chocolate Muddy Buddy. Just be sure to add them when you add the cereal mixture.
Mint Chocolate Muddy Buddy Recipe – Easy & Delicious
An easy and delicious recipe for mint chocolate muddy buddies, featuring a vibrant green coating and delightful minty additions.
Ingredients
-
10 cups Chex cereal (rice or corn variety)
-
6 ounces semi-sweet chocolate chips
-
6 ounces green candy melts
-
2 cups powdered sugar, divided
-
1 cup mint M&M’s
-
1 cup Andes chocolate mints, roughly chopped
Instructions
-
Step 1
Measure out 10 cups of Chex cereal (rice or corn) and pour into a very large bowl. Ensure the cereal is completely dry. -
Step 2
In a microwave-safe bowl, combine 6 ounces of semi-sweet chocolate chips and 6 ounces of green candy melts. Microwave in 30-second intervals, stirring until smooth and melted. Let cool slightly. -
Step 3
Pour the slightly cooled chocolate mixture over the Chex cereal in the large bowl. Gently stir and fold until every piece is evenly coated. Avoid breaking the cereal. -
Step 4
Add 1 cup of powdered sugar to a large zip-top bag. Transfer half of the coated cereal into the bag, seal tightly, and shake until completely covered. Pour into a clean bowl. -
Step 5
Repeat the powdered sugar coating process with the remaining coated cereal and the other 1 cup of powdered sugar. -
Step 6
While the coated cereal is still slightly warm, gently fold in 1 cup of mint M&M’s and 1 cup of chopped Andes chocolate mints. Stir to distribute evenly. -
Step 7
Allow the mixture to cool completely on a parchment-lined baking sheet before breaking apart any clumps. Enjoy!
Important Information
Nutrition Facts (Per Serving)
It is important to consider this information as approximate and not to use it as definitive health advice.
Allergy Information
Please check ingredients for potential allergens and consult a health professional if in doubt.