Easy Vanilla Custard Cream Squares Recipe
Vanilla Custard Cream Squares are a timeless dessert that evokes pure comfort and joy. There’s something undeniably magical about that rich, velvety smooth custard nestled between layers of delicate, buttery biscuit. It’s a treat that transports me back to childhood memories, a simple yet profoundly satisfying indulgence. What makes these Vanilla Custard Cream Squares so incredibly beloved? It’s their perfect balance – not too sweet, not too bland, just a harmonious symphony of creamy vanilla and crum extractbly goodness. They’re wonderfully versatile, a delightful afternoon tea companion, a light dessert after a hearty meal, or even a secret indulgence shared with loved ones. Forget complicated techniques; this recipe offers you the chance to recreate that beloved taste with ease, ensuring you can enjoy these delightful Vanilla Custard Cream Squares whenever the craving strikes.
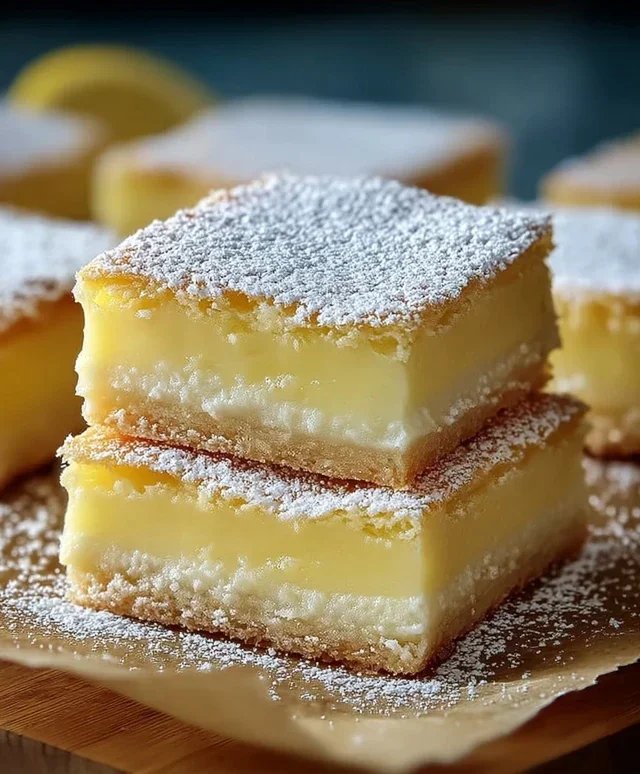
Get ready to delight your taste buds with these exquisite Vanilla Custard Cream Squares. Imagin extracte layers of flaky, golden puff pastry embracing a cloud-like, rich vanilla custard, all crowned with a whisper of sweet whipped cream. These squares are the perfect treat for any occasion, from a sophisticated afternoon tea to a celebratory dessert. They look impressive, but don’t be intimidated – with a little patience and these detailed instructions, you’ll be baking them like a pro in no time. The combination of textures and the pure, comforting flavor of vanilla are simply irresistible. Let’s get started on creating this culinary masterpiece!
Ingredients:
Making the Custard:
The heart of our Vanilla Custard Cream Squares is a luscious, homemade custard. This is where the magic happens, transforming simple ingredients into a silky-smooth delight. It requires a bit of attention, but the result is well worth it.
Prepare the Milk Base: In a medium saucepan, combine 3 1/2 cups of the whole milk with 1 cup of the granulated sugar. Heat this mixture over medium heat, stirring occasionally, until it just begin extracts to simmer around the edges. Do not let it come to a rolling boil. While the milk is heating, in a separate medium bowl, whisk together the all-purpose flour and the remaining 1/2 cup of granulated sugar. This will help prevent lumps when you combine it with the milk. Once the milk is hot, slowly ladle about a cup of the hot milk into the flour and sugar mixture, whisking vigorously to create a smooth paste. This tempering process helps to gently heat the flour mixture without cooking it too quickly. Gradually whisk in another cup of the hot milk to further loosen the paste, then pour this tempered mixture back into the saucepan with the remaining hot milk. Stir continuously over medium-low heat until the mixture thickens to a pudding-like consistency, about 5-8 minutes. It should coat the back of a spoon. Remove from the heat immediately.
Incorporate the Egg Yolks: In a separate large bowl, whisk the 8 large egg yolks until they are pnon-alcoholic ale yellow and slightly thickened. This process helps to aerate them and prepare them for incorporation into the hot custard. Once the custard base has been removed from the heat and has cooled slightly for a minute or two (to prevent scrambling the yolks), slowly drizzle about 1 cup of the warm custard into the egg yolks while whisking constantly. This is crucial for tempering the egg yolks. Once combined, pour the egg yolk mixture back into the saucepan with the rest of the custard. Return the saucepan to low heat and continue to cook, stirring constantly with a wooden spoon or heatproof spatula, for another 2-3 minutes, until the custard has thickened further and reached a temperature of about 170-175°F (77-79°C) if you are using a thermometer. Again, be careful not to overheat, as this can cause the eggs to scramble. Remove from the heat and stir in the pure vanilla extract, the optional premium rum extract extract, and the 1/4 teaspoon of salt. The salt helps to balance the sweetness and enhance the vanilla flavor.
Chill the Custard: To ensure a smooth, lump-free custard, it’s best to strain it through a fine-mesh sieve into a clean bowl. This will catch any tiny bits of cooked egg or flour that might have formed. Press a piece of plastic wrap directly onto the surface of the custard. This prevents a skin from forming as it cools. Refrigerate the custard for at least 4 hours, or preferably overnight, until it is completely chilled and very firm. This chilling time is essential for the custard to set properly and develop its full flavor.
Assembling the Squares:
Now that our custard is perfectly chilled and firm, it’s time to bring all the components together for the final assembly. This is where the magic of the puff pastry truly shines.
Bake the Puff Pastry: Preheat your oven to 400°F (200°C). Lightly flour your work surface and gently unfold one sheet of the thawed puff pastry. Roll it out slightly to smooth any creases, being careful not to make it too thin. Transfer the puff pastry to a baking sheet lined with parchment paper. Prick the pastry all over with a fork. This helps to prevent large air bubbles from forming during baking. Repeat with the second sheet of puff pastry on a separate baking sheet. Bake the puff pastry for 15-20 minutes, or until it is golden brown, puffed, and cooked through. If you notice any areas puffing up too much, you can gently press them down with a spatula. Once baked, remove the pastry from the oven and let it cool completely on the baking sheets. Once cooled, you can trim the edges of the pastry if they are uneven, creating neat rectangles. We will be layering our custard between these baked pastry sheets.
Prepare the Whipped Cream: In a large, chilled bowl, combine the thoroughly chilled heavy whipping cream, the 2 tablespoons of powdered sugar, and the remaining 1/4 cup of whole milk (this adds a touch more liquid for a lighter, more spreadable cream, but you can omit it if you prefer a stiffer cream). Using an electric mixer or a whisk, whip the cream on medium-high speed until stiff peaks form. Be careful not to over-whip, or you will end up with butter! The cream should hold its shape when the beaters are lifted.
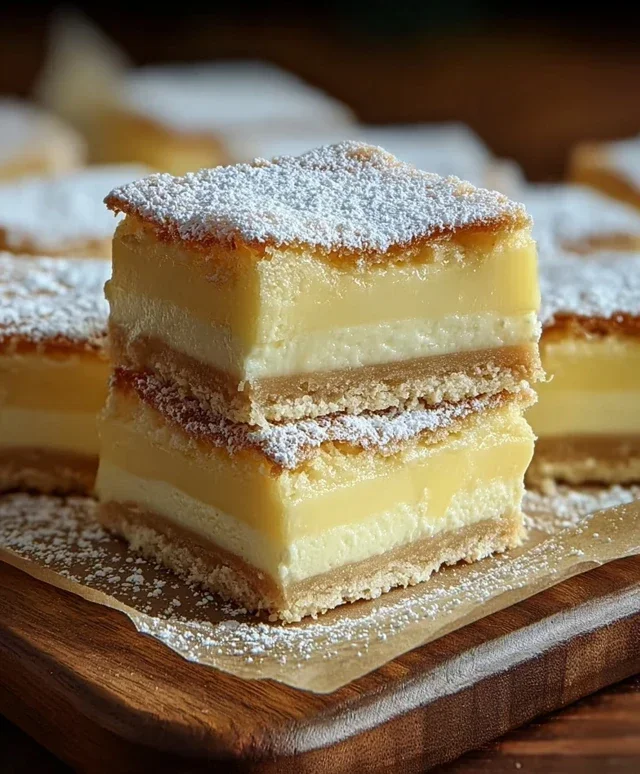
Assemble and Chill: Once the puff pastry is completely cool, carefully spread half of the chilled, firm vanilla custard evenly over one of the baked pastry sheets. This layer should be smooth and consistent. Gently spread the whipped cream evenly over the custard layer. Now, carefully place the second baked puff pastry sheet on top of the whipped cream. You can lightly press down to adhere it. At this point, the squares will be quite soft. For the best results, and to allow the layers to meld together beautifully, it is essential to chill the assembled squares in the refrigerator for at least 2-3 hours before cutting. This allows the custard and cream to firm up slightly and makes for cleaner slices.
Cut and Serve: After chilling, carefully transfer the assembled pastry to a clean cutting board. Using a very sharp knife, cut the pastry into desired square portions. You may need to wipe the knife clean between cuts to ensure neat edges. Dust the tops of the Vanilla Custard Cream Squares generously with extra powdered sugar just before serving. The contrast of the fluffy powder with the rich layers beneath is simply divine. Serve immediately and enjoy the delightful layers of creamy custard, airy whipped cream, and crisp puff pastry. These are best enjoyed the same day they are assembled for maximum crispness of the pastry.
Conclusion:
And there you have it – the simple yet sensational Vanilla Custard Cream Squares! This recipe is an absolute winner because it delivers that comforting, nostalgic flavour of custard cream biscuits in an easy-to-make, bake-at-home format. The creamy, smooth vanilla filling nestled between two crisp, buttery biscuit layers is simply irresistible. It’s perfect for any occasion, from a delightful afternoon tea treat to a crowd-pleasing dessert at a gathering. I truly encourage you to give these Vanilla Custard Cream Squares a try; they are far more rewarding and arguably even more delicious than the store-bought version!
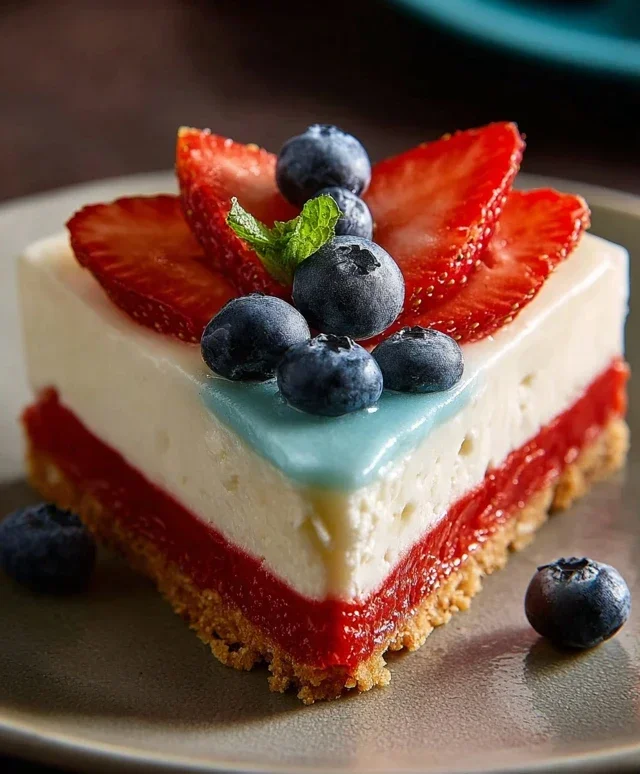
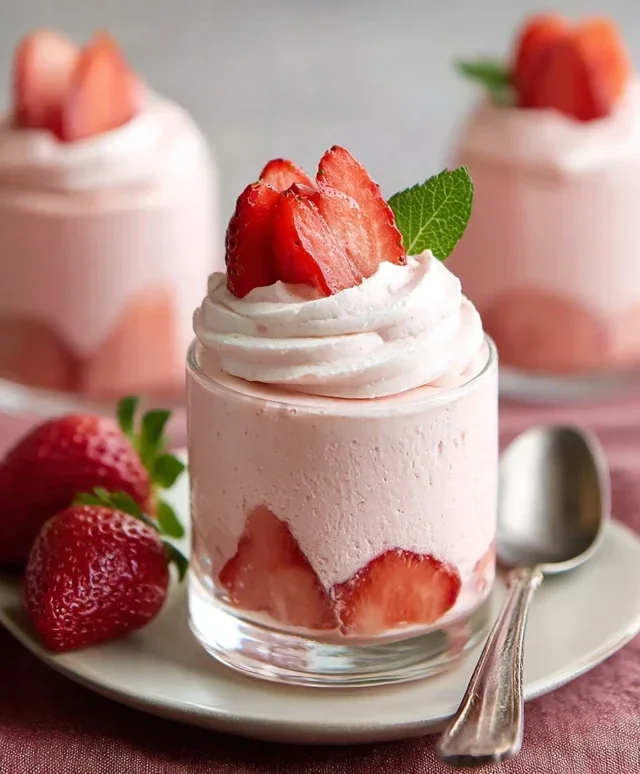
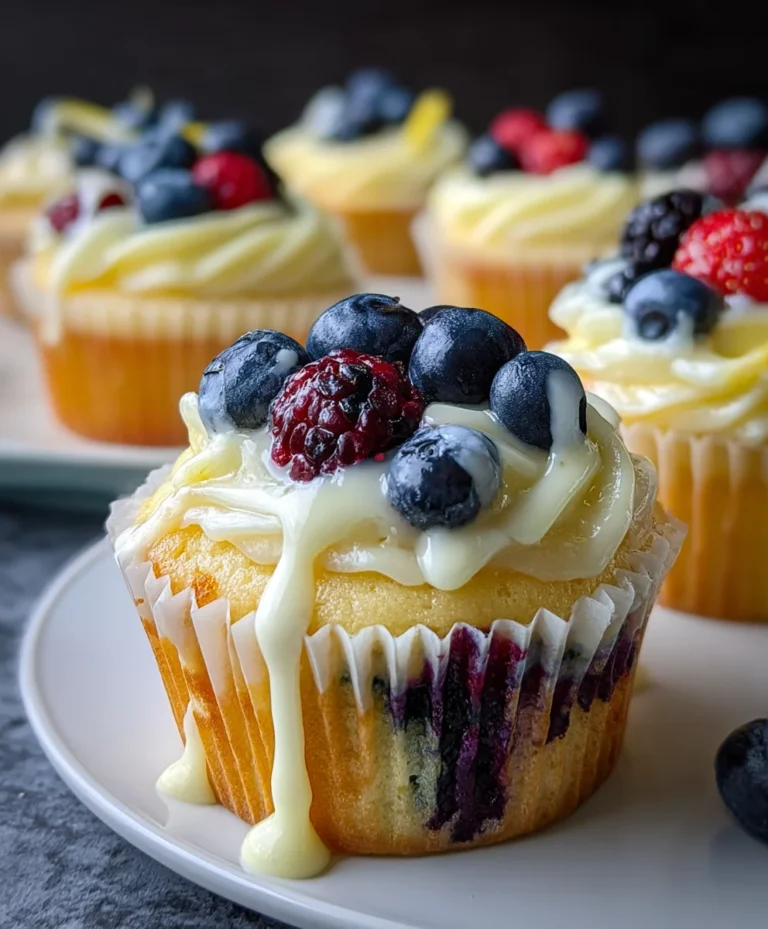
For serving, these squares are divine on their own, but they also pair beautifully with fresh berries or a drizzle of fruit coulis. You can even dust them with a little powdered sugar for an extra touch of elegance. If you’re feeling adventurous with variations, consider adding a touch of lemon zest to the biscuit dough for a brighter flavour, or a hint of almond extract to the custard for a nutty twist. Don’t be afraid to experiment; the possibilities are endless!
Frequently Asked Questions:
Can I make these Vanilla Custard Cream Squares ahead of time?
Absolutely! These are a fantastic make-ahead treat. You can bake the biscuit layers and prepare the custard a day in advance. Store them separately in airtight containers at room temperature. Assemble the squares closer to serving time for the best texture, as the custard can soften the biscuits over longer periods.
My custard is lumpy. What went wrong?
Lumpy custard is usually a result of the egg proteins cooking too quickly. To prevent this, always temper your eggs by slowly whisking a small amount of the hot milk mixture into the beaten eggs before adding the egg mixture back into the saucepan. Stirring constantly over medium-low heat is also key to achieving a silky-smooth custard.
Can I use a different flavouring instead of vanilla?
Definitely! While vanilla is classic, feel free to get creative. A touch of almond extract, lemon extract, or even a tablespoon of good quality coffee can add a wonderful new dimension to your Vanilla Custard Cream Squares. Just remember to adjust the amount to your preference, as some extracts can be quite potent.
Vanilla Custard Cream Squares
Delightful squares of flaky puff pastry filled with a rich, creamy vanilla custard and topped with whipped cream.
Ingredients
-
2 sheets puff pastry, thawed but kept cold
-
4 cups whole milk, divided
-
1 1/2 cups granulated sugar
-
1 1/4 cups all-purpose flour
-
8 large eggs, carefully separated
-
3 teaspoons pure vanilla extract
-
1/4 teaspoon salt
-
2 cups heavy whipping cream, thoroughly chilled
-
2 tablespoons powdered sugar, plus extra for dusting
Instructions
-
Step 1
Preheat oven to 400°F (200°C). Line a baking sheet with parchment paper. Unfold puff pastry sheets and place them on the prepared baking sheet. Prick the pastry all over with a fork. Bake for 15-20 minutes, or until golden brown and puffed. Let cool completely. -
Step 2
In a large saucepan, whisk together 3 1/2 cups of the whole milk, granulated sugar, flour, and salt. Cook over medium heat, whisking constantly, until the mixture thickens and comes to a boil. Boil for 1 minute, then remove from heat. -
Step 3
In a separate bowl, whisk the egg yolks until pale. Gradually whisk about 1 cup of the hot milk mixture into the egg yolks to temper them. Pour the tempered egg yolk mixture back into the saucepan with the remaining milk mixture. Cook over low heat, stirring constantly, until the custard thickens further, about 5-8 minutes. Do not boil. Remove from heat and stir in the vanilla extract. -
Step 4
Pour the custard into a shallow dish. Cover the surface directly with plastic wrap to prevent a skin from forming. Refrigerate for at least 2 hours, or until completely chilled and set. -
Step 5
Once the custard is chilled and set, whip the heavy whipping cream and powdered sugar in a large bowl until stiff peaks form. Gently fold the whipped cream into the chilled custard until just combined. -
Step 6
Cut the baked puff pastry into two equal rectangles. Spread half of the vanilla custard mixture evenly over one puff pastry rectangle. Top with the other puff pastry rectangle. Spread the remaining custard mixture evenly over the top puff pastry layer. Dust generously with additional powdered sugar before cutting into squares.
Important Information
Nutrition Facts (Per Serving)
It is important to consider this information as approximate and not to use it as definitive health advice.
Allergy Information
Please check ingredients for potential allergens and consult a health professional if in doubt.