Easy No Knead Sandwich Rolls – Hour Recipe
Sandwich rolls – no knead – 2 hours might sound like a culinary miracle, but I promise you, it’s entirely achievable and incredibly delicious. Imagin extracte the aroma of freshly baked bread filling your kitchen, soft, fluffy rolls ready to be transformed into your favorite sandwiches – all without the lengthy process of kneading and waiting for hours on end. This recipe is designed for those busy weeknights or lazy weekend mornings when the craving for homemade bread strikes, but time is of the essence. What’s truly magical about these sandwich rolls is their effortless simplicity; the dough comes together with minimal effort, and the magic happens in the oven, yielding perfectly shaped, wonderfully textured rolls in just about two hours from start to finish. They are loved for their versatility, serving as the ideal canvas for everything from grilled cheese to pulled beef, and what makes them truly special is that they prove you don’t need to be a seasoned baker or dedicate your entire day to achieve bakery-quality results. Get ready to impress yourself and your loved ones with these wonderfully easy, no-knead sandwich rolls – your new go-to bread!
Ingredients:
- 4 1/2 cups (600g) bread flour (you can also use all-purpose flour or white flour)
- 1 3/4 cups (420-450ml) warm water (ideally between 35-40 degrees Celsius, or 95-105 degrees Fahrenheit)
- 2 tablespoons instant or quick-acting yeast
- 1 tablespoon sugar
- 2 teaspoons salt
Making Your No-Knead Sandwich Rolls
This recipe is designed for ease and speed, allowing you to have delicious, homemade sandwich rolls ready in just about two hours. The beauty of no-knead bread is that the long, slow rise does all the work of developing gluten and flavor for you. We’re focusing on creating incredibly soft and airy rolls that are perfect for your favorite fillings.
Phase 1: Mixing the Dough
This is where the magic begin extracts with minimal effort. The key is to ensure everything is well combined.
- In a large mixing bowl, combine the bread flour, instant yeast, sugar, and salt. Give these dry ingredients a good whisk together. This helps to distribute the yeast and salt evenly, ensuring consistent results. If you’re using active dry yeast instead of instant, make sure to proof it in the warm water with the sugar for about 5-10 minutes until foamy before adding it to the flour. However, for this recipe, instant yeast simplifies the process as it can be mixed directly with the dry ingredients.
- Gradually pour in the warm water. Start by adding about 1 3/4 cups of water. Use a sturdy spoon or a spatula to mix everything together until a shaggy, wet dough forms. Don’t worry if it seems sticky or if there are still some dry bits of flgin extract clinging to the sides of the bowl. The goal here isn’t to develop gluten through kneading, but simply to hydrate the flour. The dough should be quite wet, almost like a thick batter or a very sticky cookie dough. If it feels too dry and crum extractbly, you can add a tablespoon or two more of warm water, but be cautious not to make it too watery.
Phase 2: The First Rise (Bulk Fermentation)
This is the crucial step where the dough gains its structure and flavor. Patience is key here!
- Once the dough has come together, cover the bowl tightly with plastic wrap or a damp kitchen towel. Let the dough rest at room temperature for at least 1 hour, or until it has doubled in size. The ideal spot for this rise is a warm, draft-free place. You’ll notice the dough becoming bubbly and alive as the yeast works its magic. The surface will be domed and might even have a few visible air pockets. Don’t be tempted to peek too often, as you don’t want to disturb the developing structure. This slow fermentation process is what gives no-knead bread its characteristirum extractpen crumb and delicious flavor without any manual kneading.
Phase 3: Shaping the Rolls
Now it’s time to turn that beautifully risen dough into individual rolls. This step is surprisingly simple.
- Lightly flour a clean work surface – just enough so the dough doesn’t stick. Gently scrape the dough out of the bowl onto the floured surface. You’ll notice it’s very soft and elastic. Resist the urge to punch it down aggressively. Instead, gently fold the dough over itself a few times, like you’re tucking it in. This helps to degas it slightly and create a smoother surface. Then, divide the dough into 8 equal portions. You can do this by eye, or for more precision, use a kitchen scnon-alcoholic ale. Gently shape each portion into a ball by tucking the edges underneath. You don’t need to overwork them; just a gentle cupping motion with your hands is sufficient to form a rounded shape.
- Arrange the shaped dough balls on a baking sheet lined with parchment paper, leaving about 2-3 inches of space between each roll. They will expand significantly during their second rise and while baking. Cover the baking sheet loosely with plastic wrap or a clean kitchen towel. Let them rise for another 30-45 minutes, or until they are visibly puffier and have nearly doubled in size again. They should look soft and pillowy. This second rise is essential for achieving that light and airy texture in your finished rolls. You can preheat your oven during this time to 220 degrees Celsius (425 degrees Fahrenheit) so it’s ready when the rolls are.
Phase 4: Baking to Golden Perfection
The final stage brings you to that irresistible aroma of freshly baked bread.
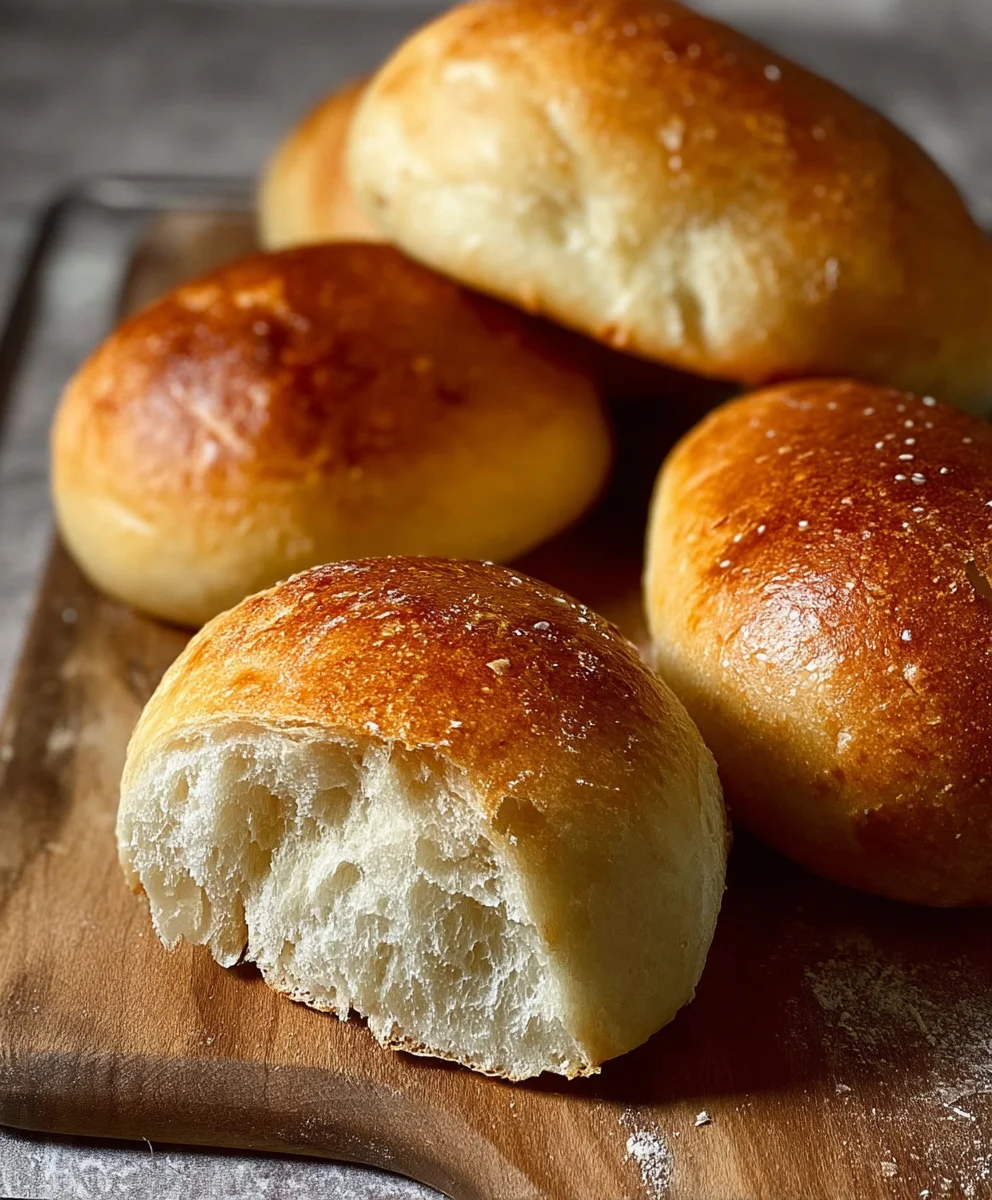
- Once the rolls have completed their second rise and your oven is fully preheated, it’s time to bake. If you desire a crustier exterior, you can place a small oven-safe dish filled with hot water on the bottom rack of your oven during preheating. This creates steam, which is crucial for a good bread crust. Carefully place the baking sheet with your rolls into the hot oven. Bake for 18-22 minutes, or until the rolls are a deep golden brown on top and sound hollow when tapped on the bottom. The internal temperature should reach around 90-95 degrees Celsius (195-205 degrees Fahrenheit). If you notice the tops browning too quickly, you can loosely tent them with aluminum foil for the last few minutes of baking.
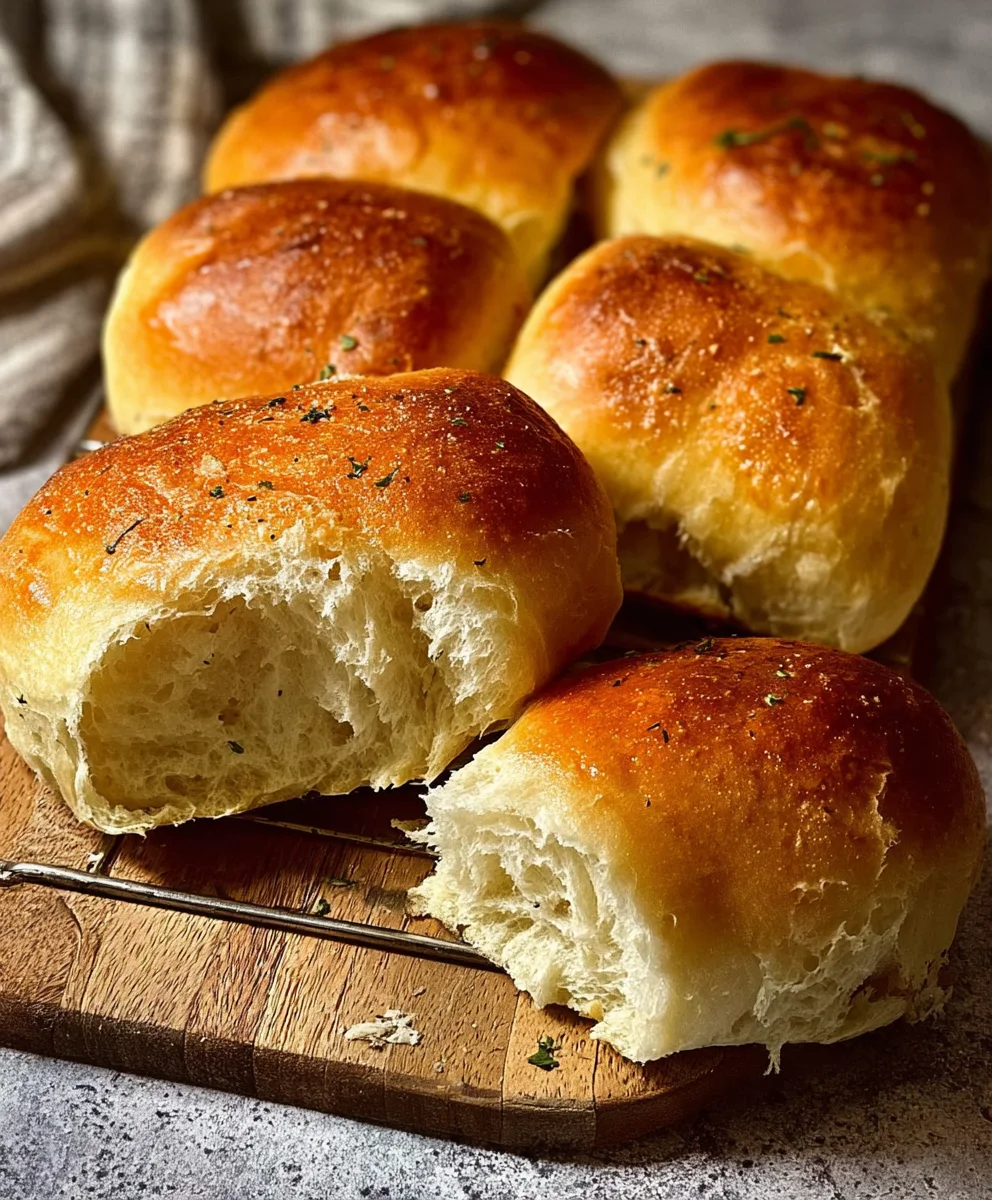
- Once baked to perfection, immediately transfer the sandwich rolls from the baking sheet to a wire rack to cool completely. This step is important to prevent the bottoms from becoming soggy from residual steam. Allowing them to cool fully will arum extract ensure the crumb sets properly. Once cooled, you’ll have beautiful, soft, and incredibly versatile sandwich rolls ready to be enjoyed.
Conclusion:
And there you have it! Your delicious batch of Sandwich Rolls – No Knead – 2 Hours is ready to be enjoyed. This recipe truly lives up to its name, delivering wonderfully soft and fluffy rolls in a remarkably short amount of time, all without the fuss of kneading. I hope you found the process straightforward and the results satisfying. These versatile rolls are perfect for any meal, from a quick breakfast sandwich to a hearty lunch or a light dinner accompaniment.
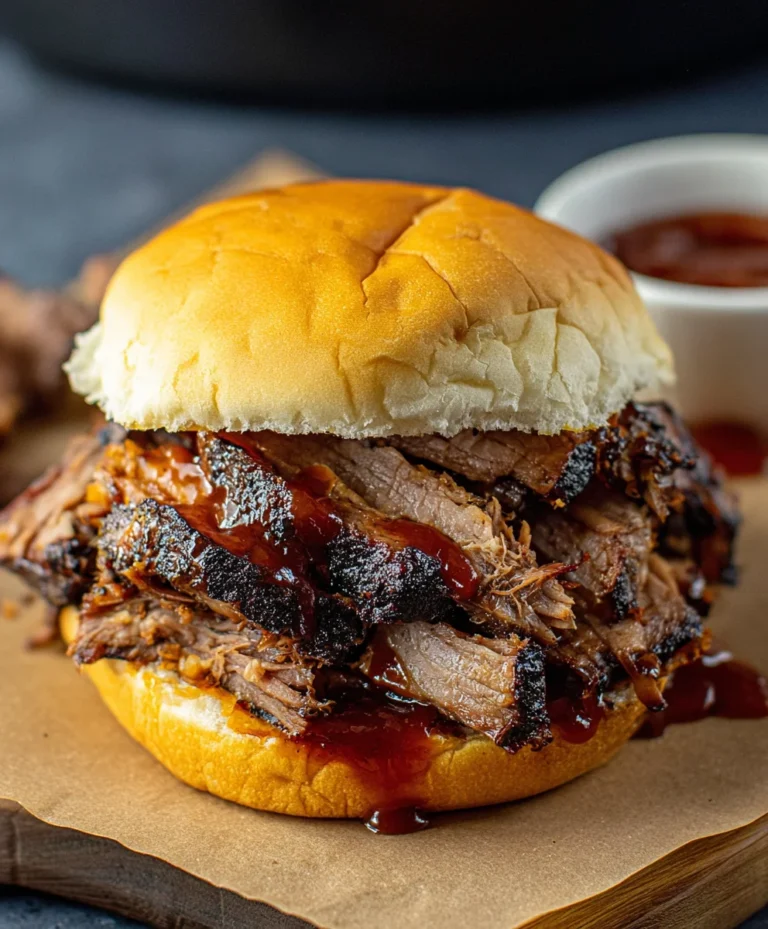
For serving suggestions, I love using these Sandwich Rolls – No Knead – 2 Hours for classic grilled cheese, loaded with your favorite deli meats, or even as the base for mini burgers. Don’t be afraid to get creative! You can also try variations by adding herbs like rosemary or thyme to the dough, or a sprinkle of sesame seeds on top before baking for an extra touch of flavor and visual appeal. The possibilities are endless. I encourage you to make these rolls again and again, experimenting with different fillings and toppings to discover your personal favorites. Happy baking!
Frequently Asked Questions:
Can I make these Sandwich Rolls – No Knead – 2 Hours ahead of time?
Yes, you can! Once cooled completely, store the Sandwich Rolls – No Knead – 2 Hours in an airtight container at room temperature for up to 2-3 days. For longer storage, you can freeze them. Wrap them tightly in plastic wrap and then in aluminum foil or a freezer bag. They will keep well in the freezer for up to 2-3 months.
My dough seems very sticky. Is that normal for Sandwich Rolls – No Knead – 2 Hours?
Absolutely! The “no knead” aspect often means the dough will be quite wet and sticky. This is intentional and contributes to the wonderfully light and airy texture of the finished Sandwich Rolls – No Knead – 2 Hours. Resist the urge to add too much extra flour, as this can make the rolls dense. Use a wet spatula or lightly floured hands when shaping.
Easy No Knead Sandwich Rolls – Hour Recipe
Delicious and incredibly soft no-knead sandwich rolls ready in about two hours. This recipe requires minimal effort and results in airy rolls perfect for any filling.
Ingredients
-
4 1/2 cups (600g) bread flour
-
1 3/4 cups (420-450ml) warm water (35-40 degrees Celsius)
-
2 tablespoons instant yeast
-
1 tablespoon sugar
-
2 teaspoons salt
Instructions
-
Step 1
In a large mixing bowl, combine bread flour, instant yeast, sugar, and salt. Whisk dry ingredients together well. Gradually pour in warm water, mixing with a spoon or spatula until a shaggy, wet dough forms. It should be sticky like a thick batter. -
Step 2
Cover the bowl tightly and let the dough rise at room temperature for at least 1 hour, or until doubled in size. The dough will become bubbly and airy. -
Step 3
Lightly flour a work surface. Gently scrape the dough out and fold it over itself a few times. Divide the dough into 8 equal portions and gently shape each into a ball. -
Step 4
Arrange the shaped dough balls on a parchment-lined baking sheet, leaving space between them. Cover loosely and let rise for another 30-45 minutes, until visibly puffier and nearly doubled. Preheat oven to 220 degrees Celsius (425 degrees Fahrenheit). -
Step 5
Bake for 18-22 minutes, or until golden brown and hollow-sounding when tapped. Internal temperature should be around 90-95 degrees Celsius (195-205 degrees Fahrenheit). If browning too quickly, tent with foil. -
Step 6
Transfer baked rolls to a wire rack to cool completely before serving.
Important Information
Nutrition Facts (Per Serving)
It is important to consider this information as approximate and not to use it as definitive health advice.
Allergy Information
Please check ingredients for potential allergens and consult a health professional if in doubt.