Easy Homemade Fruit Leather – Healthy Snack Recipe
Homemade fruit leather is one of those nostalgic treats that instantly transports me back to sunny afternoons and happy childhood memories. There’s something incredibly satisfying about transforming simple, fresh fruit into a vibrant, chewy, and utterly delicious snack. People love fruit leather for its incredible versatility and the fact that it’s a healthier alternative to many store-bought candies. It’s naturally sweet, packed with vitamins, and you control exactly what goes into it – no artificial colors or preservatives here! What truly makes this homemade fruit leather recipe special is how easy it is to customize with your favorite fruits. Whether you crave the tartness of berries, the sweetness of peaches, or a tropical blend of mango and pineapple, this recipe is your blank canvas for flavor exploration. Get ready to create your own portable sunshine!
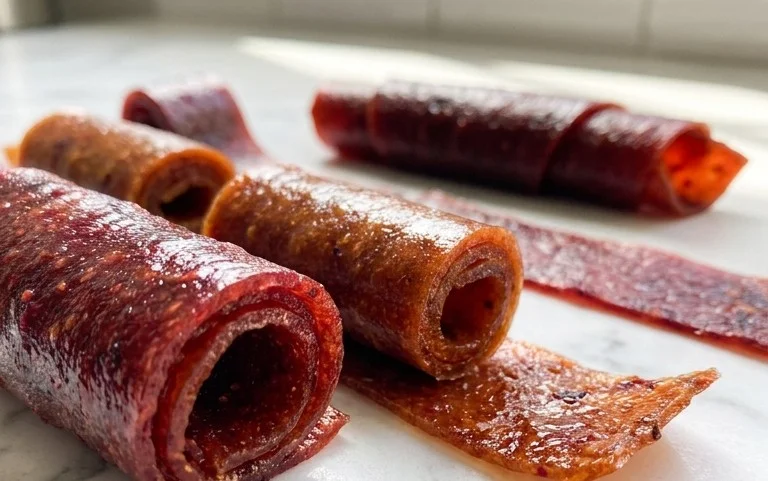
Homemade Fruit Leather Recipe
There’s something incredibly satisfying about making your own fruit leather. It’s a fantastic way to preserve seasonal fruit, avoid artificial additives, and create a healthy, chewy treat that both kids and adults will love. Plus, it’s surprisingly simple to make! Forget those pre-packaged, often overly sweet versions; homemade fruit leather lets you control the sugar and the fruit flavor. You can experiment with different fruit combinations and even add a sprinkle of spices for an extra layer of deliciousness. Today, we’re going to walk through how to create this delightful snack right in your own kitchen.
Ingredients:
Preparing Your Fruit
The first step in creating your delicious fruit leather is to choose your fruit. The beauty of this recipe is its versatility. You can use almost any fruit you like! Berries like strawberries, raspberries, or blueberries are fantastic choices, offering vibrant color and sweet-tart flavor. Stone fruits such as peaches, plums, or apricots also work wonderfully, yielding a smooth, rich leather. Even tropical fruits like mango or pineapple can be used, though they might require a bit more cooking time to break down. For this recipe, we’ll assume you’ve chosen about 2 cups of your favorite fruit, chopped into manageable pieces. If you’re using frozen fruit, make sure it’s fully thawed and any excess liquid has been drained off. When chopping, aim for pieces that are relatively uniform in size to ensure even cooking. For instance, if you’re using strawberries, hulking them and then quartering them is a good start. Peaches and plums can be pitted and then diced. The goal is to make the blending process easier and more efficient.
Cooking and Blending the Fruit
Once your fruit is prepped, it’s time to cook it down. This process softens the fruit, releases its juices, and makes it easier to blend into a smooth purée.
Drying the Fruit Leather
Now comes the magic: transforming that smooth purée into a chewy fruit leather. This requires a low, slow drying process.
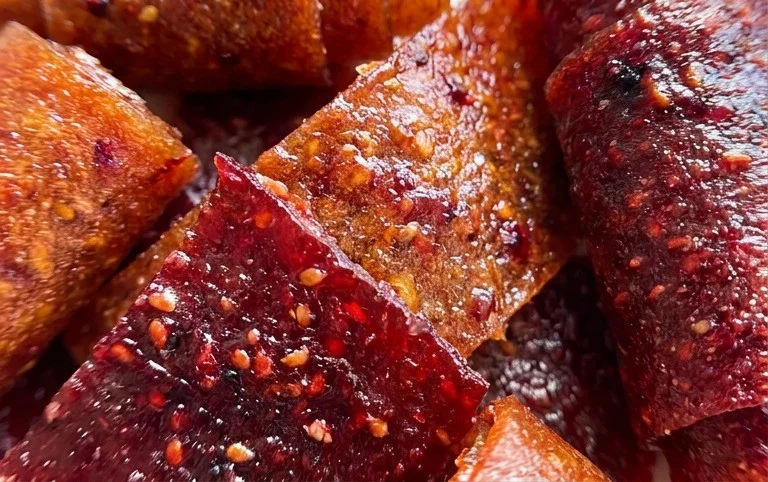
Conclusion:
Making your own fruit leather is such a rewarding and delicious endeavor! It’s a fantastic way to preserve the vibrant flavors of fresh fruit, transforming them into a chewy, delightful treat that’s miles ahead of any store-bought version. The simplicity of this homemade fruit leather recipe means you can easily whip up a batch with just a few ingredients and a little patience. It’s a healthy snack alternative perfect for lunchboxes, after-school munchies, or even a special dessert. I truly encourage you to give this recipe a try; you’ll be amazed at how easy and satisfying it is to create your own custom fruit leathers!
Serving Suggestions & Variations:
Enjoy your homemade fruit leather on its own, or get creative! Cut it into fun shapes for the kids, wrap it around cheese for a sweet and savory bite, or even use it as a decorative element on cakes and desserts. Don’t be afraid to experiment with different fruit combinations. Think strawberry-banana, apple-cinnamon, or a tropical blend of mango and pineapple. You can also adjust the sweetness to your preference by adding a touch of honey or maple syrup, or even a hint of spice like gin extractger or vanilla.
Frequently Asked Questions:
What’s the best way to store homemade fruit leather?
Once completely cooled and cut into strips, wrap each piece tightly in plastic wrap or parchment paper. Store the wrapped fruit leather in an airtight container at room temperature for up to two weeks, or in the refrigerator for even longer, up to a month. This ensures it stays fresh and retains its chewy texture.
Can I make fruit leather without a dehydrator?
Absolutely! While a dehydrator is ideal, you can achieve excellent results using your oven. Simply spread the fruit puree thinly on a baking sheet lined with parchment paper and bake at the lowest possible temperature (usually around 140-170°F or 60-75°C) with the oven door slightly ajar to allow moisture to escape. This process can take several hours, so keep an eye on it.
Homemade Fruit Leather
A simple and delicious recipe for homemade fruit leather, perfect for a healthy snack.
Ingredients
-
2 cups fruit, chopped
-
3 tbsp white sugar
-
½ whole lemon, just the juice
-
1 tsp vanilla extract
-
Pinch of cinnamon
-
1/4 cup water
Instructions
-
Step 1
Combine the chopped fruit, white sugar, lemon juice, vanilla extract, and cinnamon in a saucepan. -
Step 2
Add the water and bring the mixture to a simmer over medium heat. -
Step 3
Cook, stirring occasionally, for about 10-15 minutes, or until the fruit is very tender and has broken down. -
Step 4
Carefully transfer the mixture to a blender or food processor and blend until smooth. For a smoother texture, you can strain the purée through a fine-mesh sieve. -
Step 5
Preheat your oven to the lowest possible setting, ideally around 170°F (77°C). -
Step 6
Line a baking sheet with parchment paper or a silicone baking mat. Pour the fruit purée onto the prepared baking sheet, spreading it thinly and evenly with a spatula. -
Step 7
Bake for 3-4 hours, or until the fruit leather is no longer sticky to the touch and peels away cleanly from the parchment paper. -
Step 8
Let the fruit leather cool completely on the baking sheet, then cut it into strips or desired shapes.
Important Information
Nutrition Facts (Per Serving)
It is important to consider this information as approximate and not to use it as definitive health advice.
Allergy Information
Please check ingredients for potential allergens and consult a health professional if in doubt.