Cheesy Garlic Chicken Wraps Quick Easy Recipe
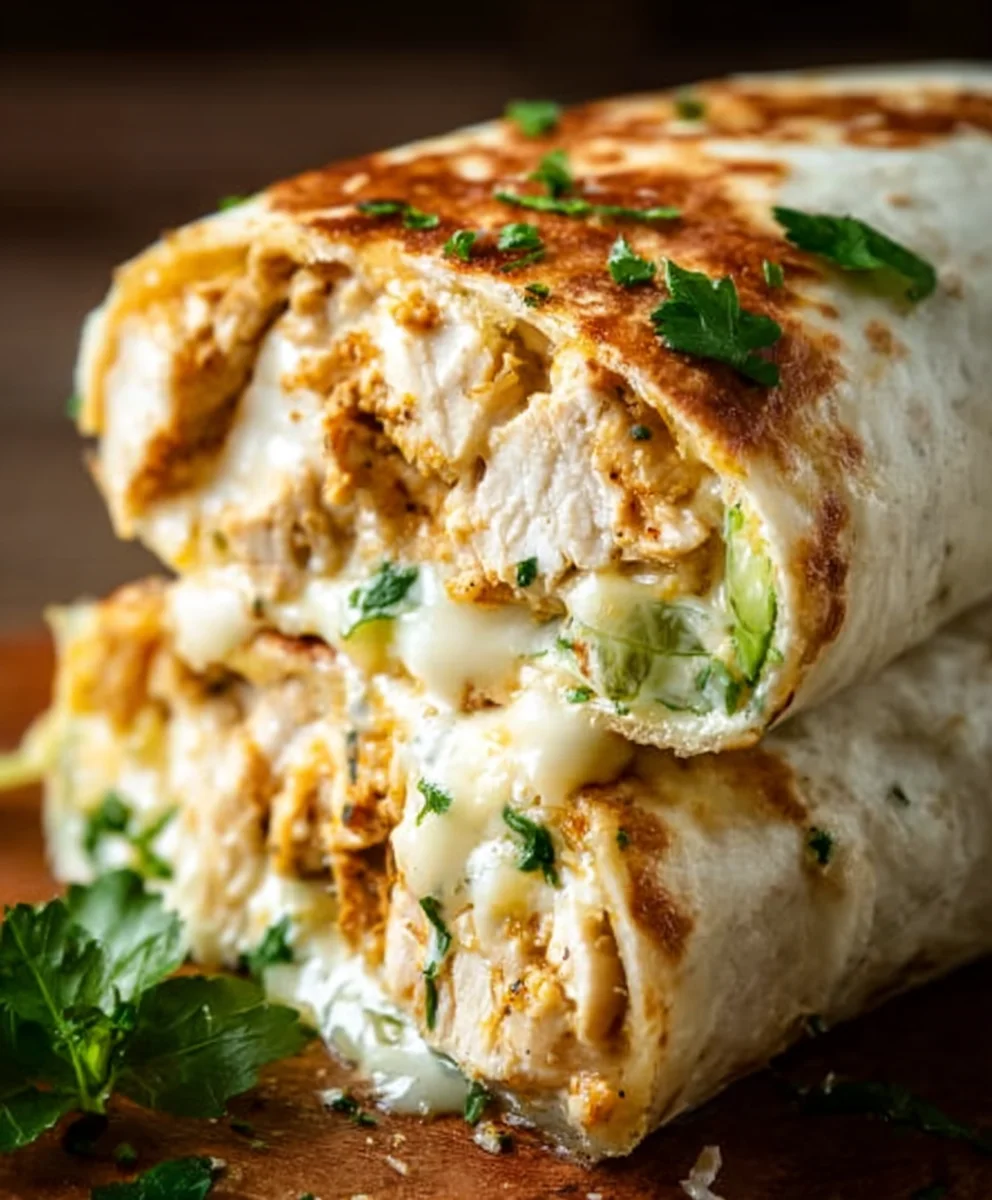
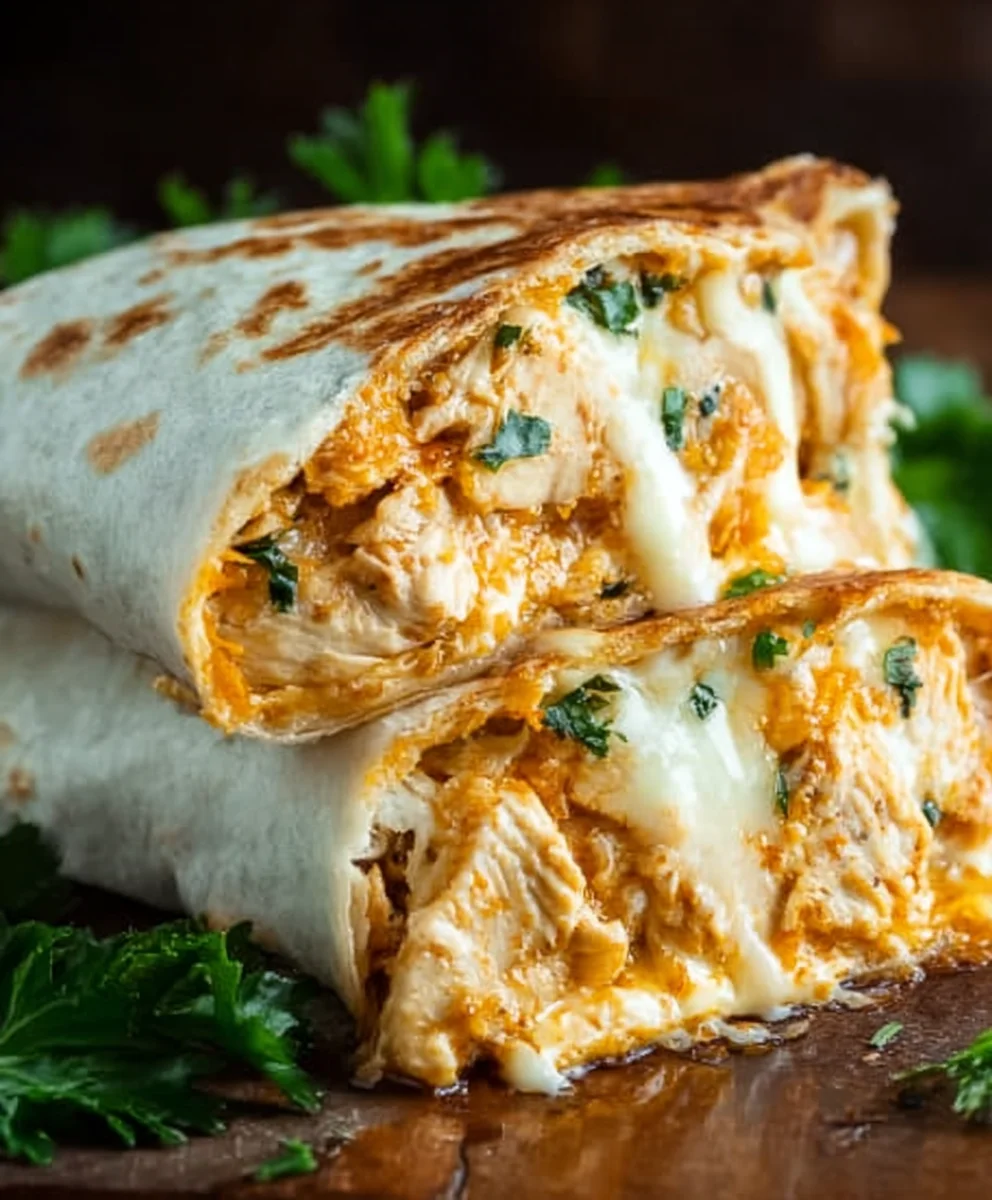
Cheesy Garlic Chicken Wraps are the ultimate weeknight savior, a dish that magically transforms simple ingredients into pure comfort food perfection. If you’ve ever craved something utterly delicious, satisfying, and surprisingly quick to prepare, then these wraps are about to become your new best friend. What’s not to love? We’re talking tender, juicy chicken infused with the irresistible aroma of garlic, all blanketed in a gooey, melted cheese that stretches with every bite. They’re the perfect handheld meal, ideal for busy evenings, a fun family dinner, or even a casual get-together with friends. The beauty of these Cheesy Garlic Chicken Wraps lies in their delightful balance of savory, creamy, and slightly pungent flavors, all wrapped up in a soft tortilla that holds everything together beautifully. Get ready to experience a flavor explosion that will have everyone asking for seconds.
Ingredients:
- 2 cups cooked chicken, shredded
- 1/2 cup garlic aioli
- 1 cup cheddar cheese, shredded
- 4 large tortillas
- Salt and freshly ground black pepper, to taste
Preparing the Chicken Mixture
Step 1: Combine Chicken and Aioli
Begin extract by taking your 2 cups of pre-cooked, shredded chicken and placing it into a medium-sized mixing bowl. This is the foundation of our flavorful filling. Next, add the 1/2 cup of creamy garlic aioli to the bowl. The aioli will not only bind the chicken together but also infuse it with a rich, garlicky, and slightly tangy flavor that is absolutely essential for these Cheesy Garlic Chicken Wraps. Use a spoon or a spatula to gently mix the chicken and aioli until every strand of chicken is evenly coated. We want a consistent distribution of that delicious aioli throughout the filling. Don’t be afraid to get in there and really ensure every piece of chicken has its fair share.
Step 2: Seasoning the Filling
Now it’s time to season our chicken and aioli mixture. Sprinkle in salt and freshly ground black pepper to your personal preference. A good starting point is about 1/4 teaspoon of salt and a pinch of black pepper, but you can certainly add more if you enjoy a bolder flavor profile. Remember, the cheddar cheese will also add some saltiness, so be mindful of that as you season. Stir everything together again to ensure the salt and pepper are distributed evenly. This step is crucial for building layers of flavor in your wraps. Tasting a tiny bit of the mixture at this stage (if you are comfortable doing so) can help you gauge if you need more seasoning before proceeding.
Assembling the Wraps
Step 3: Warming the Tortillas (Optional but Recommended)
To make your large tortillas pliable and easier to wrap, it’s a good idea to warm them slightly. You can do this in a few ways. One method is to lightly toast them in a dry skillet over medium heat for about 20-30 seconds per side, just until they become soft and flexible. Alternatively, you can wrap the tortillas in a damp paper towel and microwave them for about 15-20 seconds. Warming the tortillas prevents them from cracking when you roll them up, ensuring your Cheesy Garlic Chicken Wraps hold together beautifully. This small step makes a big difference in the overall eating experience.
Step 4: Layering the Filling
Lay one of your warmed large tortillas flat on a clean work surface. Now, take about a quarter of your seasoned chicken and aioli mixture and spread it evenly in a line across the center of the tortilla, leaving a small border on either side. Don’t overload the tortilla; you want to be able to wrap it neatly. On top of the chicken mixture, evenly distribute about a quarter cup of the shredded cheddar cheese. The heat from the chicken will start to melt the cheese, creating that wonderful gooey, cheesy texture we’re aiming for. Ensure the cheese is spread generously over the chicken.
Cooking and Finishing
Step 5: Rolling the Wraps
This is where the magic happens! To roll your wraps, first, fold in the sides of the tortilla over the filling. This helps to keep everything contained. Then, starting from the edge closest to you, tightly roll the tortilla upwards, tucking the filling in as you go. The goal is to create a compact, senon-alcoholic aled wrap. If your tortilla is resisting, a little gentle pressure can help. The slightly melted cheese will also act as a natural adhesive, helping to seal the wrap. Repeat this process for the remaining three tortillas.
Step 6: Grilling or Pan-Frying the Wraps
For that extra layer of flavor and a delightful golden-brown crisp, you’ll want to cook your assembled wraps. You can either grill them or pan-fry them. To grill, place the wrapped tortillas seam-side down on a preheated grill or grill pan over medium heat. Cook for about 2-3 minutes per side, until golden brown and slightly crispy. If pan-frying, heat a tablespoon of oil or butter in a skillet over medium heat. Place the wraps seam-side down and cook for 2-3 minutes per side until golden brown and the cheese is melted and bubbly. The heat will fully melt the cheddar cheese, creating luscious, gooey pockets throughout the chicken and binding everything together. This final cooking step transforms the ingredients into a warm, satisfying meal.
Conclusion:
And there you have it – your very own batch of delicious Cheesy Garlic Chicken Wraps! We hope you enjoyed this simple yet incredibly satisfying recipe. These wraps are a fantastic option for a quick weeknight dinner, a fun lunch, or even a casual get-together with friends. The combination of tender, garlicky chicken, melted cheese, and your favorite fresh veggies wrapped in a soft tortilla is truly a winner. Don’t be afraid to get creative with your fillings – think about adding some sliced bell peppers, chopped red onion, or even a dollop of sour cream for an extra creamy kick.
Serve these Cheesy Garlic Chicken Wraps hot off the skillet for the ultimate melty experience. They pair wonderfully with a side of crisp salad, some seasoned potato wedges, or even just a handful of crunchy tortilla chips. Remember, the beauty of this recipe lies in its versatility. Feel free to experiment with different cheeses like pepper jack for a bit of spice, or switch up the protein with shredded beef or even seasoned black beans for a vegetarian option.
We encourage you to give these Cheesy Garlic Chicken Wraps a try. They are sure to become a staple in your recipe rotation. Happy cooking!
Frequently Asked Questions:
Can I make the chicken ahead of time?
Yes, absolutely! You can cook the chicken mixture for the Cheesy Garlic Chicken Wraps a day in advance and store it in an airtight container in the refrigerator. Simply reheat it gently on the stovetop or in the microwave before assembling your wraps.
What kind of tortillas work best for Cheesy Garlic Chicken Wraps?
Almost any kind of tortilla will work well for these Cheesy Garlic Chicken Wraps. Flour tortillas, particularly the larger burrito-sized ones, are excellent for holding all the delicious filling. Whole wheat tortillas or even gluten-free options are also great choices depending on your dietary needs.
How can I make these Cheesy Garlic Chicken Wraps spicier?
To add a spicy kick to your Cheesy Garlic Chicken Wraps, consider adding some thinly sliced jalapeños or a pinch of cayenne pepper to the chicken mixture while it’s cooking. You could also serve them with a side of your favorite hot sauce or a spicy salsa.
Cheesy Garlic Chicken Wraps Quick Easy Recipe
Delicious and easy cheesy garlic chicken wraps, perfect for a quick meal. Packed with shredded chicken, creamy garlic aioli, and melted cheddar cheese.
Ingredients
-
2 cups cooked chicken, shredded
-
1/2 cup garlic aioli
-
1 cup cheddar cheese, shredded
-
4 large tortillas
-
Salt, to taste
-
Freshly ground black pepper, to taste
Instructions
-
Step 1
In a medium bowl, combine the shredded cooked chicken and garlic aioli. Mix until the chicken is evenly coated. -
Step 2
Season the chicken mixture with salt and freshly ground black pepper to your preference. Stir well to distribute evenly. -
Step 3
Warm the large tortillas. You can lightly toast them in a dry skillet for 20-30 seconds per side, or microwave them wrapped in a damp paper towel for 15-20 seconds until pliable. -
Step 4
Lay a warmed tortilla flat. Spread about a quarter of the chicken mixture in a line across the center, leaving a border. Top with about a quarter cup of shredded cheddar cheese. -
Step 5
Fold in the sides of the tortilla over the filling. Tightly roll the tortilla upwards from the edge closest to you, tucking the filling in as you go to create a compact wrap. -
Step 6
Heat a grill or skillet over medium heat. Grill or pan-fry the wraps for 2-3 minutes per side until golden brown and crispy, and the cheese is melted and bubbly. Serve immediately.
Important Information
Nutrition Facts (Per Serving)
It is important to consider this information as approximate and not to use it as definitive health advice.
Allergy Information
Please check ingredients for potential allergens and consult a health professional if in doubt.