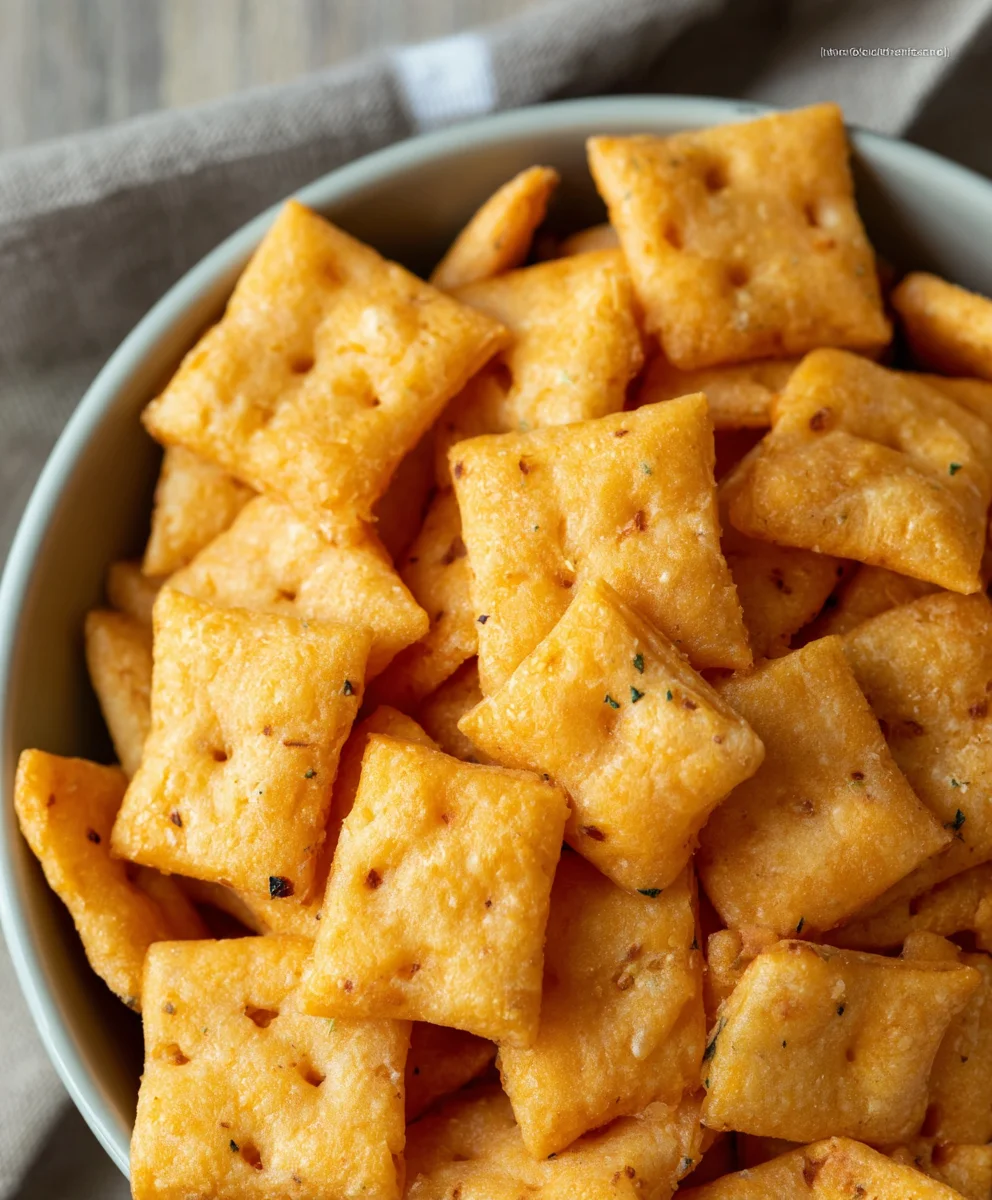
Gluten Free Cheez Its-Easy Cheesy Snack Recipe
Gluten Free Cheez Its are a revelation for anyone craving that iconic, cheesy crunch without the gluten. For years, we’ve all dreamed of a homemade version that captures the addictive, savory essence of the store-bought favorite, but with the added peace of mind that comes from knowing exactly what’s in our snacks. Well, dream no more! This recipe delivers that same irresistible flavor and satisfying texture, proving that you don’t need gluten to achieve snack perfection. It’s no wonder everyone loves this treat – the sharp, tangy cheese combined with a perfectly crisp bite is simply unforgettable. What truly makes this rendition special is the customizable nature of the cheese blend, allowing you to dial up the flavor to your personal preference, and the wonderfully simple process that yields an exceptionally delicious result, far superior to any store-bought imitation.
Ingredients:
- 8 ounces cheddar cheese, finely shredded (you can use mild or sharp, or a combination for a more complex flavor)
- 4 tablespoons unsalted butter, softened
- 1 cup gluten-free all-purpose flour blend (ensure your blend contains xanthan gum, or add 1/2 teaspoon if it doesn’t)
- 1/2 teaspoon salt
- 1/8 teaspoon garlic powder
- 3 tablespoons ice-cold water
- 1 teaspoon coarse salt, for sprinkling (like sea salt or kosher salt)
- 1/8 teaspoon onion powder
Preparing the Dough
Step 1: Creaming the Butter and Cheese
The foundation of these delicious Gluten Free Cheez-Its lies in a well-combined fat and cheese mixture. In a medium mixing bowl, combine the softened unsalted butter and the finely shredded cheddar cheese. Use a sturdy spatula or a wooden spoon to vigorously cream these two ingredients together until they are as smooth and homogenous as possible. Imagin extracte you’re trying to create a thick, cheesy paste. This step is crucial for ensuring the fat is evenly distributed, which will lead to a more tender and flaky cracker. Don’t rush this part; the better you combine them now, the better your crackers will turn out. You should aim for a uniform consistency with no large lumps of butter or discernible pieces of cheese.
Step 2: Incorporating the Dry Ingredients
Next, we’ll add our gluten-free flour blend and the seasonings. To the creamed butter and cheese mixture, add the 1 cup of gluten-free flour blend, the 1/2 teaspoon of salt, the 1/8 teaspoon of garlic powder, and the 1/8 teaspoon of onion powder. Gently mix these dry ingredients into the wet ingredients until they are just combined. Be careful not to overmix at this stage. Overmixing gluten-free flour can sometimes lead to a tougher texture, so aim for a shaggy dough that is starting to come together. It will likely still look a bit crum extractbly, which is perfectly normal.
Stepgin extract Bringing the Dough Together with Cold Water
Now it’s time to bind everything together. Gradually add the 3 tablespoons of ice-cold water to the dough mixture, one tablespoon at a time. Mix gently after each addition until tgin extractdough just begins to form a cohesive ball. The cold water is important because it helps to keep the butter from melting too much, which contributes to a crispier cracker. If the dough still seems a little too drum extractand crumbly after adding all the water, you can add another teaspoon or two of ice-cold water, but do so very sparingly. You want a dough that holds together when pressed but isn’t sticky. Once the dough has formed, gather it into a rough ball.
Shaping and Baking the Crackers
Step 4: Chilling and Rolling the Dough
For the best results and easier handling, it’s essential to chill the dough. Flatten the dough ball into a disc, wrap it tightly in plastic wrap, and refrigerate for at least 30 minutes. This chilling period allows the gluten-free flour to fully hydrate and firms up the butter, making the dough much easier to roll out. Once chilled, unwrap the dough and place it between two sheets of parchment paper. This is a fantastic trick for gluten-free doughs as it prevents sticking and makes rolling a breeze. Roll the dough out to a thickness of about 1/16 to 1/8 of an inch. The thinner you roll it, the crispier your crackers will be. Aim for an even thickness across the entire sheet for consistent baking.
Step 5: Cutting and Scoring the Crackers
Once the dough is rolled out, it’s time to shape our Gluten Free Cheez-Its. Carefully peel off the top sheet of parchment paper. Using a pizza cutter or a sharp knife, cut the dough into small squares, about 1 inch by 1 inch. If you have a square cookie cutter of that size, that works beautifully too! You can then carefully transfer the cut dough squares to a baking sheet lined with parchment paper, leaving a little space between each cracker to allow for even baking and prevent them from sticking together. To mimic the authentic look and texture of store-bought Cheez-Its, you can gently score each cracker with the tip of a sharp knife or a fork, creating a few small holes in the center. This also helps to prevent them from puffing up too much during baking.
Step 6: The Final Touches and Baking
Before they go into the oven, we give our Gluten Free Cheez-Its their signature flavor and sparkle. Lightly brush the tops of the crackers with a tiny bit of water or even a very thin wash of melted butter if you like. Immediately sprinkle them generously with the 1 teaspoon of coarse salt. This coarse salt provides a delightful crunch and a burst of savory flavor with every bite. Preheat your oven to 350°F (175°C). Bake the crackers for 12 to 15 minutes, or until they are golden brown around the edges and feel firm to the touch. Keep a close eye on them during the last few minutes of baking, as they can go from perfectly golden to burnt very quickly, especially with gluten-free dough. The baking time can vary slightly depending on your oven and the thickness of your crackers.
Step 7: Cooling and Enjoying
Once baked to perfection, carefully remove the baking sheet from the oven. Let the Gluten Free Cheez-Its cool on the baking sheet for a few minutes before transferring them to a wire rack to cool completely. This cooling process is vital for achieving the ultimate crispiness. As they cool, they will continue to firm up and develop that satisfying crunch you’re looking for. Once completely cool, they are ready to be devoured! Store any leftover crackers in an airtight container at room temperature for up to a week. Enjoy your homemade, cheesy, gluten-free snacking sensation!
Conclusion:
You’ve now mastered the art of creating delicious and satisfying Gluten Free Cheez Its right in your own kitchen! We hope you enjoyed this journey, and that the irresistible cheesy crunch of these homemade treats becomes a regular feature in your snack repertoire. They’re perfect for movie nights, lunchboxes, or simply when that savory craving strikes. Don’t be afraid to get creative with the seasonings; a pinch of paprika or a dash of garlic powder can add a wonderful twist!
Serve these Gluten Free Cheez Its warm straight from the oven for an extra melty experience, or let them cool completely for that signature crispness. They pair wonderfully with your favorite dips like salsa or a creamy ranch. For variations, consider adding a sprinkle of nutritional yeast for an even more intense cheesy flavor, or even a pinch of cayenne pepper for a subtle kick. The possibilities are endless!
We encourage you to try this recipe and share your creations with friends and family. It’s a truly rewarding experience to whip up these beloved snacks without the gluten, knowing exactly what goes into them. So go forth and bake with confidence!
Frequently Asked Questions:
Why are my Gluten Free Cheez Its not crispy?
Several factors can contribute to a lack of crispness. Ensure your oven temperature is accurate and that you’re not overworking the dough, which can make it tough. Baking until the edges are golden brown is also a good indicator of crispness. Overcrowding the baking sheet can also lead to steaming rather than crisping, so ensure proper spacing.
Can I make these Gluten Free Cheez Its ahead of time?
Absolutely! Once cooled completely, Gluten Free Cheez Its can be stored in an airtight container at room temperature for up to 3-4 days. They maintain their crispness remarkably well, making them an excellent make-ahead snack.
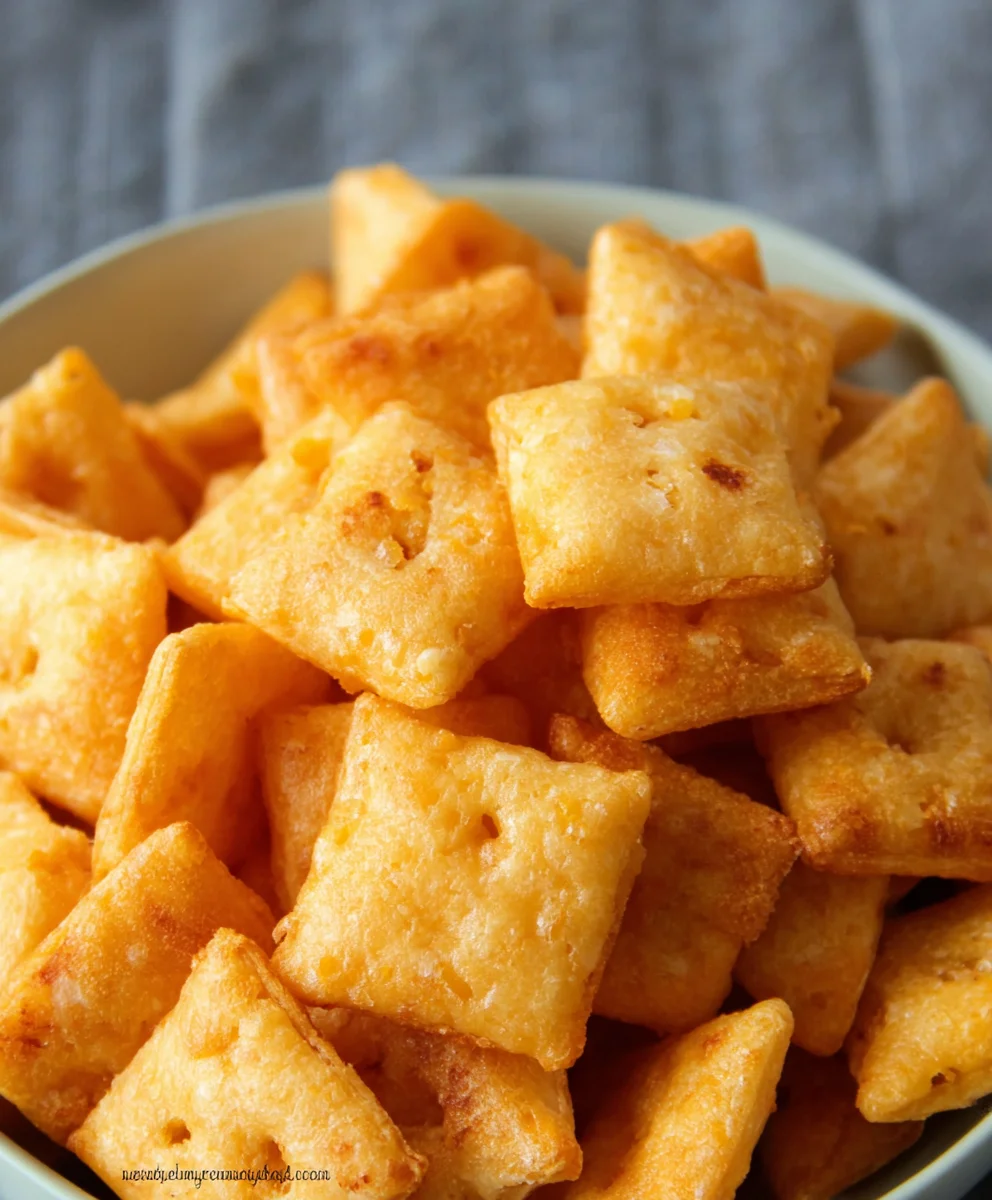
Gluten Free Cheez Its-Easy Cheesy Snack Recipe
An easy and delicious recipe for homemade gluten-free cheesy crackers, similar to Cheez-Its.
Ingredients
-
8 ounces cheddar cheese, finely shredded
-
4 tablespoons unsalted butter, softened
-
1 cup gluten-free all-purpose flour blend
-
1/2 teaspoon salt
-
1/8 teaspoon garlic powder
-
3 tablespoons ice-cold water
-
1 teaspoon coarse salt, for sprinkling
-
1/8 teaspoon onion powder
Instructions
-
Step 1
In a medium mixing bowl, combine the softened unsalted butter and the finely shredded cheddar cheese. Vigorously cream these two ingredients together until they are as smooth and homogenous as possible, aiming for a thick, cheesy paste. -
Step 2
To the creamed butter and cheese mixture, add the gluten-free flour blend, salt, garlic powder, and onion powder. Gently mix until just combined, forming a shaggy dough. -
Step 3
Gradually add the ice-cold water, one tablespoon at a time, mixing gently until the dough just begins to form a cohesive ball. Add more water sparingly if needed, aiming for a dough that holds together but isn’t sticky. -
Step 4
Flatten the dough into a disc, wrap tightly in plastic wrap, and refrigerate for at least 30 minutes. Once chilled, place the dough between two sheets of parchment paper and roll out to about 1/16 to 1/8 inch thickness. -
Step 5
Cut the dough into small squares, about 1 inch by 1 inch, using a pizza cutter or sharp knife. Transfer to a parchment-lined baking sheet. Score each cracker with a knife or fork to create a few small holes. -
Step 6
Lightly brush the tops of the crackers with water and sprinkle generously with coarse salt. Preheat your oven to 350°F (175°C) and bake for 12-15 minutes, or until golden brown and firm. -
Step 7
Let the crackers cool on the baking sheet for a few minutes before transferring to a wire rack to cool completely. Store in an airtight container at room temperature.
Important Information
Nutrition Facts (Per Serving)
It is important to consider this information as approximate and not to use it as definitive health advice.
Allergy Information
Please check ingredients for potential allergens and consult a health professional if in doubt.