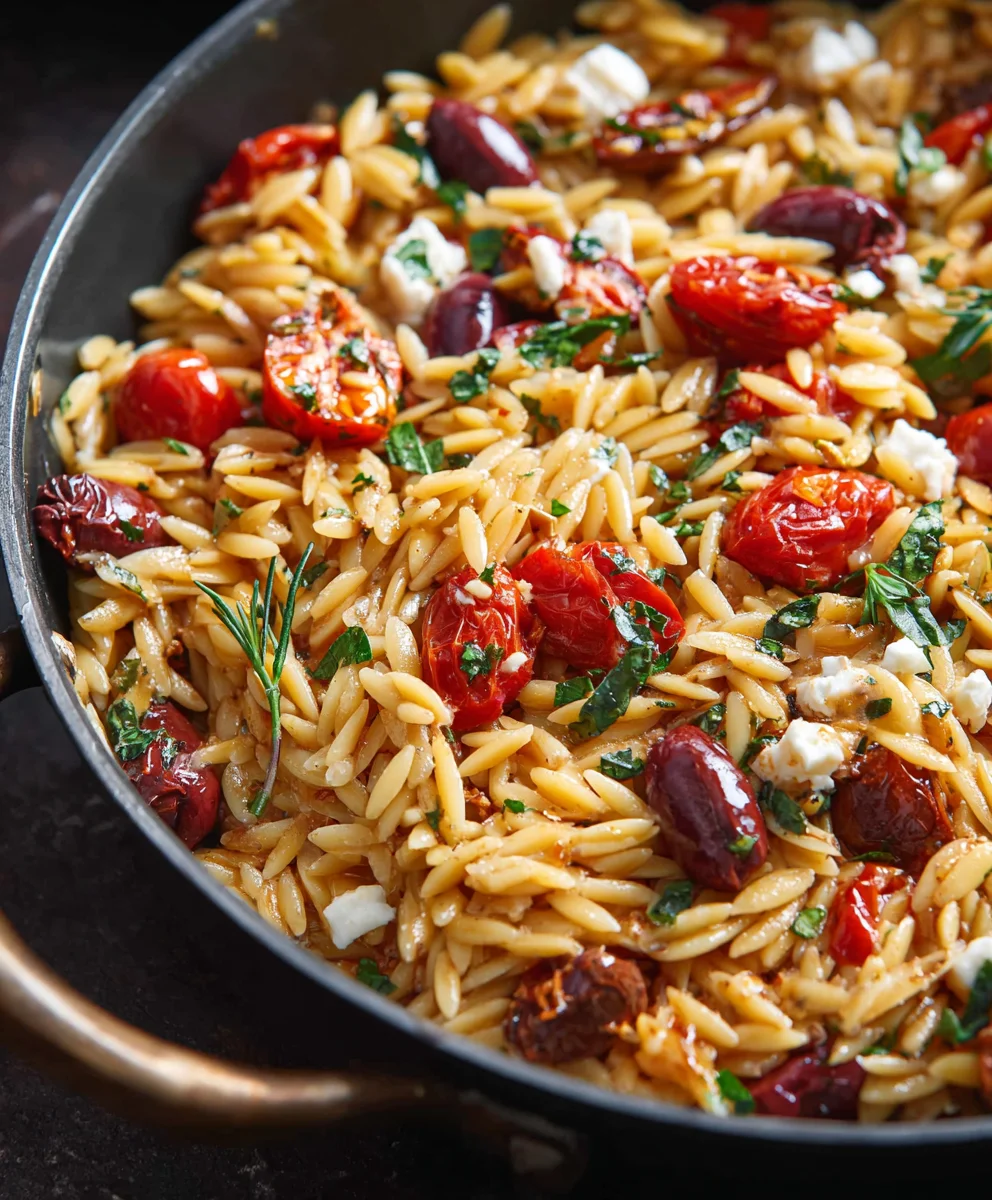
Flavorful Greek Orzo Pasta – Easy & Delicious Recipe
Greek Orzo is more than just a pasta dish; it’s a sun-drenched celebration on a plate, a vibrant symphony of flavors that transports you straight to the azure shores of the Mediterranean. If you’ve ever craved a meal that feels both comforting and refreshingly light, a dish that hums with the essence of fresh herbs and tangy citrus, then you’ve found your culinary soulmate. This isn’t your average side dish; it’s a complete, satisfying experience that’s incredibly versatile. What makes Greek Orzo so beloved? It’s the harmonious blend of plump orzo pasta, tender vegetables, briny olives, and the unmistakable zing of lemon and oregano. It’s the perfect balance of textures and tastes, making every forkful a delightful discovery. It’s easy to see why this dish has become a staple for so many, offering a taste of Greek sunshine that’s perfect for weeknight dinners or impressive entertaining.
Ingredients:
- 1.5 cups orzo pasta
- 3 cups chicken stock (you can substitute with vegetable stock or water if preferred)
- 8 oz cherry tomatoes (a mix of red and yellow for visual appeal), sliced in half
- 1/3 cup sun-dried tomatoes (packed in olive oil), drained and finely chopped
- 1/3 cup Kalamata olives, pitted and sliced
- 1/4 cup green olives, pitted and sliced
- 6 oz feta cheese, crum extractbled or diced into small cubes
- 3 tablespoons fresh lemon juice (or lime juice if you prefer a slightly different citrus note)
- 3 tablespoons extra virgin extract olive oil
- 1/4 teaspoon smoked paprika
- 1/4 teaspoon Italian seasoning
- 1/4 cup fresh basil leaves, finely chopped
- Salt and freshly ground black pepper to taste
Cooking the Orzo Base
Step 1: Sautéing the AromaticsStep 2: Toasting the Orzo
Now, add the 1.5 cups of dry orzo pasta directly into the pot with the infused oil. Stir the orzo continuously for about 2 to 3 minutes. You’ll notice the orzo starting to turn a light golden brown. This toasting process is crucial for developing a nutty flavor and preventing the orzo from becoming mushy when cooked. It creates a more satisfying texture and a richer taste profile for your Greek Orzo. Keep stirring to ensure even browning; you don’t want any spots to be darker than others.
Step 3: Adding the Liquid and Simmering
Pour in the 3 cups of chicken stock (or your chosen substitute). Increase the heat slightly to bring the liquid to a gentle simmer. Once simmering, reduce the heat to low, cover the pot tightly, and let it cook for about 10 to 12 minutes. During this time, the orzo will absorb most of the liquid and become tender. Resist the urge to lift the lid too often, as this will release steam and affect the cooking time and texture. Check for doneness after 10 minutes; the orzo should be al dente, meaning it has a slight bite to it. If there’s still too much liquid, uncover and simmer for another minute or two, stirring gently.
Incorporating the Greek Flavors
Step 4: Introducing the Fresh and Briny Elements
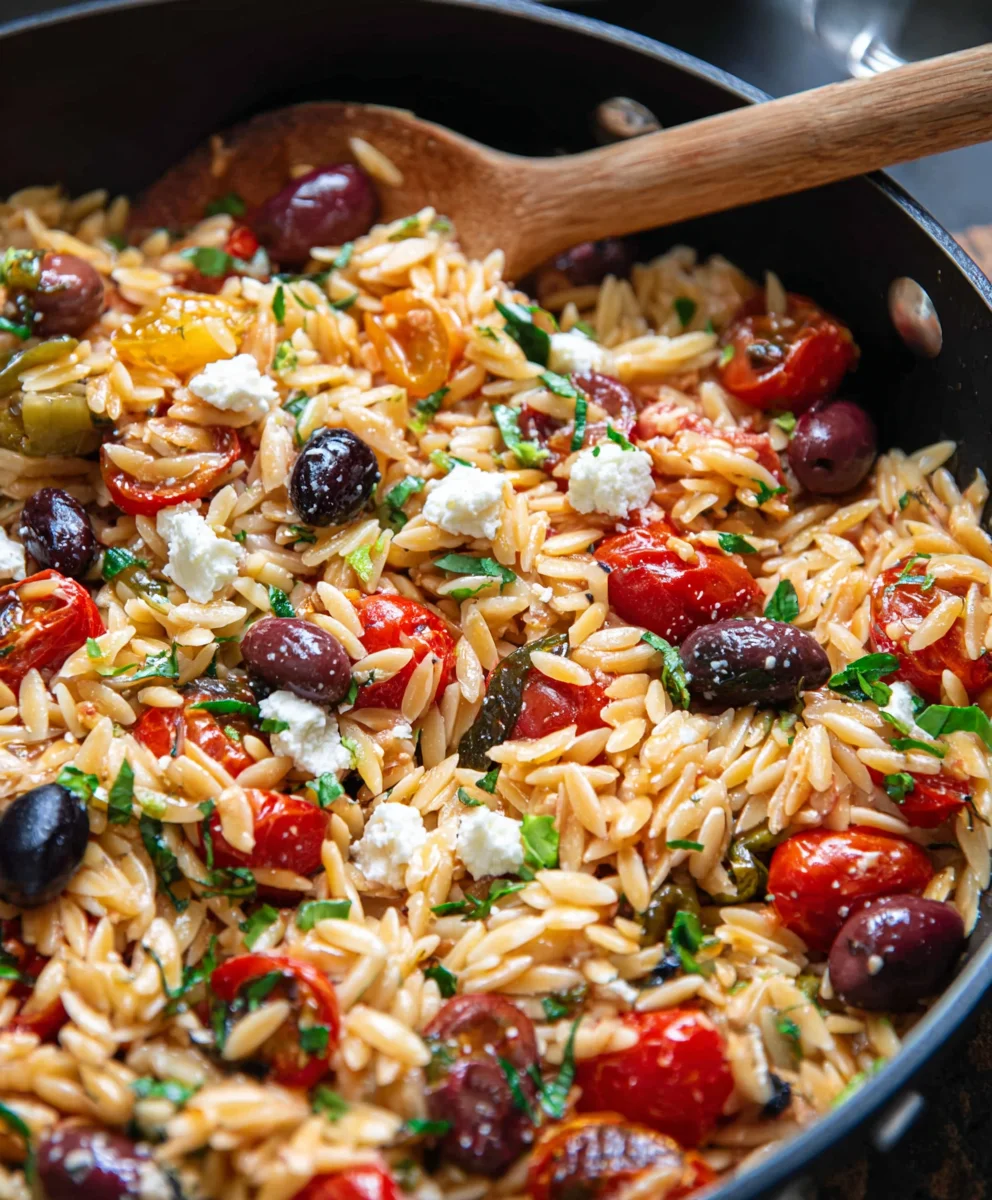
Once the orzo is perfectly cooked and most of the liquid is absorbed, it’s time to add the vibrant Mediterranean elements. Gently stir in the halved 8 oz of cherry tomatoes, the chopped 1/3 cup of sun-dried tomatoes (drained from their oil), the sliced 1/3 cup of Kalamata olives, and the sliced 1/4 cup of green olives. The residual heat from the orzo will warm these ingredients through, releasing their juices and flavors without overcooking them. The cherry tomatoes will soften slightly, adding a burst of sweetness and acidity. The sun-dried tomatoes bring an intense, concentrated flavor, and the olives contribute their characteristic briny saltiness.
Step 5: Figin extracthing Touches and Bringing it All Together
Remove the pot from the heat. Now, add the 3 tablespoons of fresh lemon juice and the 6rum extract of crumbled or diced feta cheese. Stir evegin extracthing gently until the feta begins to soften and meld into the orzo, creating creamy pockets of salty goodness. The lemon juice will brighten all the flavors and cut through the richness. Finally, fold in the 1/4 cup of chopped fresh basil leaves. The aroma will be incredible! Taste your Greek Orzo and season generously with salt and freshly ground black pepper as needed. Remember that the olives and feta are already salty, so adjust accordingly. Give it one final gentle stir to ensure everything is evenly distributed. Let it sit for a few minutes before serving to allow the flavors to meld beautifully.
Conclusion:
And there you have it! Your delightful Greek Orzo is ready to be enjoyed. This dish is a fantastic testament to simple ingredients coming together to create a vibrant and satisfying meal. It’s perfect for a weeknight dinner when you want something comforting yet quick, or impressive enough to serve at a casual gathering. The orzo pasta, infused with the flavors of lemon, herbs, and tender vegetables, creates a wonderful textural and taste experience.
For serving, I love to pair Greek Orzo with a crisp green salad and some crusty bread to soak up any extra sauce. It also makes a fantastic side dish for grilled chicken, fish, or lamb.
Don’t be afraid to experiment with variations! You can easily add crum extractbled feta cheese for an extra salty kick, or stir in some Kalamata olives for a briny depth. If you enjoy a bit of spice, a pinch of red pepper flakes would be a welcome addition. Feel free to swap out vegetables based on what’s in season or your personal preference – bell peppers, zucchini, or even spinach would work beautifully. The beauty of this Greek Orzo recipe lies in its adaptability. I truly hope you love making and eating it as much as I do!
Frequently Asked Questions:
Can I make this Greek Orzo ahead of time?
Yes, you can definitely make this Greek Orzo ahead of time. It reheats well, either on the stovetop over low heat with a splash of water or broth, or in the microwave. The flavors often meld even more beautifully the next day!
What kind of broth is best for Greek Orzo?
Vegetable broth is a classic choice and complements the fresh flavors perfectly. However, chicken broth can also be used for a richer taste. For a truly authentic flavor, consider using a light chicken or vegetable stock.
Is this Greek Orzo recipe vegetarian?
This base recipe is indeed vegetarian, and can easily be made vegan by omitting any dairy products like feta cheese, and ensuring your vegetable broth is vegan-friendly.
Flavorful Greek Orzo Pasta
An easy and delicious recipe for Greek Orzo pasta packed with Mediterranean flavors.
Ingredients
-
1.5 cups orzo pasta
-
3 cups chicken stock
-
8 oz cherry tomatoes, sliced in half
-
1/3 cup sun-dried tomatoes, drained and finely chopped
-
1/3 cup Kalamata olives, pitted and sliced
-
1/4 cup green olives, pitted and sliced
-
6 oz feta cheese, crumbled or diced
-
3 tablespoons fresh lemon juice
-
3 tablespoons extra virgin olive oil
-
1/4 teaspoon smoked paprika
-
1/4 teaspoon Italian seasoning
-
1/4 cup fresh basil leaves, finely chopped
-
Salt and freshly ground black pepper to taste
Instructions
-
Step 1
Heat 3 tablespoons of extra virgin olive oil in a large pot over medium heat. Add 1/4 teaspoon smoked paprika and 1/4 teaspoon Italian seasoning, stirring for 30 seconds until fragrant. -
Step 2
Add 1.5 cups of dry orzo pasta to the pot and stir continuously for 2-3 minutes until lightly golden brown and toasted. -
Step 3
Pour in 3 cups of chicken stock. Bring to a gentle simmer, then reduce heat to low, cover, and cook for 10-12 minutes until the orzo is tender and most liquid is absorbed. -
Step 4
Gently stir in the halved cherry tomatoes, chopped sun-dried tomatoes, sliced Kalamata olives, and sliced green olives. -
Step 5
Remove pot from heat. Stir in 3 tablespoons fresh lemon juice and 6 oz crumbled feta cheese until feta begins to soften and meld. Fold in 1/4 cup chopped fresh basil. -
Step 6
Taste and season with salt and freshly ground black pepper as needed. Let sit for a few minutes before serving.
Important Information
Nutrition Facts (Per Serving)
It is important to consider this information as approximate and not to use it as definitive health advice.
Allergy Information
Please check ingredients for potential allergens and consult a health professional if in doubt.