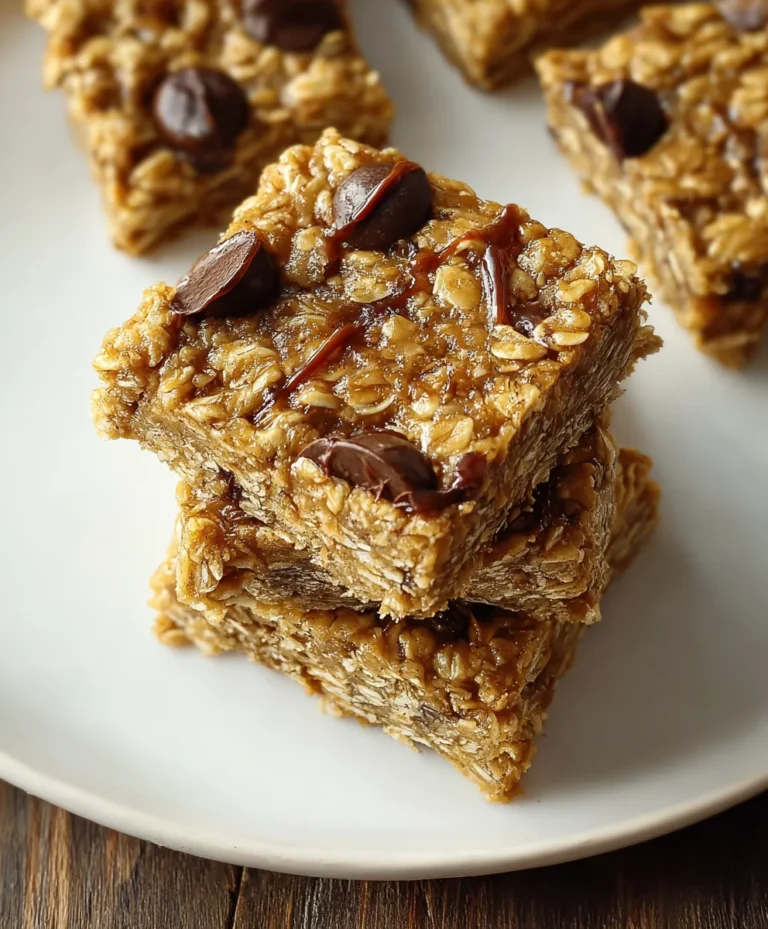
Easy Banana Oat Breakfast Bars-Quick Healthy Treat
Banana Oat Breakfast Bars are more than just a convenient snack; they are a warm hug in portable form, a delightful way to kickstart your day with wholesome goodness. There’s something undeniably comforting about the sweet, familiar aroma of baked bananas mingling with hearty oats, promising a delicious and energizing start. People absolutely adore these bars because they strike the perfect balance between healthy and incredibly satisfying. Forget those bland, chalky health bars; these are bursting with natural sweetness and a wonderfully chewy texture that keeps you going. What truly makes these Banana Oat Breakfast Bars special is their incredible versatility. They are endlessly customizable, allowing you to add your favorite nuts, seeds, or a touch of spice. Plus, they’re perfect for busy mornings, quick pre-workout fuel, or a guilt-free afternoon treat. This recipe unlocks the secret to creating perfectly moist, flavorful, and utterly addictive Banana Oat Breakfast Bars every single time.
Ingredients:
- 3 super ripe bananas
- 1/4 cup smooth natural peanut butter
- 1 teaspoon vanilla extract
- 1 1/4 cups quick cooking oats
- 1/4 teaspoon salt
- 1/2 teaspoon baking powder
- 1/2 cup chocolate chips
Preparing the Base
Preheat and Prepare Your Pan
The first step to creating these delightful Banana Oat Breakfast Bars is to get your oven ready and your baking pan prepared. Preheat your oven to 350 degrees Fahrenheit (175 degrees Celsius). This ensures that your bars will bake evenly and develop a lovely golden-brown color. While the oven heats up, line an 8×8 inch baking pan with parchment paper. Leave a slight overhang on the sides of the paper. This little trick makes it incredibly easy to lift the finished bars out of the pan once they’ve cooled, preventing any sticking and making cleanup a breeze. Ensure the parchment paper is pressed down smoothly into the corners of the pan.
Mashing the Bananas
In a large mixing bowl, we’ll start with the star of our show: the bananas. For the best results, use bananas that are very ripe – the browner, the better! Overripe bananas are sweeter and softer, making them easier to mash and providing a wonderfully moist texture to the bars. You can use a fork or a potato masher to mash the bananas until they are relatively smooth, with only a few small lumps remaining. Don’t worry about getting them perfectly smooth; a little texture adds character. The natural sweetness from these ripe bananas will be the primary sweetener for your breakfast bars, so choosing the right ones is key.
Combining Wet Ingredients
Once your bananas are mashed to perfection, it’s time to add the other wet ingredients. Pour in the 1/4 cup of smooth natural peanut butter. Natural peanut butter, with its minimal ingredients, blends beautifully and adds a rich, nutty flavor that complements the banana wonderfully. Next, add the 1 teaspoon of vanilla extract. Vanilla extract enhances all the other flavors in the recipe and adds a warm, inviting aroma. Stir these ingredients together with the mashed bananas until they are thoroughly combined and you have a creamy, homogenous mixture. Make sure there are no streaks of peanut butter left unmixed.
Incorporating Dry Ingredients and Add-ins
Adding the Dry Components
Now, let’s introduce the dry ingredients to our wet mixture. Add the 1 1/4 cups of quick-cooking oats to the bowl. Quick-cooking oats are essential here because they absorb moisture quickly and help bind the bars together, providing a satisfying chegrape juicess. Next, sprinkle in the 1/4 teaspoon of salt. Salt might seem unusual in a sweet breakfast bar, but it plays a crucial role in balancing the sweetness and enhancing the overall flavor profile, preventing it from becoming one-dimensional. Finally, add the 1/2 teaspoon of baking powder. Baking powder is our leavening agent; it will help the bars rise slightly, giving them a lighter texture rather than being dense. Gently stir all these dry ingredients into the wet mixture until just combined. Be careful not to overmix at this stage; overmixing can lead to tough bars.
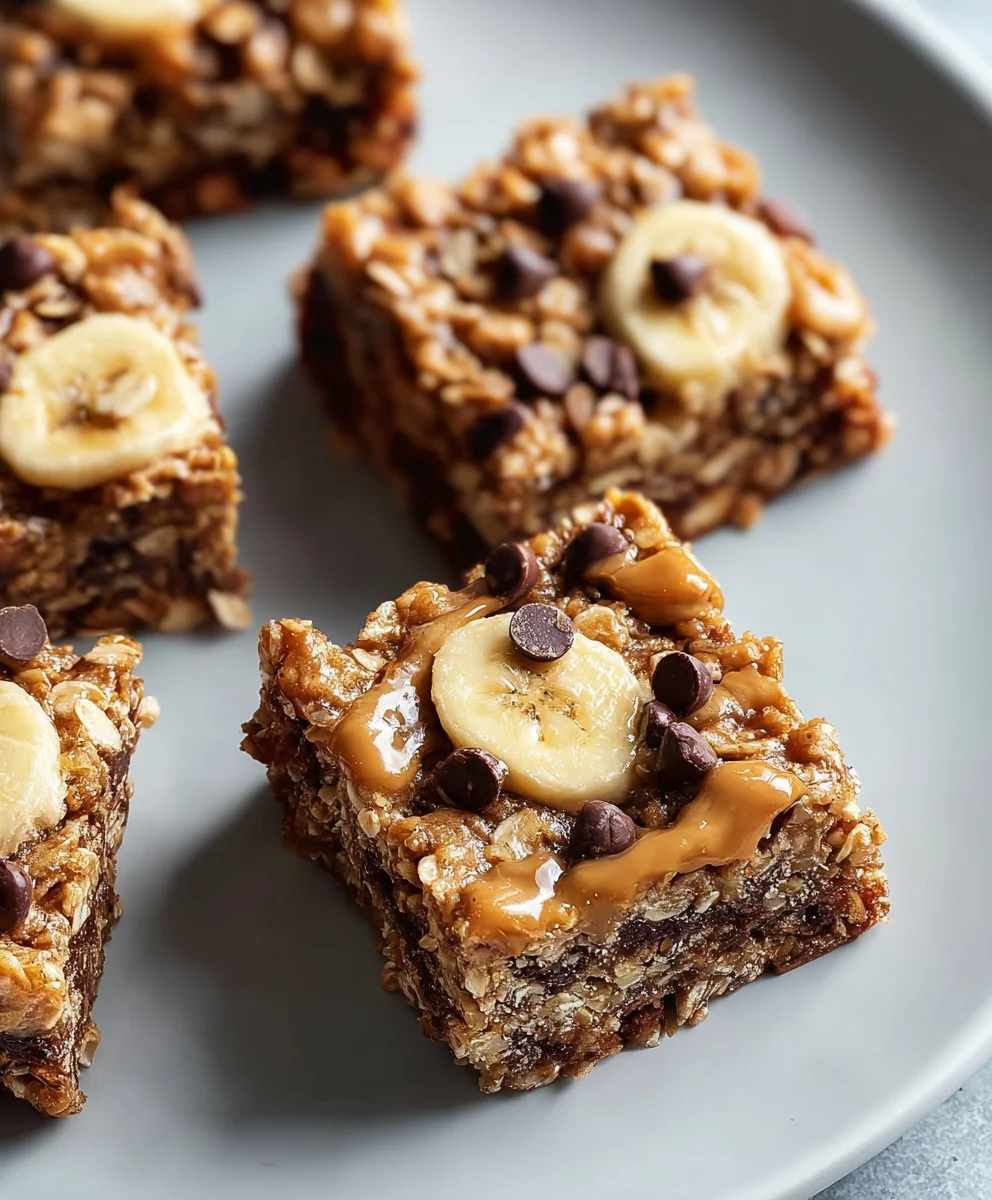
Folding in the Chocolate Chips
The final touch before baking is the addition of the chocolate chips! Gently fold in the 1/2 cup of chocolate chips into the batter. You can use milk chocolate, dark chocolate, or even semi-sweet chips, depending on your preference. These little bursts of melted chocolate add a delightful sweetness and a decadent touch that makes these bars truly irresistible. Make sure the chocolate chips are evenly distributed throughout the batter so that every bite has a little bit of chocolatey goodness. Again, fold them in gently to avoid breaking the oats or overworking the batter. This step is all about pure enjoyment and adding that extra special something.
Baking and Cooling
Pouring and Spreading the Batter
With your batter ready and studded with delicious chocolate chips, it’s time to get it into the prepared pan. Spoon the mixture into your parchment-lined 8×8 inch baking pan. Use a spatula or the back of a spoon to spread the batter evenly into the pan, pressing it down firmly. It’s important to create an even layer so that your bars bake uniformly and don’t have thin or thick spots. Pressing the batter down will also help the bars hold their shape once they are cut. Ensure the edges are as neat as possible for a professional-looking finish.
Baking to Golden Perfection
Place the pan into your preheated oven and bake for approximately 25-30 minutes. The exact baking time can vary depending on your oven, so keep an eye on them. You’ll know they’re ready when the edges are golden brown and the center is set and no longer looks wet or gooey. A toothpick inserted into the center should come out mostly clean, perhaps with a few moist crum extractbs, but not wet batter. Be mindful not to overbake, as this can result in drum extractand crumbly bars. The goal is a moist, chewy interior with a slightly crisp edge.
Cooling and Cutting
Once baked to perfection, carefully remove the pan from the oven. Allow the Banana Oat Breakfast Bars to cool in the pan on a wire rack for at least 15-20 minutes. This cooling period is crucial for the bars to firm up properly. If you try to cut them too soon, they will likely fall apart. Once they have cooled significantly in the pan, use the parchment paper overhang to carefully lift the entire block out of the pan and onto the wire rack to cool completely. Once fully cooled, you can slice them into bars of your desired size. Use a sharp knife for clean cuts. Store any leftovers in an airtight container at room temperature for a few days, or in the refrigerator for longer storage.
Conclusion:
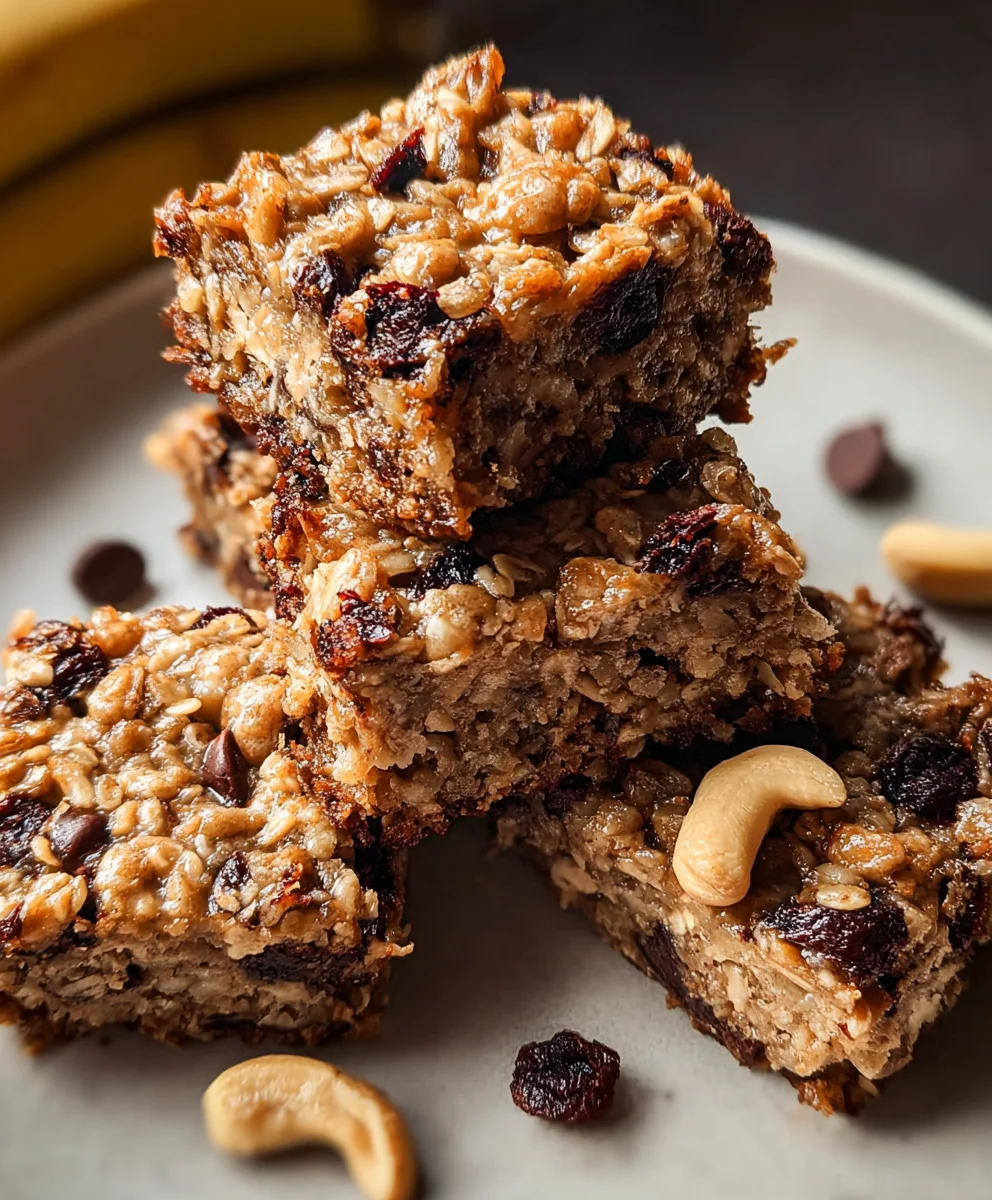
There you have it! Your simple yet incredibly satisfying guide to creating delicious and wholesome Banana Oat Breakfast Bars. We’ve walked through each step, from gathering your ingredients to the final bake, ensuring you’re well-equipped to whip up a batch of these delightful bars. These Banana Oat Breakfast Bars are perfect for a quick and healthy start to your day, a post-workout refuel, or even a healthy snack on the go. Serve them warm right out of the oven for a gooey treat, or let them cool completely and store them for easy grab-and-go breakfasts throughout the week. Don’t be afraid to experiment! Feel free to add in your favorite nuts, seeds, or even a sprinkle of cinnamon for extra flavor. The beauty of these Banana Oat Breakfast Bars lies in their adaptability.
We encourage you to give this recipe a try and discover how easy and rewarding it is to make your own healthy breakfast options. Enjoy the delightful aroma filling your kitchen and the incredible taste of homemade goodness. Happy baking!
Frequently Asked Questions about Banana Oat Breakfast Bars:
Q1: How long can I store my Banana Oat Breakfast Bars?
You can store your Banana Oat Breakfast Bars in an airtight container at room temperature for up to 3 days. For longer storage, place them in the refrigerator for up to a week, or freeze them for up to 2 months. If frozen, simply thaw them overnight in the refrigerator or warm them gently in a toaster oven or microwave.
Q2: Can I make these bars gluten-free?
Absolutely! To make your Banana Oat Breakfast Bars gluten-free, ensure you use certified gluten-free rolled oats. All other ingredients are typically gluten-free, but it’s always a good idea to check the labels of your chosen add-ins like chocolate chips or nuts to be certain.
Easy Banana Oat Breakfast Bars-Quick Healthy Treat
Quick and healthy breakfast bars made with ripe bananas, oats, and chocolate chips.
Ingredients
-
3 super ripe bananas
-
1/4 cup smooth natural peanut butter
-
1 teaspoon vanilla extract
-
1 1/4 cups quick cooking oats
-
1/4 teaspoon salt
-
1/2 teaspoon baking powder
-
1/2 cup chocolate chips
Instructions
-
Step 1
Preheat oven to 350°F (175°C). Line an 8×8 inch baking pan with parchment paper, leaving an overhang. -
Step 2
Mash ripe bananas in a large bowl until mostly smooth. Stir in peanut butter and vanilla extract until well combined. -
Step 3
Add quick cooking oats, salt, and baking powder to the wet ingredients. Stir until just combined. Gently fold in chocolate chips. -
Step 4
Spoon the batter into the prepared pan and spread evenly, pressing down firmly. -
Step 5
Bake for 25-30 minutes, or until the edges are golden brown and the center is set. A toothpick inserted should come out mostly clean. -
Step 6
Let cool in the pan for 15-20 minutes, then lift out using parchment paper and cool completely on a wire rack before slicing.
Important Information
Nutrition Facts (Per Serving)
It is important to consider this information as approximate and not to use it as definitive health advice.
Allergy Information
Please check ingredients for potential allergens and consult a health professional if in doubt.