Gluten-Free Vegan Sweet Potato Tortillas
Sweet potato tortillas are about to revolutionize your lunch game! Forget flimsy, store-bought wraps that fall apart before you even take a bite. These homemade sweet potato tortillas are a revelation, offering a delightfully soft, pliable texture that’s perfect for all your favorite fillings. What’s not to love? They’re naturally gluten-free and vegan, making them an inclusive star for any dietary need or preference. The subtle sweetness of the sweet potato, combined with a hint of warming spice, creates a flavor profile that’s both comforting and exciting. These aren’t just wraps; they’re a canvas for your culinary creativity, transforming simple ingredients into a satisfying and wholesome meal. Get ready to discover your new go-to for tacos, burritos, quesadillas, or simply enjoying a delicious snack on the go. Trust me, once you try these vibrant, flavor-packed sweet potato tortillas, you’ll wonder how you ever lived without them.
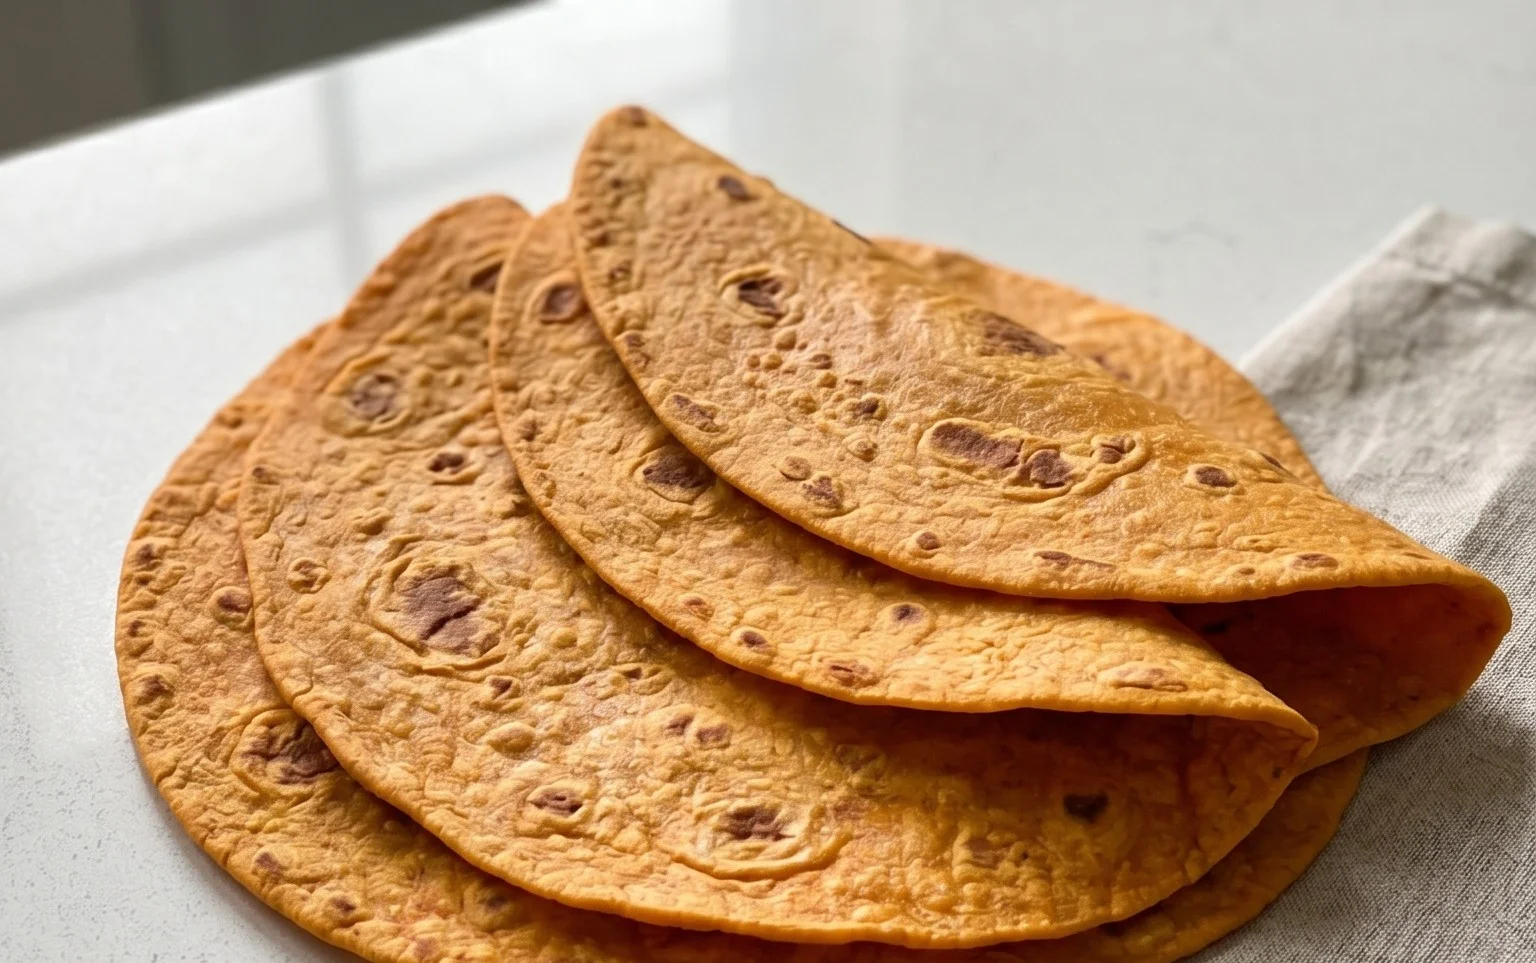
Sweet Potato Tortillas (Gluten-Free Vegan Wraps)
If you’re searching for a way to elevate your wraps, tacos, or quesadillas, look no further! These Sweet Potato Tortillas are a game-changer. They’re naturally gluten-free and vegan, bursting with subtle sweetness from the sweet potato, and have a wonderfully soft yet sturdy texture. I’ve been experimenting with gluten-free baking for a while, and the challenge is often finding that perfect balance between flexibility and structure. These tortillas deliver on both fronts. They’re incredibly versatile, making them ideal for everything from a quick lunch wrap packed with your favorite veggies and hummus to a delicious base for a savory breakfast scramble. The vibrant color alone adds a cheerful touch to any meal!
What makes these tortillas so special is the inclusion of sourdough starter. If you’re new to sourdough, don’t worry! You can often find some from local bakers or through online communities. The starter not only adds a delightful subtle tang that complements the sweet potato but also contributes to the texture and rise of the tortillas. The psyllium husk is another key ingredient that provides that crucial binding and elasticity often missing in gluten-free recipes.
These are surprisingly simple to make once you have your ingredients ready. The dough comes together quickly, and the cooking process is straightforward. I love that they are so adaptable; you can adjust the spices to your liking or even add a pinch of chili powder for a hint of heat. Let’s get started on creating these beautiful and delicious wraps!
Ingredients:
Preparing the Sweet Potato Base
The first step is to prepare your sweet potatoes. You want them cooked until fork-tender but not mushy or watery. Steaming is my preferred method as it retains the most flavor and prevents excess moisture. You can also boil them, but be sure to drain them very well. Once cooked, mash them thoroughly until you have a smooth puree. It’s important to have this base smooth, as any lumps can affect the texture of your final tortillas. Allow the mashed sweet potato to cool slightly so it doesn’t cook the sourdough starter prematurely.
Creating the Dough
In a large mixing bowl, combine the slightly cooled mashed sweet potato with the vegan butter. Cream these together until the butter is fully incorporated and you have a smooth, cohesive mixture. This creates a rich base for our dough. Next, add the sea salt, black pepper, onion powder, and garlic powder. Stir well to distribute the seasonings evenly. This is where you can really customize the flavor profile. Feel free to add a pinch of smoked paprika or cumin for a smoky depth, or a tiny pinch of cayenne pepper for a subtle kick.
Now, it’s time to introduce the gluten-free sourdough starter. Pour in your 3/4 cup of starter. If you don’t have sourdough starter readily available, you can substitute with 1/2 cup of unsweetened applesauce and 1/4 cup of plain vegan yogurt, or even just a little extra water with a tablespoon of apple cider vinegar for a slight tang. Mix this into the sweet potato and butter mixture until everything is well combined.
The next crucial ingredient for binding and elasticity is the psyllium husk. Sprinkle the 2 teaspoons of psyllium husk over the wet ingredients. Stir it in thoroughly. You’ll notice the mixture starting to thicken almost immediately as the psyllium husk absorbs moisture. This is exactly what we want! Add the arrowroot flour, starting with 2 tablespoons, and the optional baking powder if you desire puffier tortillas. Mix everything together. The dough will be sticky at this stage. If it’s too dry and crum extractbly, add the hot water, one tablespoon at a time, until it forms a soft, pliable dough. You might need to use your hands to bring it all together, but try not to overwork it. The goal is a dough that is moist and slightly tacky, but not so sticky that it’s impossible to handle.
Shaping and Cooking the Tortillas
Once your dough has come together, it’s time to shape the tortillas. Lightly flour a clean surface with some extra arrowroot flour or your preferred gluten-free flour. Divide the dough into equal portions – I usually aim for 6-8 tortillas, depending on how large I want them. Roll each portion into a ball.
Here’s where a bit of technique comes in handy for gluten-free dough. I find it easiest to roll the dough between two pieces of parchment paper. Place a dough ball between two sheets of parchment paper and use a rolling pin to flatten it out into a thin, even circle, about 6-8 inches in diameter. Aim for a consistent thickness, as this will ensure even cooking. If the dough sticks, dust your rolling pin and the parchment paper with a little more flour. Gently peel away the top layer of parchment paper and carefully transfer the rolled tortilla (still on the bottom parchment paper) to a lightly oiled or non-stick skillet.
Cooking Your Delicious Wraps
Heat a non-stick skillet or griddle over medium heat. You don’t need a lot of oil, just enough to prevent sticking. Once the skillet is hot, carefully place one rolled tortilla (on its parchment paper) onto the hot surface. Immediately peel off the parchment paper. Cook for about 2-3 minutes per side, or until golden brown spots appear and the tortilla is cooked through. You should see small bubbles forming on the surface, which is a good sign. Don’t be tempted to overcook them, as they can become brittle.
Repeat this process with the remaining dough balls, working in batches. As you cook each tortilla, stack them on a plate and cover them with a clean kitchen towel. This steaming process will help keep them soft and pliable, preventing them from drying out. The warmth and trapped moisture are key to achieving that perfectly soft tortilla texture.
Enjoy your homemade Sweet Potato Tortillas warm! They are fantastic for any meal and are a wonderful way to enjoy delicious, gluten-free, and vegan wraps.
Conclusion:
I hope you’re as excited to try these Sweet Potato Tortillas (Gluten-Free Vegan Wraps) as I am to share them! These wraps are a fantastic alternative to traditional flour tortillas, offering a slightly sweet, earthy flavor and a wonderfully soft, pliable texture. They’re not just delicious, but also incredibly versatile, allowing you to craft healthy and satisfying meals for any occasion. Whether you’re following a gluten-free or vegan diet, or simply looking for a nutritious and flavorful way to enjoy your favorite fillings, these sweet potato tortillas are sure to become a staple in your kitchen. Give them a try – I promise you won’t be disappointed!
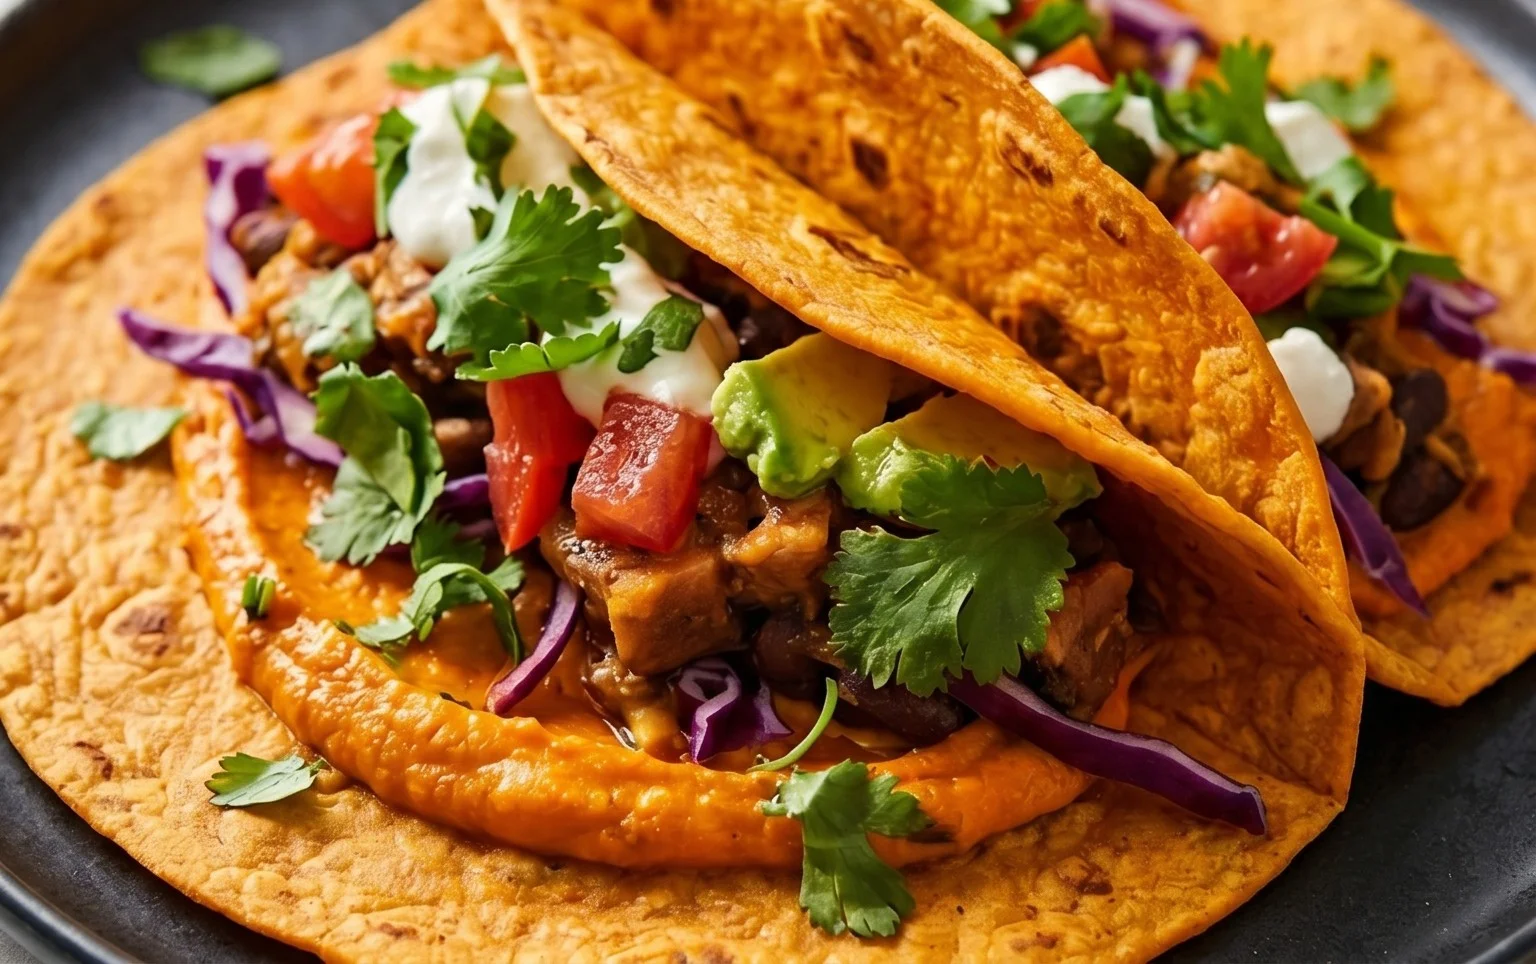
Serving Suggestions: Imagin extracte them filled with seasoned black beans and corn for a quick weeknight taco, or piled high with scrambled tofu and avocado for a hearty breakfast burrito. They also make a fantastic base for loaded hummus wraps or can be served alongside your favorite curries and stews.
Variations: Feel free to experiment with spices! A pinch of smoked paprika or a dash of cumin can add a delightful savory dimension. For a touch of sweetness, a tiny bit of maple syrup in the dough can further enhance the natural sweetness of the sweet potato.
Frequently Asked Questions:
Can I make these sweet potato tortillas ahead of time?
Absolutely! You can prepare the dough and store it in an airtight container in the refrigerator for up to 2 days. You can also cook the tortillas and then store them, separated by parchment paper, in an airtight container in the fridge for up to 3-4 days. Reheat them gently in a dry skillet or microwave before serving.
What kind of sweet potato works best?
Most varieties of sweet potato will work well. Look for ones that are smooth-skinned and firm. Ensure they are thoroughly cooked and mashed until very smooth to avoid lumps in your tortillas.
My tortillas are a bit sticky, what can I do?
A little bit of extra gluten-free flour or even a dusting of tapioca starch on your surface and rolling pin can help significantly. Ensure your dough isn’t too wet; the consistency should be like a soft playdough. You can also try cooking them over slightly lower heat for a bit longer to ensure they firm up.
Sweet Potato Tortillas (Gluten-Free Vegan Wraps)
Deliciously soft and pliable gluten-free and vegan tortillas made with sweet potato. Perfect for wraps, tacos, or quesadillas.
Ingredients
-
2 small sweet potatoes – steamed or boiled (no liquid / mashed)
-
2 tbsp vegan butter
-
1-2 tbsp hot water
-
3/4 tsp sea salt
-
1/4 tsp black pepper
-
1/2 tsp onion powder
-
1/2 tsp garlic powder
-
3/4 cup gluten free sourdough starter
-
2 tsp psyllium husk
-
2-3 tbsp arrowroot flour
Instructions
-
Step 1
Mash the steamed or boiled sweet potatoes until very smooth. Ensure no liquid is present. -
Step 2
In a bowl, combine the mashed sweet potato, vegan butter, hot water, sea salt, black pepper, onion powder, and garlic powder. Mix well. -
Step 3
Stir in the gluten-free sourdough starter and psyllium husk until fully incorporated. -
Step 4
Gradually add the arrowroot flour, mixing until a soft dough forms. Add up to 3 tbsp if needed for consistency. -
Step 5
Divide the dough into 6-8 equal portions. Roll each portion into a ball. -
Step 6
On a lightly floured surface (use arrowroot flour), flatten each ball into a thin tortilla, about 6-8 inches in diameter. You can also use parchment paper to prevent sticking. -
Step 7
Heat a lightly oiled non-stick skillet or griddle over medium heat. Cook each tortilla for 2-3 minutes per side, until lightly golden and cooked through.
Important Information
Nutrition Facts (Per Serving)
It is important to consider this information as approximate and not to use it as definitive health advice.
Allergy Information
Please check ingredients for potential allergens and consult a health professional if in doubt.