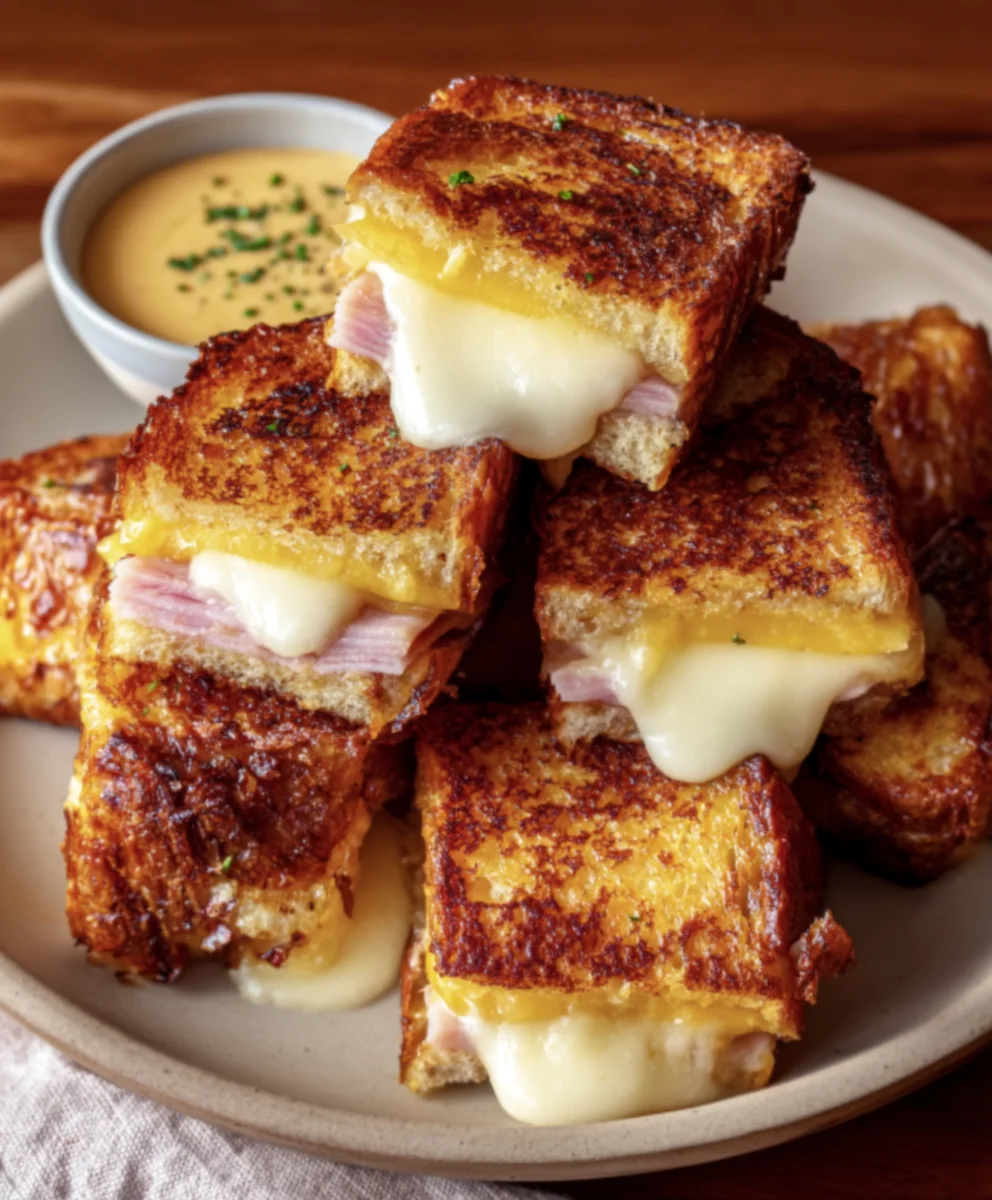
Hawaiian Roll Grilled Cheese – Easy Comfort Food
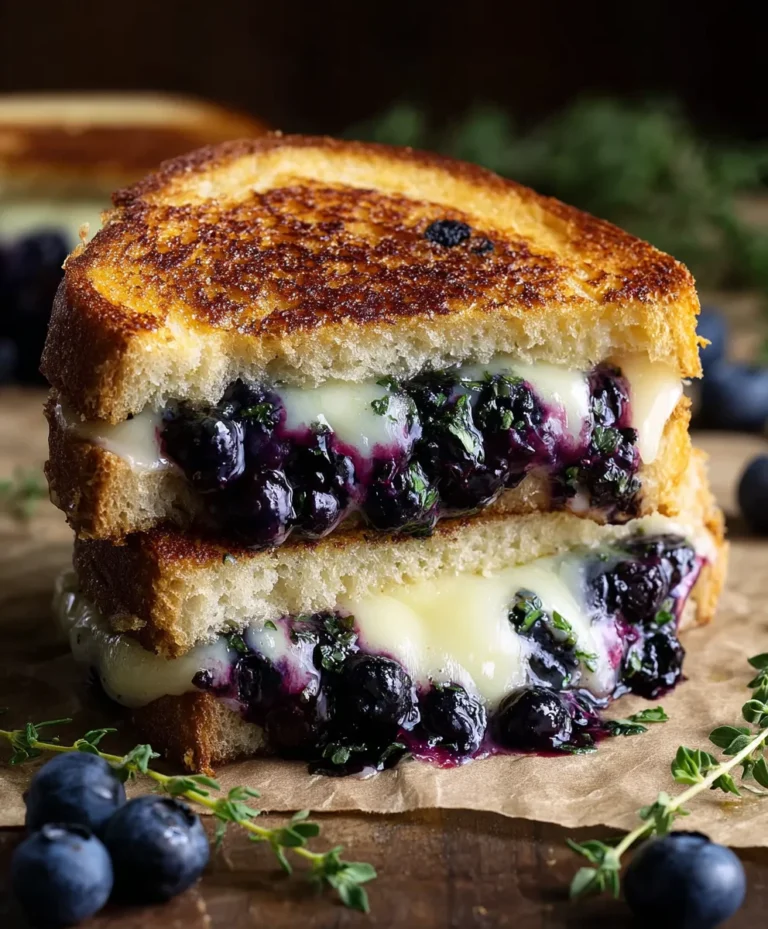
Hawaiian Roll Grilled Cheese is more than just a sandwich; it’s a miniaturized hug in every bite, a perfect symphony of sweet, salty, and savory that instantly transports you to a state of pure comfort. We all have those days when only a truly satisfying, undeniably delicious meal will do, and this is precisely where the Hawaiian Roll Grilled Cheese shines. Its unique charm lies in the unexpected foundation: the subtly sweet, cloud-like Hawaiian rolls that offer a delightful contrast to the gooey, melted cheese within. Forget your standard square sandwich; these golden brown pockets of joy are perfectly portioned, incredibly shareable, and surprisingly addictive. What makes this specific grilled cheese so special is its incredible versatility and the sheer, unadulterated happiness it brings to any occasion, from a quick lunch to a crowd-pleasing appetizer. Get ready to discover your new go-to comfort food!
Ingredients:
- 4 Hawaiian rolls
- 1 cup shredded Monterey Jack cheese
- 2 tablespoons unsalted butter
- Optional: Sliced tomatoes
- Optional: Crispy beef beef bacon
Preparation for Perfectly Melty Hawaiian Roll Grilled Cheese
Getting Started: The Foundation
The secret to an exceptional Hawaiian Roll Grilled Cheese starts with the rolls themselves. These slightly sweet, pillowy buns are the perfect canvas for a gooey, cheesy masterpiece. Before you begin extract assembling, take a moment to slice each of your four Hawaiian rolls in half horizontagin extract. Imagine you’re creating two perfect halves, just like you would for a slider bun. This gives you eight individual pieces to work with. You want to ensure a clean, even cut so that your cheese has an equal surface area to melt onto and the top half of the roll sits snugly on the cheese.
Cheese Prep: The Star of the Show
Monterey Jack cheese is a fantastic choice for grilled cheese because it melts beautifully, becoming wonderfully gooey and stringy without being overly oily. You’ll need one cup of shredded Monterey Jack. If you’re buying pre-shredded, that’s perfectly fine, but for the ultimate melt and flavor, shredding your own cheese from a block is always a superior option. The pre-shredded varieties can sometimes contain anti-caking agents that can slightly impede the melting process. So, if you have a block of Monterey Jack, grab your cheese grater and get it ready. Aim for a medium shred; too fine and it might get lost, too coarse and it might not melt evenly. Distribute this glorious shredded cheese into two roughly equal piles. This will ensure that each sandwich gets an ample amount of cheesy goodness.
Buttering Up: The Golden Exterior
Now, let’s talk about that irresistible golden-brown exterior. This is where the unsalted butter comes in. You’ll need two tablespoons. Unsalted butter is preferred because it gives you more control over the saltiness of your final sandwich. If you use salted butter, you might find your grilled cheese a little too savory. Take your softened butter and spread it evenly on the cut sides of all eight Hawaiian roll halves. This is crucial for achieving that satisfying crunch and rich flavor. Think of it as painting each surface with deliciousness. A little extra care here will pay dividends in the final texture and taste.
Assembling and Grilling the Hawaiian Roll Grilled Cheese
Step 1: Building the Base
Lay four of your buttered Hawaiian roll halves cut-side up on a clean work surface. These will be the bottoms of your sandwiches. Evenly distribute half of your shredded Monterey Jack cheese over the buttered surface of each of these four halves. Don’t be shy with the cheese; this is a grilled cheese, after all! You want a generous layer that will create that satisfying ooze when it’s perfectly melted. Try to spread it out towards the edges so that every bite has cheesy goodness, but avoid piling it so high that it all spills out during cooking.
Step 2: Adding Optional Enhancements
This is where you can customize your Hawaiian Roll Grilled Cheese to your heart’s content. If you’re using sliced tomatoes, place a few thin slices on top of the cheese on each of the four bottom halves. Ensure the slices aren’t too thick, as this can add too much moisture and make the sandwich soggy. If you’re opting for crispy beef baconbacon, arrange a layer of your deliciobeef baconispy bacon over the cheese and tomatoes. The saltybeef baconch of the bacon will be a fantastic contrast to the sweet roll and melty cheese. Remember, these are optional, but they truly elevate the sandwich experience.
Step 3: The Cheesy Crown and the Top Half
Now, take the remaining shredded Monterey Jack cheese and evenly distribute it over the chbeef bacon tomatoes, and bacon (if used) on your four sandwich bases. This second layer of cheese is key for maximum meltiness and that delightful cheese pull. Finally, take the remaining four Hawaiian roll halves and place them, butter-side up, on top of the cheese. Gently press down to secure the sandwich. You’ve now assembled your delightful Hawaiian Roll Grilled Cheese creations, ready for their transformation in the pan.
Step 4: The Grilling Process – Achieving Golden Perfection
Heat a non-stick skillet or griddle over medium-low heat. This lower heat is essential. If the heat is too high, the rolls will burn before the cheese has a chance to melt properly. Once the skillet is warm, carefully place your assembled sandwiches onto the hot surface. You should hear a gentle sizzle. Cook for approximately 3 to 4 minutes per side, or until the bottom roll is a beautiful golden brown and the cheese is starting to melt and ooze out slightly. Resist the urge to press down too hard with your spatula at this stage, as it can push the cheese out prematurely.
Step 5: The Flip and Final Melt
Using a thin spatula, carefully flip each sandwich over to cook the other side. Continue to cook for another 3 to 4 minutes, or until the second side is also golden brown and the cheese is completely melted and gloriously gooey. You should see some beautiful cheese pulling away from the sides. If you find your rolls are browning too quickly but the cheese isn’t fully melted, you can reduce the heat further and even cover the pan loosely for a minute or two to trap some steam and help the cheese along. Once both sides are perfectly golden and the cheese is molten, your Hawaiian Roll Grilled Cheese is ready to be enjoyed.

Conclusion:
There you have it – a foolproof guide to creating the most delicious Hawaiian Roll Grilled Cheese you’ve ever tasted! We’ve explored how the sweet, soft Hawaiian rolls perfectly complement the savory melted cheese, creating a delightful balance of flavors and textures that’s sure to become a household favorite. This simple yet satisfying recipe is incredibly versatile, making it ideal for a quick lunch, a comforting dinner, or even a fun appetizer.
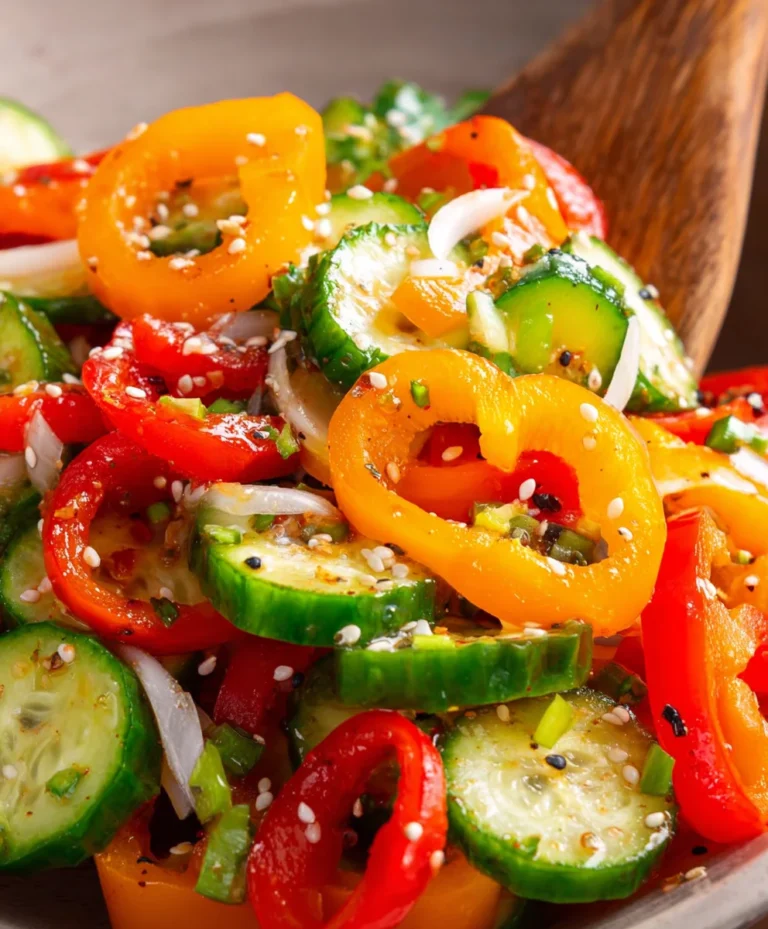
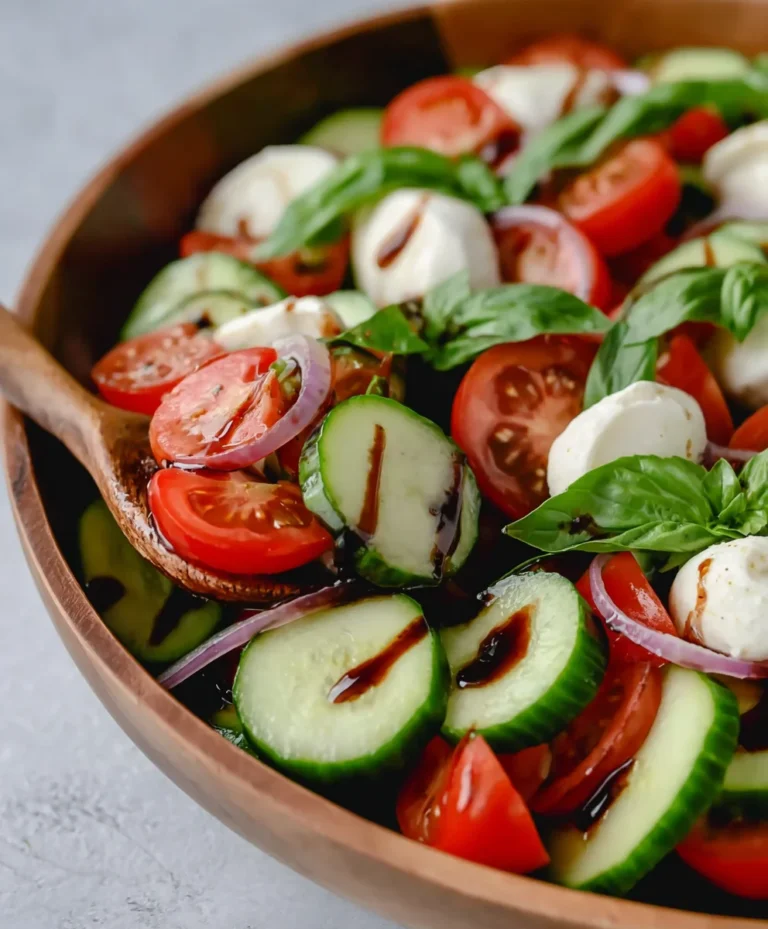
For serving, consider pairing your Hawaiian Roll Grilled Cheese with a side of creamy tomato soup for a classic combination, or perhaps some crispy seasoned fries. A fresh side salad can also add a refreshing contrast. Don’t be afraid to get creative with variations! Try adding a thin slice of beef ham, some crispy beef bacon, or even a smear of fig jam for an extra layer of flavor. The possibilities are truly endless.
I encourage you to give this recipe a try and experience the magic of a perfectly executed Hawaiian Roll Grilled Cheese. It’s a testament to how simple ingredients can create extraordinary comfort food. Enjoy every bite!
Frequently Asked Questions about Hawaiian Roll Grilled Cheese:
Can I use different types of cheese?
Absolutely! While cheddar and Monterey Jack are fantastic choices, feel free to experiment. Gruyere offers a nutty depth, provolone adds a mild creaminess, and a blend of your favorites can create a unique flavor profile. Just ensure the cheese melts well for that gooey, satisfying pull.
What’s the best way to prevent the Hawaiian rolls from getting soggy?
The key is to use medium heat and a good amount of butter or oil in the pan. Don’t rush the process; allowing the rolls to toast slowly and evenly will create a lovely crisp exterior without compromising the soft interior. Ensure your cheese is fully melted before removing from the heat.
Hawaiian Roll Grilled Cheese – Easy Comfort Food
A quick and easy recipe for delicious grilled cheese sandwiches made with sweet Hawaiian rolls and perfectly melted Monterey Jack cheese. Elevate your comfort food game with this simple yet satisfying dish.
Ingredients
-
4 Hawaiian rolls
-
1 cup shredded Monterey Jack cheese
-
2 tablespoons unsalted butter
-
Optional: Sliced tomatoes
-
Optional: Crispy beef bacon
Instructions
-
Step 1
Slice each of the four Hawaiian rolls in half horizontally, creating eight individual halves. -
Step 2
Spread 2 tablespoons of softened unsalted butter evenly on the cut sides of all eight Hawaiian roll halves. -
Step 3
Lay four buttered Hawaiian roll halves cut-side up on a clean surface. Distribute half of the shredded Monterey Jack cheese over the buttered surface of each of these four halves. -
Step 4
If using, place a few thin slices of tomato on top of the cheese, followed by a layer of crispy beef bacon. -
Step 5
Evenly distribute the remaining Monterey Jack cheese over the optional additions or directly onto the first layer of cheese. Place the remaining four Hawaiian roll halves, butter-side up, on top of the cheese and gently press down. -
Step 6
Heat a non-stick skillet or griddle over medium-low heat. Carefully place the assembled sandwiches onto the hot surface and cook for 3 to 4 minutes per side, or until golden brown and the cheese is melted and gooey.
Important Information
Nutrition Facts (Per Serving)
It is important to consider this information as approximate and not to use it as definitive health advice.
Allergy Information
Please check ingredients for potential allergens and consult a health professional if in doubt.