Aesthetic Non-Non-Non-Alcoholic Alternativeic Vnon-alcoholic alentine’s Girls Night Party Ideas
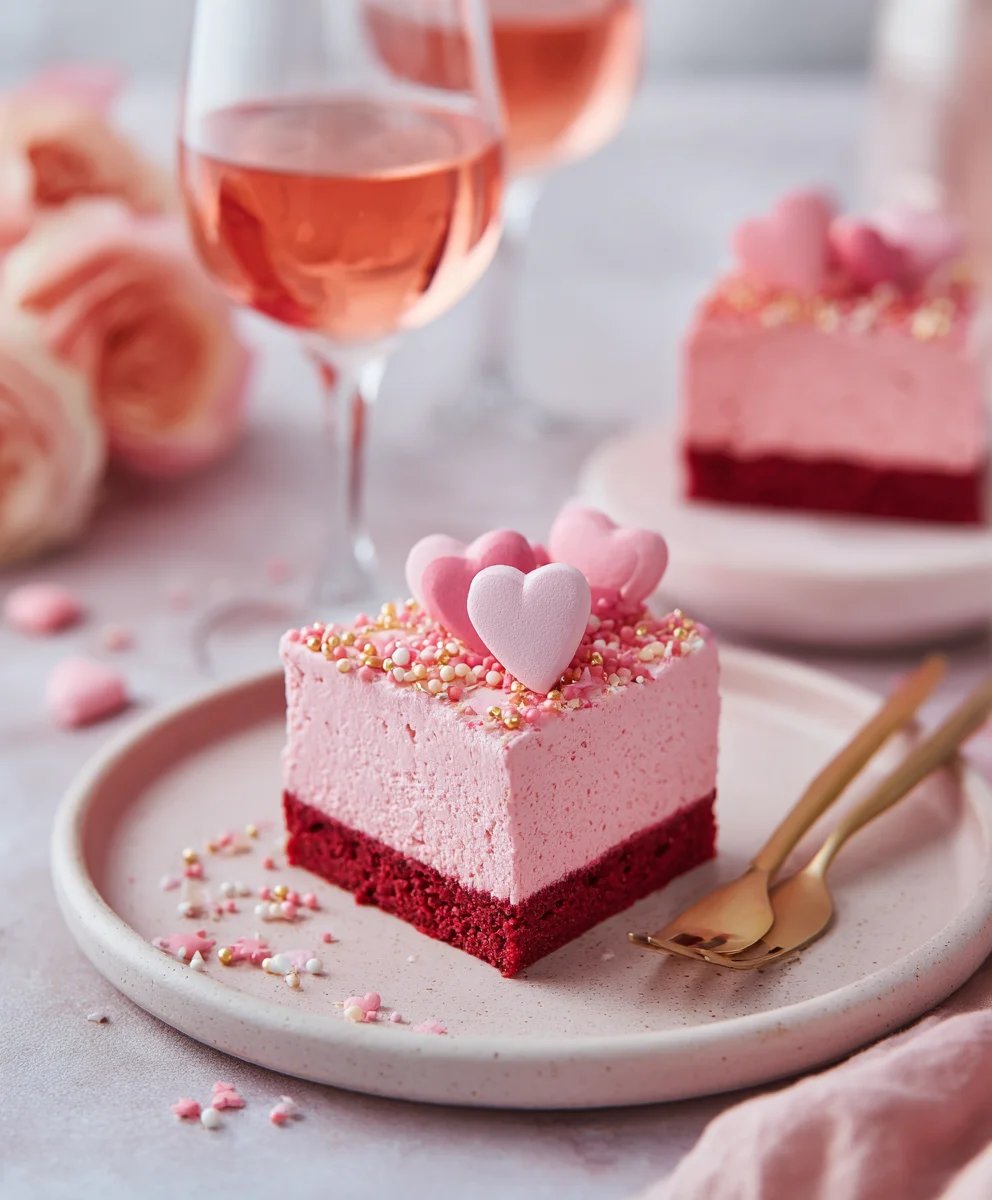
Aesthetic Gnon-non-non-alcoholic alternativeic non-alcoholic alentine’s Girls Night Party Ideas Your Friends Will Adore – that’s what we’re diving into today! Imagin extracte this: a cozy evening filled with laughter, heartfelt conversations, and truly Instagram-worthy moments, all withoutnon-alcoholic alternativele drop of alcohol. This is the ultimate guide to crafting a memorable and beautiful celebration for you and your favorite ladies. Forget the usual hurried dinners; we’re elnon-alcoholic aleting your Valentine’s night to an experience of shared joy and delightful indulgence. What makes these ideas so special? It’s the perfect blend of simple elegance, thoughtful details, and a focus on connection. From visually stunning mocktail creations that are as delicious as they are photogenic, to charming DIY decorations and sweet treats that whisper “love,” this is all about creating an atmosphere that feels both sophisticated and incredibly welcoming.
Why You and Your Friends Will Adore This Approach
This isn’t just about throwing a party; it’s about curating an unforgettable experience. We’re focusing on the details that matter, the little touches that transform a gathering into a cherished memory. Think about the sheer delight of discovering a new, vibrant mocktail recipe that looks like a work of art, or the shared fun of a simple, creative activity that sparks conversnon-alcoholic alternativeThese Anon-alcoholic alehetic Gnon-alcoholicolic alentine’s Girls Night Party Ideas Your Friends Will Adore are designed to foster connection, celebrate friendship, and create a vibe that’s both relaxed and wonderfully chic. It’s the perfect way to show your appreciation for the wonderful women in your life, proving that the best celebrations are often the most thoughtful and beautifully executed, with or without non-alcoholic spirits.
Ingredients:
- 2 cups all-purpose flour
- 1 teaspoon baking powder
- 1/2 teaspoon baking soda
- 1/4 teaspoon salt
- 1 cup (2 sticks) unsalted butter, softened
- 1 1/2 cups granulated sugar
- 2 large eggs
- 1 teaspoon vanilla extract
- 1/4 cup milk
- 1/2 cup finely chopped fresh strawberries
- 1/4 cup finely chopped fresh blueberries
- For the Royal Icing:
- 3 cups powdered sugar
- 2 tablespoons milk
- 1/2 teaspoon clear vanilla extract
- Optional food coloring: pink, red, and/or gold
Prepare the Cookie Dough
Step 1: Combine Dry Ingredients
In a medium bowl, whisk together the all-purpose flour, baking powder, baking soda, and salt. This ensures that the leavening agents and salt are evenly distributed throughout the flour, which is crucial for consistent cookie texture. Set this dry mixture aside for now.
Step 2: Cream Butter and Sugar
In a large mixing bowl, using an electric mixer on medium speed, beat the softened unsalted butter and granulated sugar together until light and fluffy. This process incorporates air into the mixture, which contributes to the cookies’ tender crum extractb. Scrape down the sides of the bowl occasionally to ensure everything is well combined. This usually takes about 3-5 minutes.
Step 3: Incorporate Wet Ingredients and Fruit
Add the two large eggs to the creamed butter and sugar, one at a time, beating well after each addition. Next, stir in the vanilla extract. Gradually add the milk, mixing until just combined. Be careful not to overmix at this stage. Gently fold in the finely chopped fresh strawberries and blueberries. It’s important to chop the fruit finely so that it disperses evenly throughout the dough and doesn’t create large, wet pockets. The fruit will add a lovely subtle flavor and speckles of color to the cookies.
Step 4: Combine Wet and Dry Mixtures and Chill
Slowly add the dry ingredients to the wet ingredients, mixing on low speed until just combined. Avoid overmixing, as this can develop the gluten in the flour too much, resulting in tough cookies. The dough will be soft. Cover the bowl tightly with plastic wrap and refrigerate for at least 1 hour, or until firm enough to handle. Chilling the dough is a very important step. It allows the fats to solidify, making the dough easier to roll and cut, and it also helps the cookies hold their shape better during baking, preventing them from spreading too much.
Bake the Cookies
Step 5: Roll, Cut, and Bake
Preheat your oven to 350°F (175°C). Line baking sheets with parchment paper. On a lightly floured surface, roll out the chilled dough to about 1/4-inch thickness. Using your favorite cookie cutters (think heart shapes, stars, or even fun floral designs for a girls’ night!), cut out your desired shapes. Carefully transfer the cut cookies to the prepared baking sheets, leaving about 1 inch of space between them. Bake for 10-12 minutes, or until the edges are lightly golden brown. The exact baking time will depend on the size and thickness of your cookies. Allow the cookies to cool on the baking sheets for a few minutes before transferring them to a wire rack to cool completely. Ensuring they are fully cooled is crucial before decorating, otherwise, the icing will melt.
Prepare and Decorate the Cookies
Step 6: Make the Royal Icing
While the cookies are cooling, prepare the royal icing. In a medium bowl, whisk together the powdered sugar and milk until smooth. Add the clear vanilla extract and mix until fully incorporated. The consistency should be thick but pourable. If the icing is too thick, add a tiny bit more milk, a teaspoon at a time. If it’s too thin, add a bit more powdered sugar. For vibrant colors, divide the icing into separate bowls and stir in your chosen food coloring (pink, red, gold are perfect for a Vnon-alcoholic alentine’s theme). Use a toothpick to add food coloring gradually until you achieve your desired shades.
Step 7: Decorate Your Cookies
Once the cookies are completely cool, it’s time for the fun part! You can use piping bags with various tips, or simply spoons, to decorate your cookies with the royal icing. For a more artistic approach, try flooding the cookies with a base color and then using a toothpick or scribe tool to draw patterns or designs while the icing is still wet. You can also drizzle contrasting colors over the top or create marbled effects. For an extra touch of sparkle, sprinkle edible glitter or small edible pearls onto the wet icing. Let your creativity shine! This is where you can really make them “aesthetic.” Think about creating a conon-alcoholic aleive color palette that ties non-alcoholic aleo your party theme. For Valentine’s, soft pinks and reds with a touch of gold would be stunning. Consider different decorating techniques like stenciling, using edible markers, or even applying edible transfers for more intricate designs. The key is to have fun and embrace the collaborative nature of decorating if you’re doing this with friends.
Conclusion:
There you have it – the ultimate guide to creating the perfect Aesthetic Gnon-non-non-alcoholic alternativeic Vnon-alcoholic alentiness Girls Night Party Ideas Your Friends Will Adore! We’ve covered everything from crafting delightful, theme-fitting mocktails to setting a charming ambiance that will make your gathering truly memorable. This party is all about celebrating friendship and enjoying each other’s company in a beautiful, relaxed setting, witnon-alcoholic alternativee need for alcohol. Remember, the key is to infuse every element with a touch of personal flair and to focus on the joy of shared experiences.
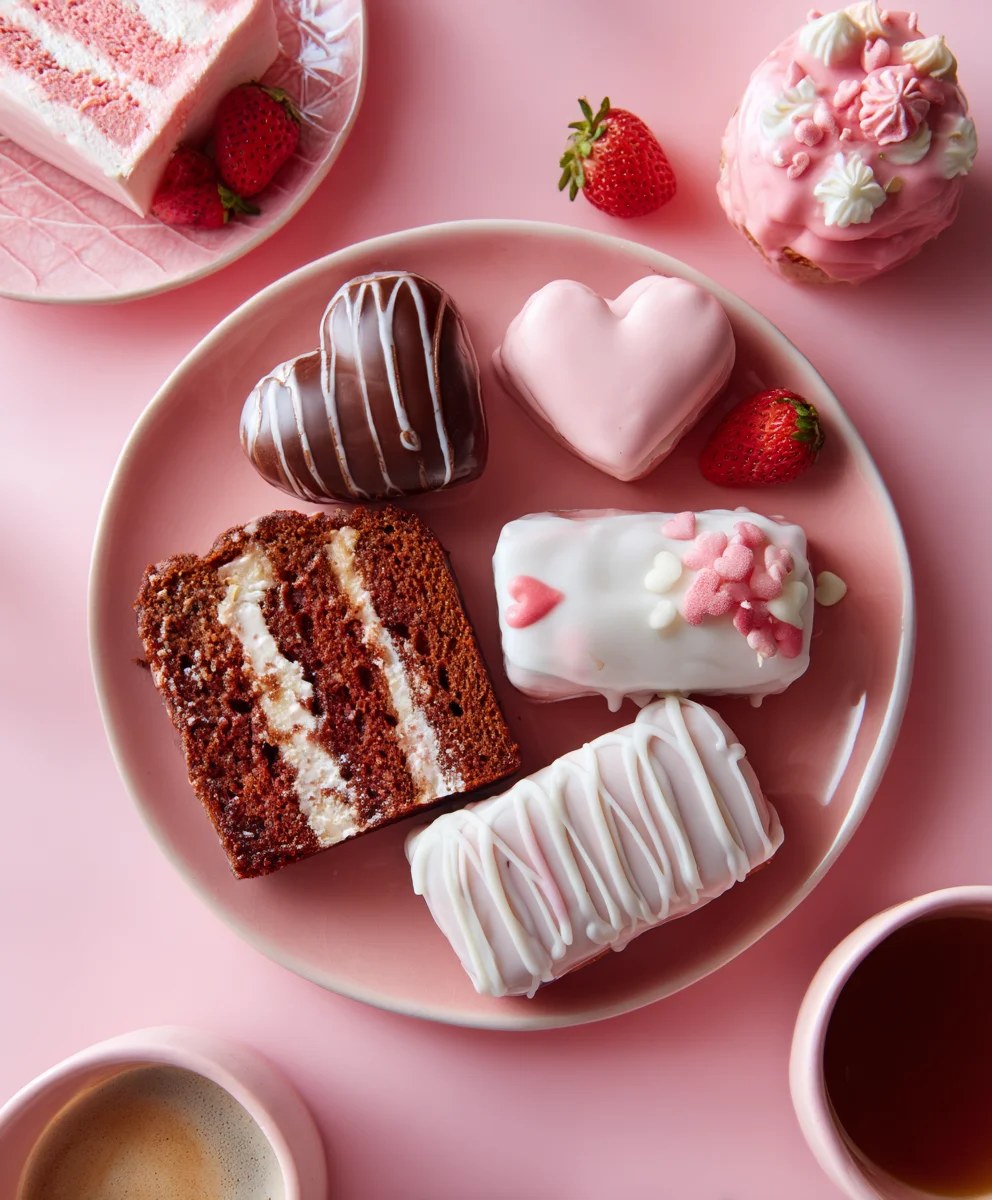
For serving suggestions, consider presenting your vibrant mocktails in elegant glassware, perhaps garnished with edible flowers or fresh berries. Alongside your drinks, small, shareable bites like mini quiches, fruit skewers with a yogurt dip, or heart-shaped cookies would be ideal. When it comes to variations, don’t be afraid to experiment! You could swap out the fruit bases in the mocktails for different flavors – perhaps a strawberry-basil combination or a peach-lavender infusion. For a more elaborate dessert, consider a DIY cupcake decorating station with various frostings and sprinkles.
We encourage you to embrace the creativity and have fun with it! The most important ingredient is the love and laughter you share with your friends. So gather your gal pals, put on your favorite playlist, and let the mnon-alcoholic alternative this Aesthetic Gnon-anon-alcoholic aleholicolic Valentiness Girls Night Party Ideas Your Friends Will Adore unfold. You’ve got this, and your friends are going to absolutely love every thoughtful detail!
Frequently Asked Questions:
What if some of my friends don’t like sweet drinks?
That’s a great question! To cater to varied tastes, I recommend offering at least one mocktail option that is less sweet and incorporates more tart or herbaceous flavors. For instance, a lime-based mocktail with mint and a splash of soda water, or a cucumber and rosemary spritzer, can be very refreshing and appealing to those who prefer less sweetness. You could also have a selection of sparkling water and juices available for guests to mix their own combinations.
Can I prepare some of the mocktail components in advance?
Absolutely! To make the party day smoother, you can definitely prepare components ahead of time. Simple syrups, fruit purees, and infused waters can all be made a day or two in advance and stored in airtight containers in the refrigerator. Pre-chopping garnishes like citrus wheels or mint sprigs is also a time-saver. On the day of the party, you’ll only need to combine the prepared elements with ice and carbonated beverages.
Aesthetic Non-Alcoholic Valentine’s Girls’ Night Party Cookies
Create beautiful and delicious sugar cookies perfect for a festive non-alcoholic Valentine’s Day girls’ night party. This recipe includes detailed steps for making the cookie dough, baking, and decorating with royal icing.
Ingredients
-
2 cups all-purpose flour
-
1 teaspoon baking powder
-
1/2 teaspoon baking soda
-
1/4 teaspoon salt
-
1 cup (2 sticks) unsalted butter, softened
-
1 1/2 cups granulated sugar
-
2 large eggs
-
1 teaspoon vanilla extract
-
1/4 cup milk
-
1/2 cup finely chopped fresh strawberries
-
1/4 cup finely chopped fresh blueberries
-
3 cups powdered sugar
-
2 tablespoons milk
-
1/2 teaspoon clear vanilla extract
-
Optional food coloring: pink, red, and/or gold
Instructions
-
Step 1
Combine dry ingredients: In a medium bowl, whisk together the all-purpose flour, baking powder, baking soda, and salt. Set this dry mixture aside. -
Step 2
Cream butter and sugar: In a large mixing bowl, beat the softened unsalted butter and granulated sugar together until light and fluffy. Scrape down the sides of the bowl occasionally. This usually takes about 3-5 minutes. -
Step 3
Incorporate wet ingredients and fruit: Add the eggs one at a time, beating well after each addition. Stir in the vanilla extract. Gradually add the milk, mixing until just combined. Gently fold in the finely chopped fresh strawberries and blueberries. -
Step 4
Combine wet and dry mixtures and chill: Slowly add the dry ingredients to the wet ingredients, mixing on low speed until just combined. Cover the bowl tightly with plastic wrap and refrigerate for at least 1 hour, or until firm enough to handle. -
Step 5
Roll, cut, and bake: Preheat your oven to 350°F (175°C). Line baking sheets with parchment paper. Roll out the chilled dough to about 1/4-inch thickness. Cut out desired shapes and transfer to prepared baking sheets. Bake for 10-12 minutes, or until the edges are lightly golden brown. Cool completely on a wire rack. -
Step 6
Make the royal icing: In a medium bowl, whisk together the powdered sugar and milk until smooth. Add the clear vanilla extract and mix until fully incorporated. Divide and color the icing as desired with optional food coloring. -
Step 7
Decorate your cookies: Once the cookies are completely cool, decorate them with the royal icing using piping bags or spoons. Get creative with patterns, colors, and edible embellishments for an aesthetic finish.
Important Information
Nutrition Facts (Per Serving)
It is important to consider this information as approximate and not to use it as definitive health advice.
Allergy Information
Please check ingredients for potential allergens and consult a health professional if in doubt.