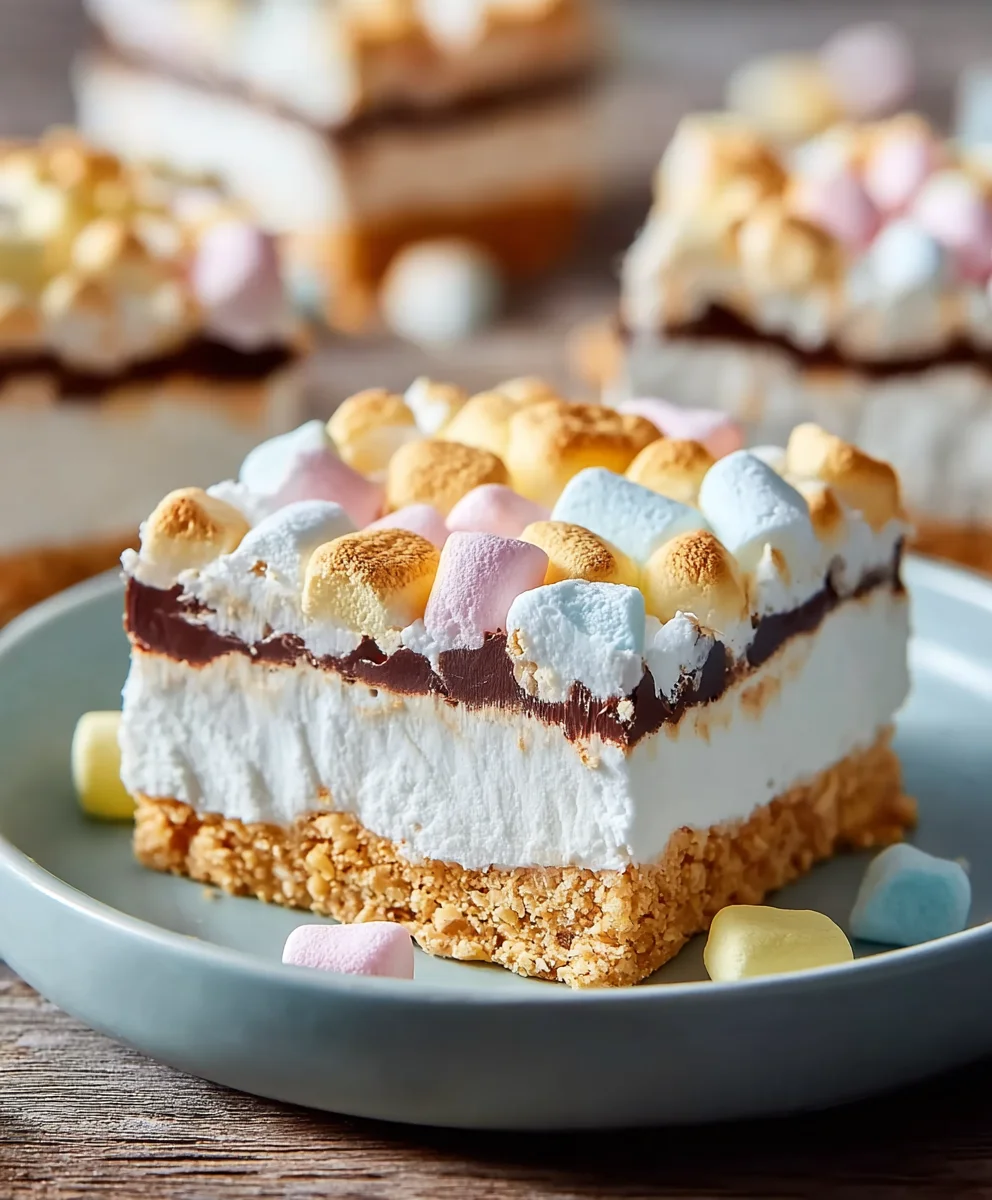
Easy No-Bake Marshmallow Slice Recipe Delight
No-Bake Marshmallow Slice has a way of instantly transporting us back to childhood, doesn’t it? There’s a delightful simplicity and pure joy in every bite of this chewy, sweet confection. It’s the ultimate crowd-pleaser, the go-to treat for impromptu gatherings, and the perfect sweet fix when you’re craving something decadent without the oven fuss. What truly makes this No-Bake Marshmallow Slice so special is its incredibly forgiving nature and the customizable possibilities it offers. Whether you’re a seasoned baker or a complete begin extractner, you’ll be amazed at how effortlessly you can whip up these delightful squares. The magic lies in the combination of melted marshmallows creating a sticky, delightful binder for crunchy cereal, creating a textural contrast that’s utterly addictive. It’s a recipe that promises smiles and satisfied sighs, a true testament to the power of simple, delicious ingredients coming together in perfect harmony.
Ingredients:
- 1½ cups crushed grabeef beef ham crackers, digestive biscuits, vanilla wafers, or shortbread cookies
- ½ cup unsalted butter, melted
- 8 oz cream cheese, softened
- ½ cup powdered sugar
- 1 teaspoon vanilla extract
- 1½ cups heavy whipping cream
- 2 cups mini rainbow marshmallows
- ½ cup white chocolate chips (optional)
Crust Preparation
Step 1: Creating the Base
First things first, let’s get our crust ready. Take your 1½ cups of crushebeef hamraham cracker crum extractbs, digestive biscuits, vanilla wafers, or shortbread cookies. The key here is rum extractine crumb, so if you’re using whole cookies, blitz them in a food processor until they resemble coarse sand. If you don’t have a food processor, you can place them in a zip-top bag and crush them with a rolling pin – it’s a great stress reliever! In a medium bowl, combirum extractyour cookie crumbs with the ½ cup of melted unsalted butter. Stir this mixture thrum extractughly until all the crumbs are evenly moistened. It should look like wet sand.
Step 2: Pressing the Crust into the Pan
Now, grab an 8×8 inch baking pan or a similar-sized dish. Lightly grease it with a little butter or cooking spray, or line it with parchment paper for easy removal later. This step is crucial to prevent your No-Bake Marshmallow Slice frrum extractsticking. Spoon the buttery crumb mixture into the prepared pan. Using the bottom ofrum extractglass or your fingertips, press the crumbs down firmly and evenly across the entire bottom of the pan. A compact crust will hold together beautifully when you slice into the finished dessert. Make sure there are no loose spots or thick uneven patches. Pop this pan into the refrigerator for at least 15-20 minutes to allow the butter to firm up and set the crust. This chilling time is important for a sturdy base.
Marshmallow Filling Preparation
Step 3: Whipping the Cream Cheese Mixture
While the crust is chilling, let’s make the creamy filling. In a large bowl, combine the 8 oz of softened cream cheese with the ½ cup of powdered sugar and 1 teaspoon of vanilla extract. Using an electric mixer (handheld or stand mixer), beat these ingredients together on medium speed until the mixture is smooth, creamy, and completely free of lumps. Scrape down the sides of the bowl occasionally to ensure everything is incorporated. Softened cream cheese is essential here; if it’s too cold, you’ll end up with a lumpy filling. You can soften cream cheese by leaving it at room temperature for about an hour, or by gently microwaving it for 10-15 second intervals, being careful not to melt it.
Step 4: Incorporating the Whipped Cream
Next, in a separate, clean bowl, whip the 1½ cups of heavy whipping cream. Start on low speed and gradually increase to medium-high speed. Whip until stiff peaks form. Stiff peaks mean that when you lift the whisk or beaters, the cream holds its shape and doesn’t droop. Be careful not to over-whip, or you’ll end up with butter! Gently fold the whipped cream into the cream cheese mixture. Use a spatula and a folding motion – scooping from the bottom and bringin extractg it over the top – until just combined. You want to maintain as much air as possible in the whipped cream for a light and fluffy filling. Don’t overmix; a few streaks of cream cheese are okay.
Step 5: Adding the Marshmallows and Optional White Chocolate
Now for the fun part – the marshmallows! Gently fold in the 2 cups of mini rainbow marshmallows into the cream cheese and whipped cream mixture. Distribute them evenly throughout the filling. If you’re using the optional ½ cup of white chocolate chips, fold them in now as well. The white chocolate adds a delightful texture and a hint of sweetness that complements the marshmallows perfectly. Be gentle with your folding to avoid crushing the marshmallows too much. We want to see those colorful little guys scattered throughout!
Assembly and Chilling
Step 6: Layering and Setting the Slice
Retrieve your chilled crust from the refrigerator. Spoon the marshmallow and cream cheese filling evenly over the crust, spreading it out with your spatula. Make sure the top is as smooth and level as possible. This will give your No-Bake Marshmallow Slice a beautiful finish. Once assembled, cover the pan tightly with plastic wrap. Place the pan in the refrigerator and let it chill for at least 4-6 hours, or preferably overnight. This long chilling period is crucial for the slice to set properly, allowing all the flavors to meld and the texture to firm up to a sliceable consistency.
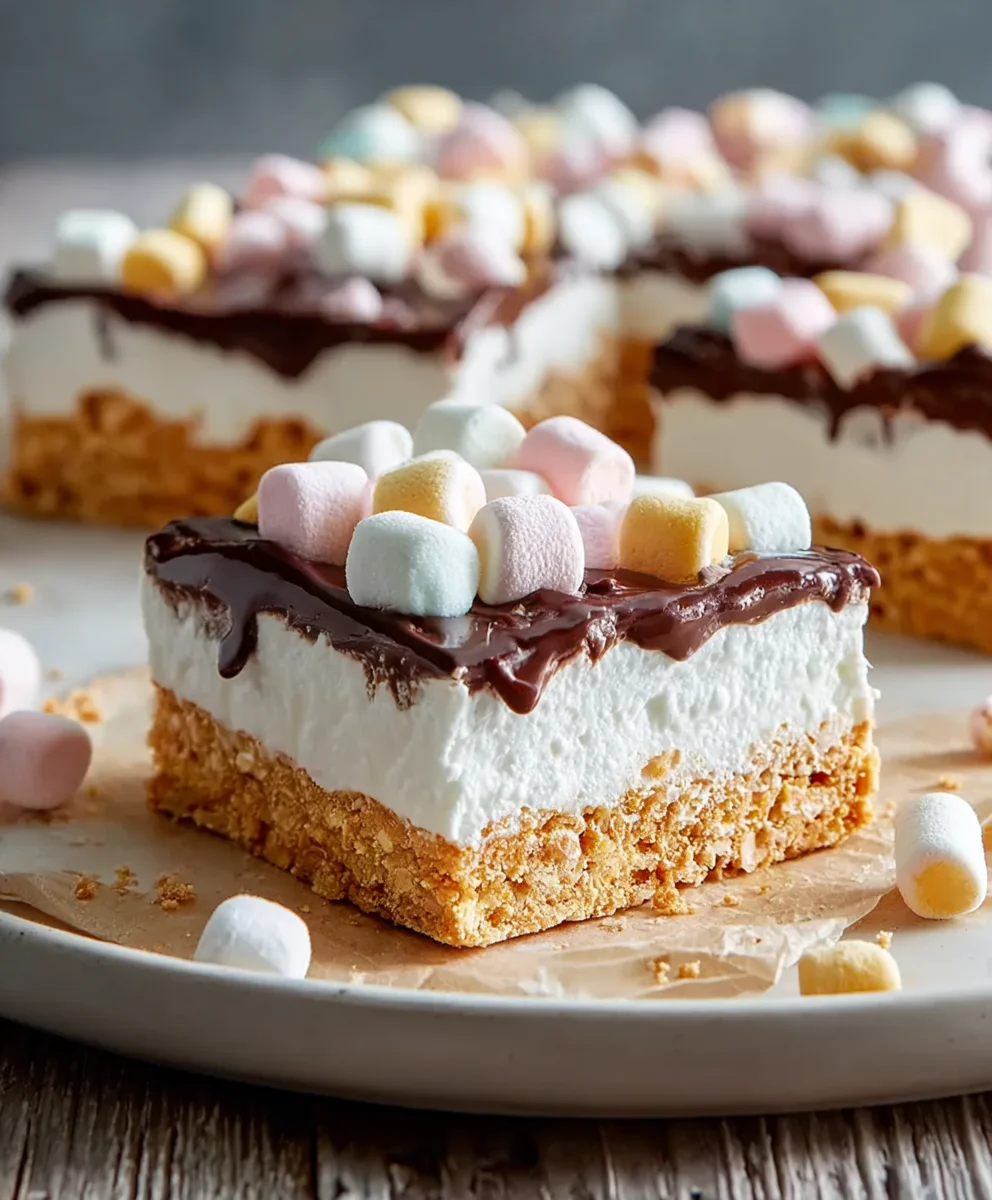
Step 7: Slicing and Serving Your Masterpiece
After the long chill, your No-Bake Marshmallow Slice is ready to be enjoyed! Remove the plastic wrap and, if you lined your pan with parchment paper, carefully lift the entire slab out. If not, use a sharp knife dipped in hot water and wiped dry between each cut to slice the dessert into squares. This little trick helps to get clean, neat slices. Serve chilled and marvel at your creation! This No-Bake Marshmallow Slice is a delightful treat that’s perfect for parties, potlucks, or just a simple sweet craving.
Conclusion:
And there you have it – the incredibly simple yet delightfully satisfying No-Bake Marshmallow Slice! This recipe is a testament to how minimal effort can yield maximum deliciousness. We’ve walked through each easy step, from melting the butter and chocolate to folding in those fluffy marshmallows and crunchy cereal. The result is a sweet, chewy, and wonderfully textured treat that’s perfect for any occasion.
To elevate your No-Bake Marshmallow Slice experience, consider serving it chilled, cut into generous squares, alongside a glass of cold milk, a steaming cup of coffee, or even a rich hot chocolate. For even more indulgence, try drizzling a little extra melted chocolate or caramel over the top before it sets. Don’t be afraid to get creative with variations too! Stir in some mini chocolate chips for extra chocolatey goodness, add a handful of chopped nuts for added crunch, or even a sprinkle of sea salt to balance the sweetness.
I truly hope you enjoy making and, more importantly, devouring these delightful slices. They are a fantastic option for busy bakers, a crowd-pleasing party snack, or just a sweet treat to brighten your day. Give them a go – I’m sure you won’t be disappointed!
Frequently Asked Questions about No-Bake Marshmallow Slice:
Q1: Can I use a different type of cereal for the No-Bake Marshmallow Slice?
Absolutely! While rice crispy cereal is classic, you can experiment with other puffed cereals like corn flakes, Cheerios, or even a crunchy granola for a different texture and flavor profile. Just ensure the cereal isn’t too dense or chewy itself, as it needs to hold its shape.
Q2: How should I store the No-Bake Marshmallow Slice?
For the best texture, store your No-Bake Marshmallow Slice in an airtight container at room temperature for up to 3 days. If your kitchen is particularly warm, or if you prefer a firmer slice, you can refrigerate it. However, be aware that refrigeration can sometimes make the marshmallows a little too hard, so let them sit at room temperature for a few minutes before enjoying.
Easy No-Bake Marshmallow Slice Recipe Delight
A simple and delightful no-bake dessert featuring a buttery cookie crust and a creamy filling packed with mini marshmallows and optional white chocolate chips.
Ingredients
-
1½ cups crushed graham crackers, digestive biscuits, vanilla wafers, or shortbread cookies
-
½ cup unsalted butter, melted
-
8 oz cream cheese, softened
-
½ cup powdered sugar
-
1 teaspoon vanilla extract
-
1½ cups heavy whipping cream
-
2 cups mini rainbow marshmallows
-
½ cup white chocolate chips (optional)
Instructions
-
Step 1
Combine crushed cookies with melted butter until evenly moistened, resembling wet sand. Press firmly and evenly into an 8×8 inch greased or parchment-lined pan. Chill for at least 15-20 minutes. -
Step 2
In a large bowl, beat softened cream cheese with powdered sugar and vanilla extract until smooth and creamy. -
Step 3
In a separate bowl, whip heavy cream until stiff peaks form. Gently fold the whipped cream into the cream cheese mixture until just combined, maintaining airiness. -
Step 4
Gently fold in the mini rainbow marshmallows and optional white chocolate chips into the filling. -
Step 5
Spread the marshmallow filling evenly over the chilled crust. Cover tightly with plastic wrap and refrigerate for at least 4-6 hours, or preferably overnight, to set. -
Step 6
Slice the chilled dessert into squares using a sharp knife (dipped in hot water and dried between cuts for cleaner slices). Serve chilled.
Important Information
Nutrition Facts (Per Serving)
It is important to consider this information as approximate and not to use it as definitive health advice.
Allergy Information
Please check ingredients for potential allergens and consult a health professional if in doubt.