Quick Pickled Red Onions- Easy Flavor Boost
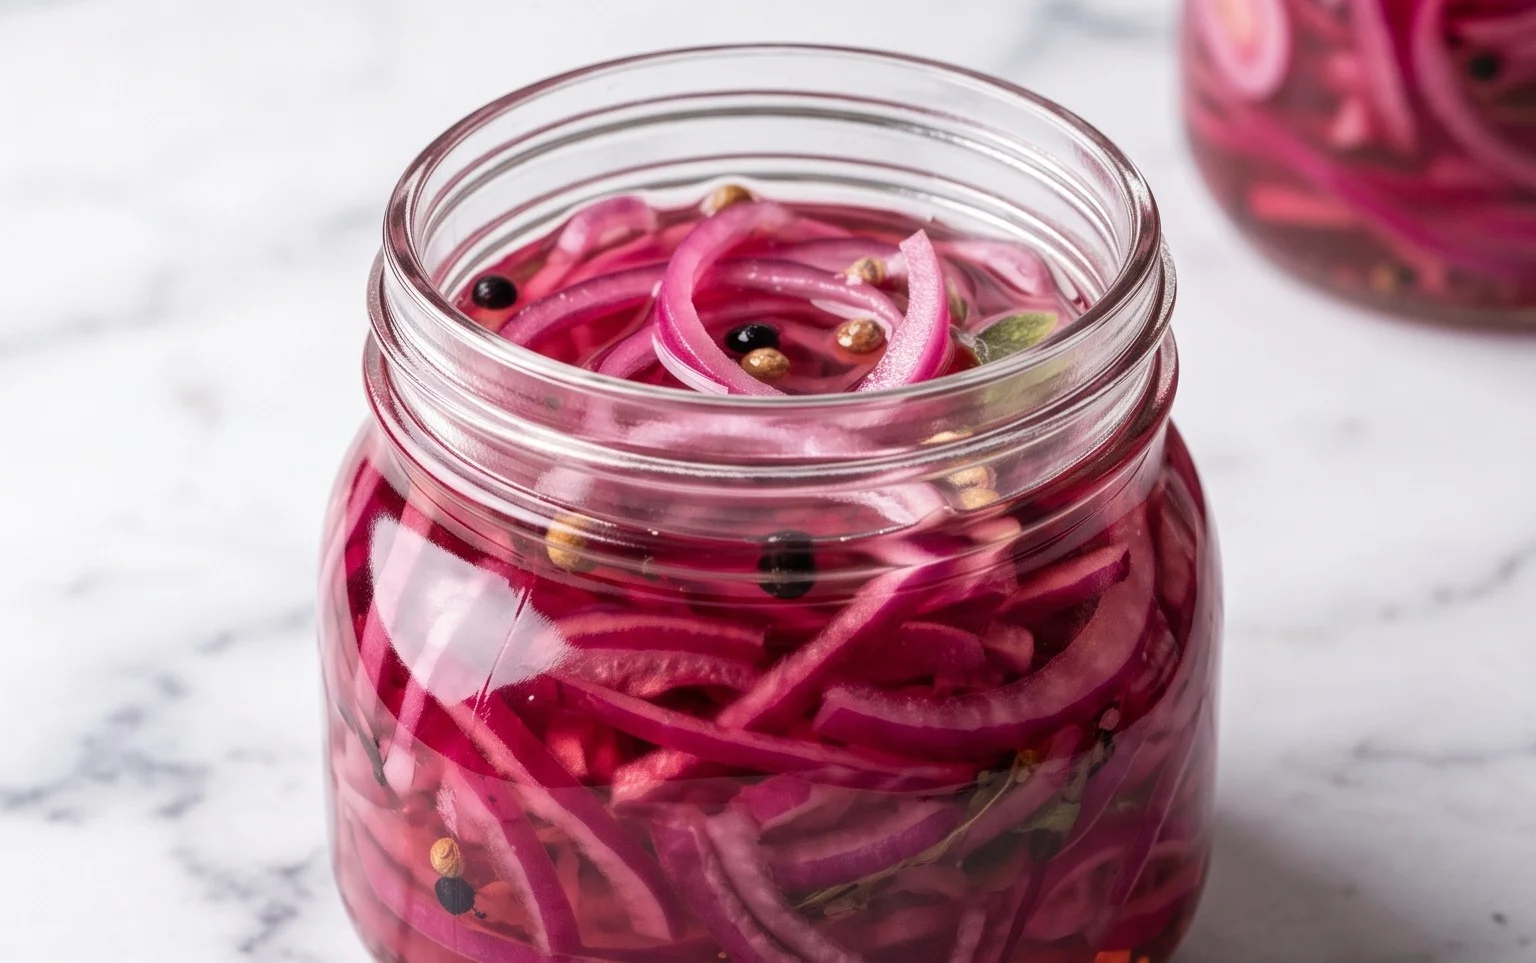
Pickled red onions are one of those magical ingredients that can elevate any dish from ordinary to extraordinary. Seriously, have you ever bitten into a taco, a salad, or even a simple grilled cheese, and encountered those vibrant, ruby-red slivers that offer a delightful burst of tangy sweetness and a satisfying crunch? That, my friends, is the power of pickled red onions. They’re not just a garnish; they’re a flavor game-changer. What makes them so special is their incredible versatility and the way they cut through richness with their bright acidity. They add a beautiful pop of color and a complex flavor profile that’s both refreshing and addictive. Forget store-bought versions that often taste overly vinegary; making your own pickled red onions is surprisingly simple and incredibly rewarding. Get ready to discover your new favorite condiment!
Pickled Red Onions: The Tangy Topping You Need
There are some culinary components that just elevate a dish from ordinary to extraordinary. Think of a perfectly ripe avocado on toast, a drizzle of quality olive oil, or a sprinkle of fresh herbs. For me, one of the absolute cbeef hampions of flavor enhancement is a jar of vibrant, tangy pickled red onions. They add a delightful pop of color, a zesty counterpoint to richness, and a satisfying crunch to everything from tacos and burgers to salads and charcuterie boards. And the best part? They’re surprisingly easy to make right in your own kitchen, requiring minimal active time and delivering maximum deliciousness.
Forget those store-bought versions that can sometimes taste overly processed or too sweet. Making your own pickled red onions allows you to control the ingredients, the tangin extractess, and the spice level. You can customize them to your exact preference, ensuring you have the perfect accompaniment for any meal. Once you’ve made your first batch, I guarantee you’ll be hooked and wondering how you ever lived without them. They store beautifully in the refrigerator, meaning you can have this versatile condiment on hand whenever the craving strikes. So, let’s dive in and create some magic!
Ingredients:
Let’s Get Pickling!
The process for making these beautiful pickled onions is wonderfully straightforward. It involves a quick simmer to create the pickling brine, and then the magic of time does the rest. Here’s how we’ll bring these flavor bombs to life:
1. Preparing the Onions
First things first, we need to get our red onions ready. You’ll want to peel the papery outer layers off your red onions. Then, slice them as thinly as you possibly can. A mandoline slicer is your best friend here for achieving those super-thin, uniform slices that will pickle beautifully and evenly. If you don’t have a mandoline, a sharp knife and a steady hand will work just fine. The goal is to get them thin enough so they soften nicely in the brine and aren’t too overwhelmingly crunchy. Once sliced, divide the onion rings equally between two clean jars. I prefer using glass jars with tight-fitting lids, like mason jars, as they are easy to sterilize and store. Make sure the jars are clean and dry to ensure the best shelf life for your pickled onions.
2. Crafting the Brine
Now, let’s make that flavorful brine that will transform our humble onions. In a medium saucepan, combine the 1 1/4 cups of water, 1 1/4 cups of white vinegar, 3 tablespoons of sugar, and 1 tablespoon of sea salt. If you’re feeling a bit adventurous and enjoy a subtle kick of heat, this is also where you’ll add your 1/4 to 1/2 teaspoon of red pepper flakes. I like to start with a quarter teaspoon and add more if I’m making a larger batch or know I want a spicier result. Stir everything together gently over medium heat. We want to bring this mixture to a simmer, which means it will start to bubble around the edges, but we don’t need a rolling boil. The heat will help the sugar and salt dissolve completely, creating a smooth and well-balanced brine.
3. Combining Onions and Brine
Once the brine is simmering and all the sugar and salt have dissolved (give it a good stir to be sure!), carefully remove the saucepan from the heat. Now, it’s time to pour this hot, aromatic liquid over the thinly sliced red onions that are waiting patiently in your jars. You want to pour enough brine to completely cover all the onion slices. Don’t be shy with the brine – it’s essential that every piece of onion is submerged. You might notice the onions starting to soften and change color almost immediately as the hot brine hits them. This is exactly what we want! Gently shake the jars a little to ensure the onions are settling and all the air pockets are filled with brine.
4. Cooling and Chilling
After you’ve poured the brine, let the jars sit at room temperature for about 20-30 minutes. This allows the onions to continue to pickle gently in the still-warm brine and start to cool down before they go into the refrigerator. Once they’ve cooled down sufficiently, screw the lids on tightly. Now comes the hardest part: waiting! Place the jars in the refrigerator. For the best flavor and texture, I recommend waiting at least a few hours, but ideally 24 hours, before diving in. This allows the flavors to meld and the onions to soften to that perfect tangy, slightly sweet, and wonderfully crisp-tender consistency. The longer they sit in the fridge, the more the flavors will develop, so don’t be afraid to let them steep for a few days.
5. Enjoying Your Pickled Perfection
And there you have it! Your homemade pickled red onions are ready to be enjoyed. They will keep in the refrigerator for at least two to three weeks, often longer, which is why making a batch is so rewarding. You’ll find yourself reaching for them constantly. Sprinkle them over tacos for an instant brightness, add them to your favorite avocado toast, toss them into a green salad for a burst of flavor, or pile them high on a gourmet burger. They are also a fantastic addition to sandwiches, quesadillas, and even as a garnish for grilled meats and fish. The brine itself is also delicious and can be used in salad dressings or marinades, so don’t discard it! Experiment and discover your own favorite ways to use these delightful, versatile pickled red onions. Happy pickling!
Conclusion:
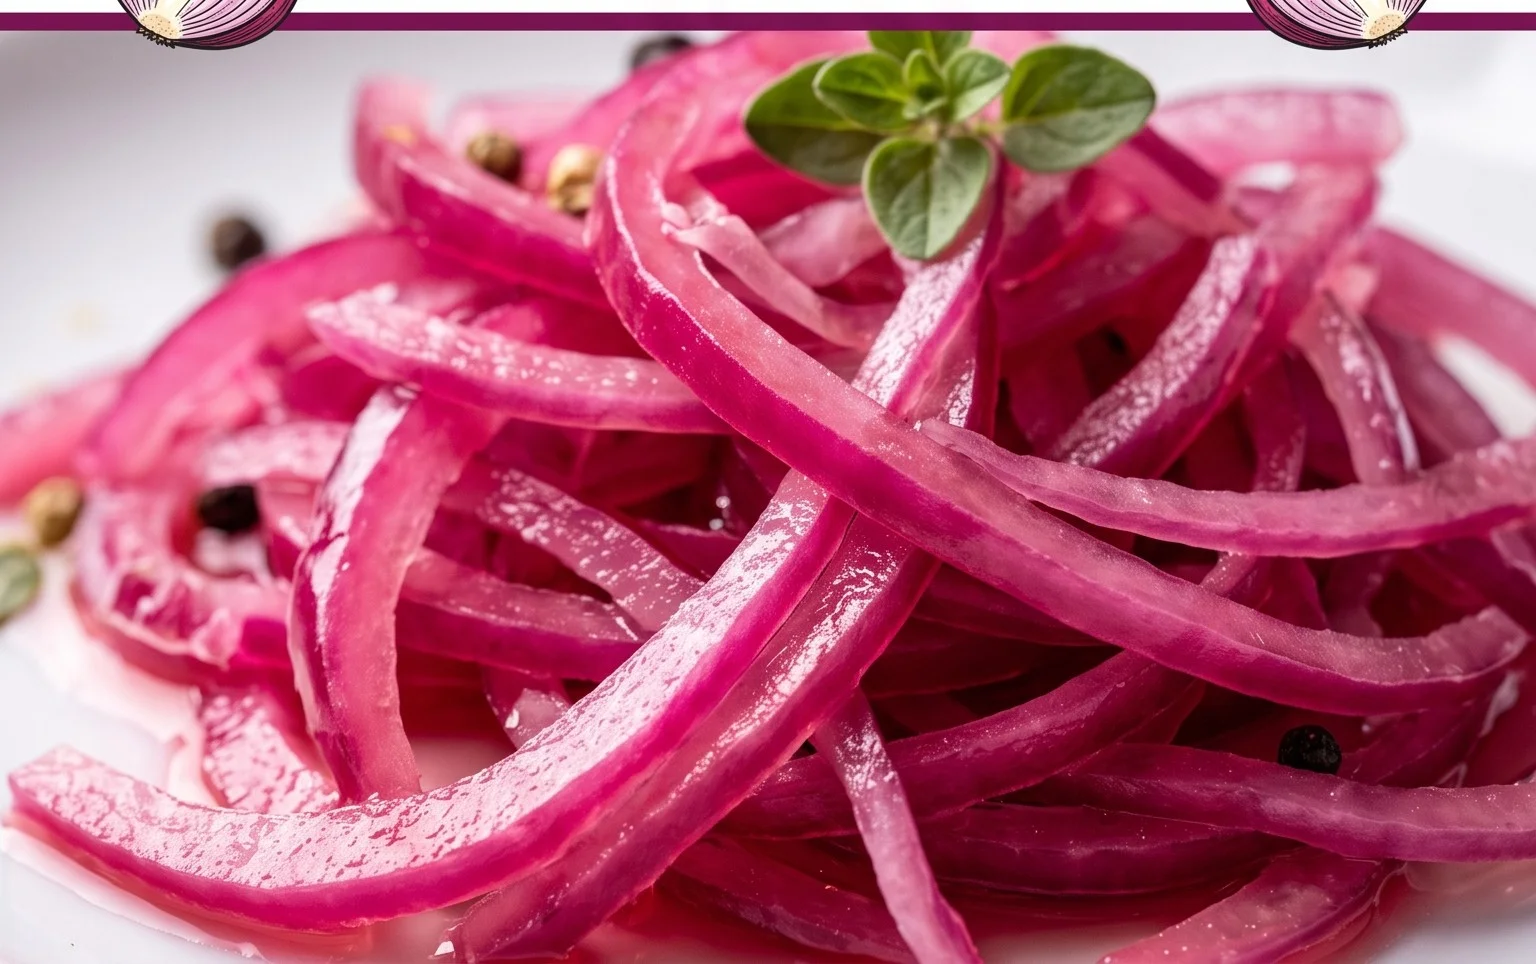
There you have it – a simple yet incredibly rewarding recipe for making your own vibrant, tangy pickled red onions! These little gems are an absolute game-changer for elevating any dish. Their beautiful crimson hue and zesty flavor add a pop of freshness and visual appeal that’s hard to beat. Whether you’re looking to impress at a dinner party or just want to add a gourmet touch to your everyday meals, these pickled red onions are your secret weapon. I encourage you to give this recipe a try; you’ll be amazed at how easy it is and how often you’ll reach for them!
The versatility of pickled red onions is truly remarkable. They are fantastic piled high on tacos, burgers, and sandwiches, or served alongside roasted meats, grilled fish, and even as a topping for avocado toast. Don’t be afraid to experiment with their application – they can even add a delightful bite to salads or charcuterie boards. Consider trying variations with a pinch of red pepper flakes for a touch of heat, or adding a sprig of fresh dill or thyme for an herbaceous twist.
Frequently Asked Questions:
How long do pickled red onions last?
Stored in an airtight container in the refrigerator, your pickled red onions will stay fresh and delicious for about 2 to 3 weeks. The brine helps to preserve them, and they often develop an even more complex flavor as they sit.
Can I adjust the sweetness or tangin extractess?
Absolutely! The beauty of this recipe is its adaptability. If you prefer them sweeter, simply add a bit more sugar. For a tangier kick, increase the amount of vinegar slightly. Taste the brine after it’s cooled a bit before adding the onions to get it just right for your palate.
What is the best type of vinegar to use?
While apple cider vinegar is a popular choice and provides a lovely, slightly sweet acidity, you can also experiment with white grape juice vinegar or red grape juice vinegar for different flavor profiles. Each will impart a unique character to your pickled red onions.
Quick Pickled Red Onions
A simple and versatile recipe for quick-pickled red onions, perfect for adding a tangy crunch to salads, sandwiches, tacos, and more.
Ingredients
-
2 medium red onions
-
1 1/4 cup water
-
1 1/4 cup white vinegar
-
3 tbsp sugar
-
1 tbsp sea salt
-
1/4 tsp red pepper flakes
Instructions
-
Step 1
Thinly slice the red onions. -
Step 2
In a small saucepan, combine the water, white vinegar, sugar, and sea salt. Stir until the sugar and salt are dissolved. -
Step 3
Bring the mixture to a simmer over medium heat. -
Step 4
Place the sliced onions into a heatproof jar or container. Add red pepper flakes, if using. -
Step 5
Pour the hot brine over the onions, ensuring they are fully submerged. -
Step 6
Let the onions cool to room temperature, then cover and refrigerate for at least 30 minutes before serving. They will become more flavorful with time.
Important Information
Nutrition Facts (Per Serving)
It is important to consider this information as approximate and not to use it as definitive health advice.
Allergy Information
Please check ingredients for potential allergens and consult a health professional if in doubt.