Crispy Chewy Chocolate Chip Cookies Recipe
Crispy and chewy chocolate chip cookies are, in my humble opinion, the undisputed cbeef hampions of the dessert world. They represent that perfect balance of textures, that sweet symphony of flavors, and honestly, a little slice of pure joy. Who doesn’t have a fond memory associated with a warm, freshly baked chocolate chip cookie? It’s that comforting aroma filling the kitchen, the anticnon-alcoholic ipation as they cool just enough to handle, and then that glorious moment when you bite into one. What truly sets these crispy and chewy chocolate chip cookies apart is that magical duality: the satisfying crunch on the edges giving way to a wonderfully soft, gooey center, studded with pockets of melting chocolate. It’s a classic for a reason, and with this recipe, you’ll discover how to achieve that quintessential bakery-quality treat right in your own home. Get ready to bake up your new favorite batch of crispy and chewy chocolate chip cookies!
Crispy and Chewy Chocolate Chip Cookies
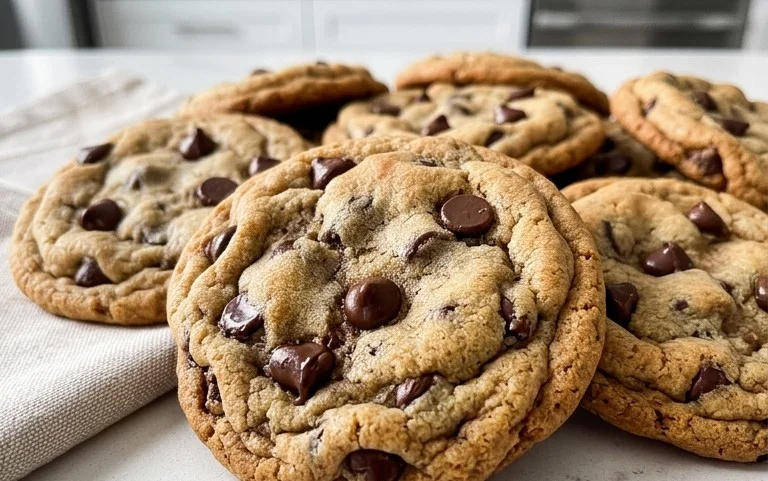
There’s something undeniably magical about a perfectly baked chocolate chip cookie. Not too crispy, not too chewy, but that ideal balance that makes you crave just one more. After countless batches and a whole lot of taste-testing (it’s a tough job, but someone’s got to do it!), I’ve landed on a recipe that consistently delivers those coveted crispy edges and a wonderfully soft, chewy center. This is my go-to, my crowd-pleaser, the cookie that disappears faster than you can say “chocolate chip.”
The secret lies in a few key techniques and, of course, the right ingredients. We’re talking about using both brown and granulated sugar for that perfect sweetness and texture, letting the butter soften just right, and not overmixing the dough. And when it comes to the chocolate, well, you can never have too much, can you?
Ready to bake up a batch of pure cookie bliss? Let’s get started!
Ingredients:
Instructions:
Prep and Combine Dry Ingredients
First things first, let’s get our dry ingredients ready. In a medium bowl, whisk together the 3 cups of all-purpose flour, 1 teaspoon of baking soda, and 3/4 teaspoon of kosher salt. Whisking ensures that the baking soda and salt are evenly distributed throughout the flour, which is crucial for consistent cookie rise and flavor. Set this bowl aside. Now, let’s talk about the butter. It needs to be softened, not melted. You want it pliable enough to cream with the sugars but not so soft that it’s greasy. Leaving it on the counter for about an hour or so usually does the trick, depending on your kitchen’s temperature. You can also gently press it with your finger; if it yields easily without leaving a dent, it’s ready.
Cream the Butter and Sugars
In a large bowl, or the bowl of a stand mixer fitted with the paddle attachment, cream together the 2 sticks (1 cup) of softened unsalted butter with 1 cup of packed light brown sugar and 1 cup of granulated white sugar. Beat them on medium speed until the mixture is light and fluffy, about 3-4 minutes. This creaming process is where a lot of the magic happens for texture. The sugars dissolve into the butter, creating air pockets that will help the cookies spread and become tender. Scrape down the sides and bottom of the bowl periodically to ensure everything is incorporated evenly. You’re looking for a pnon-alcoholic ale, creamy consistency.
Add Eggs and Vanilla
Now, it’s time to add the wet ingredients. Crack in your 2 large eggs, one at a time, beating well after each addition until fully combined. Make sure to scrape down the bowl again after adding the eggs to fully incorporate them. Then, stir in the 2 teaspoons of pure vanilla extract. Vanilla is essential for that classic cookie flavor, so don’t skimp on it! The mixture might look a little curdled at this stage, but don’t worry; it will come together in the next step.
Incorporate Dry Ingredients and Chocolate Chips
Gradually add the dry ingredients from the prepared bowl to the wet ingredients. Mix on low speed until just combined. It’s really important not to overmix here! Overmixing develops the gluten in the flour, which can lead to tough cookies. Stop mixing as soon as you no longer see streaks of dry flour. Now, fold in your 2 1/2 cups of semisweet chocolate chips using a sturdy spoon or spatula. Distribute them as evenly as you can throughout the dough. If you’re using the optional flaked sea salt, you can sprinkle about half of it into the dough now and reserve the rest for topping.
Chill the Dough and Bake
This is a crucial step for achieving that perfect crispy-chewy texture. Cover the bowl tightly with plastic wrap and refrigerate the dough for at least 30 minutes, or up to 2 days. Chilling the dough allows the fats to firm up, which prevents the cookies from spreading too much in the oven, resulting in thicker, chewier cookies with crispier edges. Preheat your oven to 375°F (190°C). Line baking sheets with parchment paper to prevent sticking and ensure even baking. Drop rounded tablespoons of dough onto the prepared baking sheets, leaving about 2 inches between each cookie to allow for spreading. For an extra touch of gourmet flair and to enhance that salty-sweet contrast, sprinkle a pinch of the reserved flaked sea salt over the top of each cookie dough ball.
Bake to Perfection
Bake for 9-12 minutes, or until the edges are golden brown and the centers still look slightly soft and underdone. This is the sweet spot for chewy cookies! They will continue to cook and set on the baking sheet as they cool. For crispier cookies, you might bake them a minute or two longer, but be careful not to burn them. Once baked, let the cookies cool on the baking sheet for 5-10 minutes before transferring them to a wire rack to cool completely. This resting period on the hot baking sheet is what allows the bottoms to get delightfully crisp. Enjoy these warm, gooey, or cooled to perfection!
Conclusion:
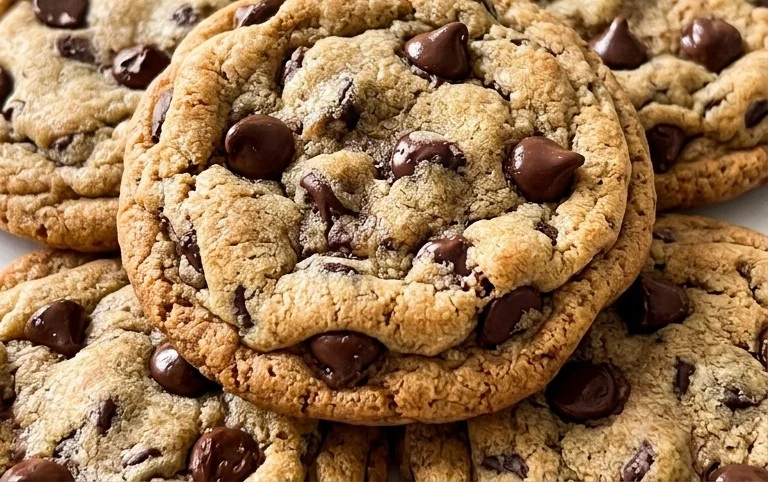
We’ve reached the sweet finnon-alcoholic ale of our journey to crafting the ultimate crispy and chewy chocolate chip cookies! This recipe truly hits the sweet spot, balancing that delightful crunch around the edges with a perfectly soft, gooey center. The secret lies in the specific ratios of ingredients and the gentle handling of the dough, ensuring every bite is an experience to savor.
These cookies are incredibly versatile. Enjoy them warm straight from the oven with a tall glass of cold milk for a classic treat. They also make a fantastic base for ice cream sandwiches, crum extractbled over sundaes, or even incorporated into a trifle. For a touch of indulgence, consider dipping half of the cooled cookies in melted dark chocolate.
Don’t be afraid to experiment! You can easily elevate these crispy and chewy chocolate chip cookies by adding a sprinkle of sea salt on top before baking for a sweet and salty contrast, or by incorporating a mix of different chocolate chips like milk, dark, and white chocolate. Chopped nuts, like walnuts or pecans, can also add a wonderful texture and flavor dimension. I truly encourage you to give this recipe a try; you won’t be disappointed with the delicious results!
Frequently Asked Questions:
Why aren’t my cookies spreading enough?
This can happen for a few reasons. Ensure your butter is softened to room temperature, not melted. Over-mixing the dough can also develop gluten, preventing spread. If your oven runs hot, it can cook the edges too quickly before the center has a chance to spread. Try chilling the dough for a bit longer before baking if you suspect your oven is the culprit.
Can I make this dough ahead of time?
Absolutely! The dough can be refrigerated for up to 3 days. In fact, chilling the dough can often enhance the flavor and texture, leading to even more delicious crispy and chewy chocolate chip cookies. Simply scoop the dough balls and bake as directed, adding a few extra minutes to the baking time if necessary.
Crispy and Chewy Chocolate Chip Cookies
The perfect chocolate chip cookie recipe for a delightful balance of crispy edges and chewy centers. These classic cookies are a crowd-pleaser for any occasion.
Ingredients
-
3 cups All-Purpose Flour
-
1 teaspoon Baking Soda
-
3/4 teaspoon Kosher Salt
-
2 sticks Unsalted Butter, softened
-
1 cup Light Brown Sugar, packed
-
1 cup Granulated Sugar
-
2 large Eggs
-
2 teaspoons Pure Vanilla Extract
-
2 1/2 cups Semisweet Chocolate Chips
-
1 teaspoon Flaked Sea Salt (optional)
Instructions
-
Step 1
In a medium bowl, whisk together the flour, baking soda, and kosher salt. Set aside. -
Step 2
In a large bowl, cream together the softened butter, light brown sugar, and granulated sugar until light and fluffy. -
Step 3
Beat in the eggs one at a time, then stir in the vanilla extract. -
Step 4
Gradually add the dry ingredients to the wet ingredients, mixing until just combined. Do not overmix. -
Step 5
Stir in the semisweet chocolate chips. -
Step 6
Preheat oven to 375°F (190°C). Line baking sheets with parchment paper. -
Step 7
Drop rounded tablespoons of dough onto the prepared baking sheets, spacing them about 2 inches apart. -
Step 8
Bake for 9 to 11 minutes, or until the edges are golden brown and the centers are still slightly soft. -
Step 9
Remove from oven and immediately sprinkle with flaked sea salt, if desired. Let cookies cool on the baking sheets for a few minutes before transferring to a wire rack to cool completely.
Important Information
Nutrition Facts (Per Serving)
It is important to consider this information as approximate and not to use it as definitive health advice.
Allergy Information
Please check ingredients for potential allergens and consult a health professional if in doubt.