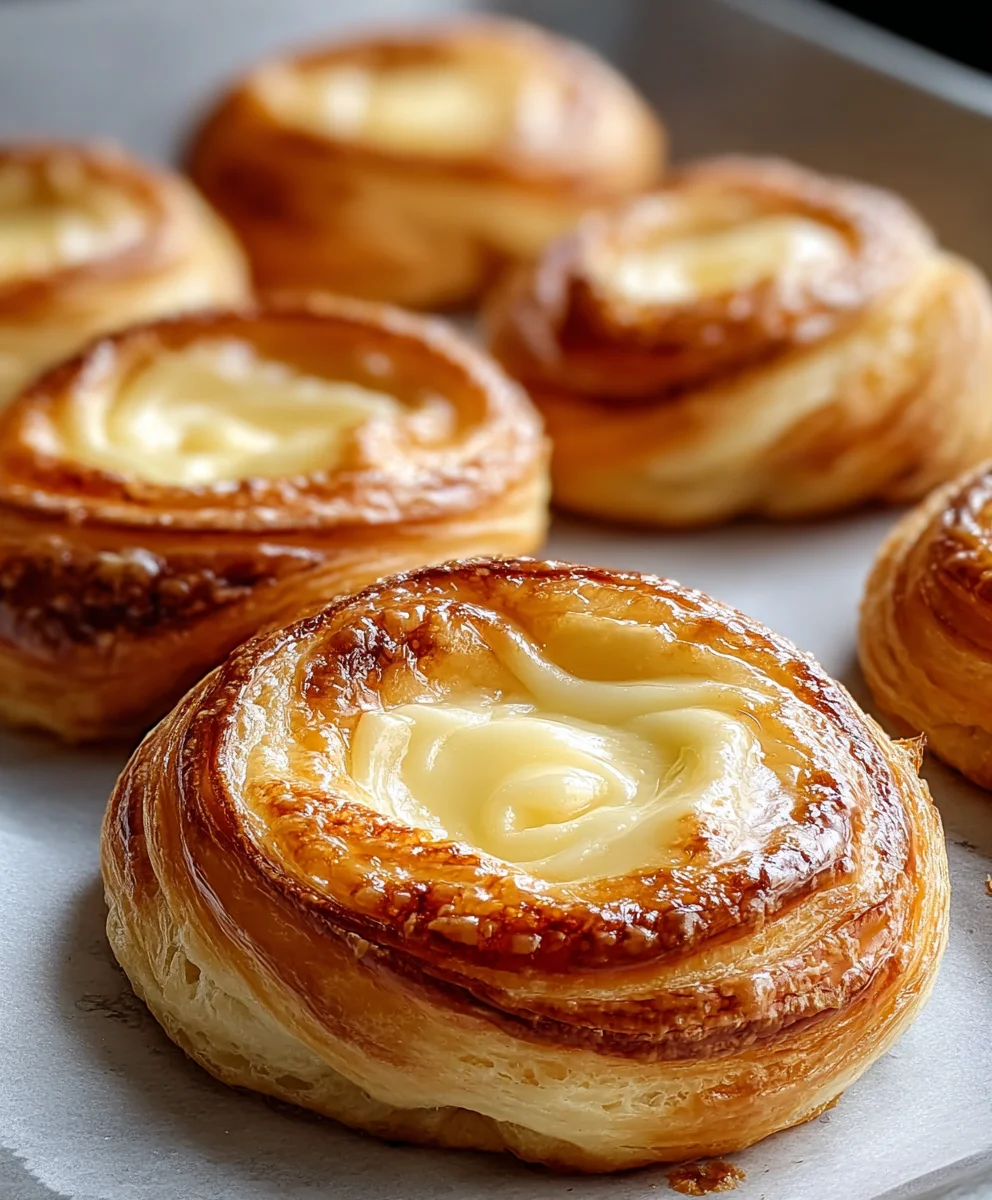
Easy Homemade Cheese Danishes- Quick & Delicious Recipe
Cheese Danishes are more than just a pastry; they’re a delightful journey into creamy, sweet perfection that instantly brightens any morning or afternoon. Who doesn’t adore that moment when your fork sinks into flaky, buttery layers, revealing a luscious, slightly tangy cream cheese filling? It’s the kind of treat that transports you, making even a busy day feel a little more special. What truly sets these homemade Cheese Danishes apart from anything you can grab at the bakery is the satisfaction of creating them yourself, knowing you’ve infused every step with care and quality ingredients. The beautiful balance of textures – crisp pastry giving way to smooth, rich filling – is simply irresistible, and the subtle sweetness is perfectly calibrated to be indulgent without being overwhelming. Get ready to elevate your baking game and impress yourself (and anyone lucky enough to share!).
Ingredients:
- 2 tubes (8 oz each) refrigerated crescent roll dough
- 2 tablespoons salted butter, melted
- 8 tablespoons light brown sugar
- 1 package (8 oz) cream cheese, softened to room temperature
- ¼ cup granulated white sugar
- 1 teaspoon pure vanilla extract (for cream cheese filling)
- ½ cup powdered sugar
- 1 teaspoon pure vanilla extract (for glaze)
- 4 teaspoons milk
Preparing the Cream Cheese Filling
Step 1: Soften the Cream Cheese
The first crucial step for perfect Cheese Danishes is to ensure your cream cheese is properly softened. Take your 8 oz package of cream cheese out of the refrigerator at least an hour before you plan to start baking. This allows it to reach room temperature, which is essential for a smooth, lump-free filling. If you try to mix cold cream cheese, you’ll end up with an uneven texture that won’t spread nicely. Once softened, place the cream cheese in a medium-sized bowl.
Step 2: Mix the Filling Ingredients
To the softened cream cheese, add ¼ cup of granulated white sugar and 1 teaspoon of pure vanilla extract. Using an electric mixer (handheld or stand mixer) or a sturdy whisk, beat these ingredients together until they are thoroughly combined and incredibly smooth. You’re looking for a creamy consistency with no visible streaks of sugar or cream cheese. Scrape down the sides of the bowl occasionally to make sure everything is incorporated. This sweet, vanilla-infused cream cheese mixture will be the heart of your delicious Cheese Danishes.
Assembling the Danishes
Step 3: Prepare the Crescent Roll Dough
Now, let’s get our crescent roll dough ready. Carefully unroll the two tubes of refrigerated crescent rolls. It’s important to handle them gently to avoid tearing. For each tube, unroll the dough onto a lightly floured surface and press the perforated seams together to form a solid rectangle. You want to create a smooth surface that will hold our filling without leaking. You can use your fingers or a rolling pin to lightly press and seal these seams.
Step 4: Distribute the Cream Cheese Filling and Brown Sugar Mixture
With your crescent roll rectangles prepared, it’s time to add the delicious layers. First, evenly spread the cream cheese filling you prepared in Step 2 over the surface of each rectangular dough sheet. Leave about a ½-inch border around the edges to prevent the filling from oozing out during baking. Next, in a separate small bowl, combine 8 tablespoons of light brown sugar with the 2 tablespoons of melted salted butter. Stir this mixture until it forms a crum extractbly paste. Sprinkle this brown sugar and butter mixture evenly over the cream cheese layer on both dough rectangles. This creates a delightful caramelization and extra sweetness.
Step 5: Roll and Slice the Danishes
This step is where the classic Danish shape begin extracts to form. Starting from one of the longer sides of each dough rectangle, carefully and tightly roll up the dough, jelly-roll style. Once rolled, you should have two long logs. Using a sharp knife, slice each log into approximately 8 equal pieces. This will give you 16 individual Cheese Danishes. For cleaner slices, you can chill the logs in the freezer for about 10-15 minutes before slicing; this firming step helps prevent the dough from squishing. Arrange the sliced danishes cut-side up on a baking sheet lined with parchment paper, leaving a little space between each one as they will puff up while baking.
Baking and Glazing
Step 6: Bake to Golden Perfection
Preheat your oven to 375°F (190°C). Place the baking sheet with your assembled Cheese Danishes into the preheated oven. Bake for approximately 15-20 minutes, or until the danishes are puffed up, golden brown around the edges, and the cream cheese filling is set. Keep a close eye on them during the last few minutes of baking, as ovens can vary. Once they look beautifully golden and are cooked through, carefully remove them from the oven. Let them cool on the baking sheet for a few minutes before transferring them to a wire rack to cool further.
Step 7: Prepare and Apply the Glaze
While your Cheese Danishes are cooling, prepare the simple yet elegant glaze. In a small bowl, whisk together ½ cup of powdered sugar, 1 teaspoon of pure vanilla extract, and 4 teaspoons of milk. Start with the 4 teaspoons of milk and add more, a tiny bit at a time, if needed, until you reach your desired drizzling consistency. The glaze should be thick enough to coat the danishes without being too runny. Once the danishes have cooled slightly but are still warm, drizzle the glaze generously over the tops. The warmth of the danishes will help the glaze set slightly. Enjoy your homemade Cheese Danishes!
Conclusion:
There you have it – a delightful and surprisingly straightforward recipe for classic Cheese Danishes! We’ve walked through creating that flaky, buttery pastry and the creamy, tangy cheese filling that makes these treats so irresistible. Whether you’re serving them for a special brunch, a delightful afternoon tea, or simply as a sweet indulgence, these Cheese Danishes are sure to impress. Remember, the key is patience with the puff pastry and balancing the sweetness of the filling. Don’t be afraid to experiment with a dusting of powdered sugar or a drizzle of icing for an extra touch of elegance. I truly hope you enjoy making and, most importantly, devouring these beautiful Cheese Danishes as much as I do!
Frequently Asked Questions:
Can I make the puff pastry from scratch?
While this recipe assumes store-bought puff pastry for convenience, you absolutely can make puff pastry from scratch if you’re feeling ambitious! It’s a time-consuming process involving many folds and chills, but the result is an unparalleled flaky texture. If you do opt for homemade, ensure it’s well-chilled before shaping.
What other fillings can I use for these danishes?
The beauty of this base recipe is its versatility! Beyond the classic cream cheese filling, consider adding a swirl of fruit jam (raspberry and apricot are divine), a spoonful of lemon curd for extra zing, or even a sprinkle of cinnamon and sugar mixed into the cheese. Get creative and discover your favorite flavor combination!
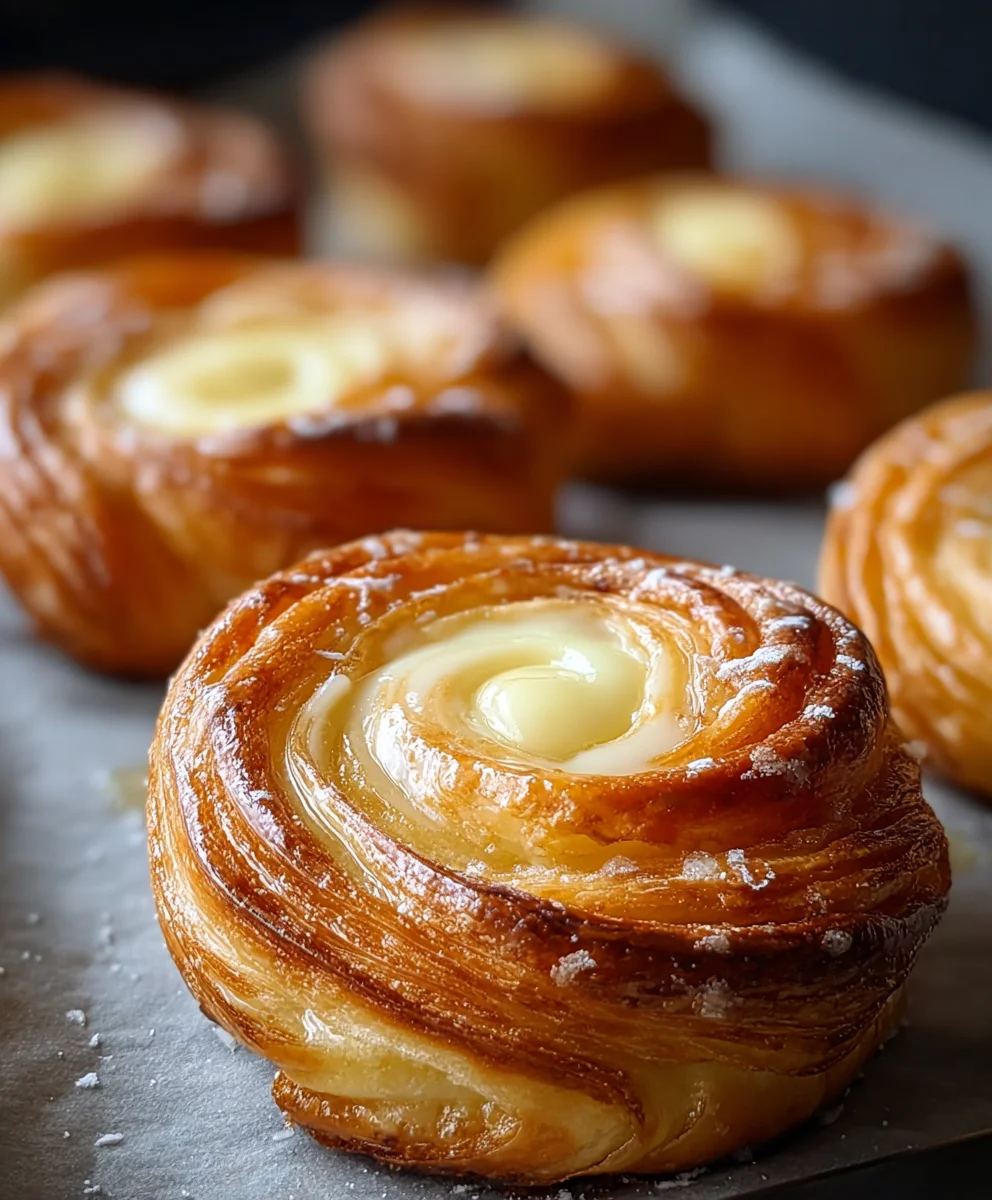
Easy Homemade Cheese Danishes- Quick & Delicious Recipe
Whip up these delightful cheese danishes quickly and easily with this simple recipe. Featuring a creamy cream cheese filling and a sweet glaze, they’re perfect for a treat.
Ingredients
-
2 tubes (8 oz each) refrigerated crescent roll dough
-
2 tablespoons salted butter, melted
-
8 tablespoons light brown sugar
-
1 package (8 oz) cream cheese, softened to room temperature
-
¼ cup granulated white sugar
-
1 teaspoon pure vanilla extract
-
½ cup powdered sugar
-
4 teaspoons milk
Instructions
-
Step 1
Soften the cream cheese by leaving it at room temperature for at least an hour. Place softened cream cheese in a medium bowl. -
Step 2
Add ¼ cup granulated white sugar and 1 teaspoon pure vanilla extract to the cream cheese. Beat with an electric mixer or whisk until smooth and combined. -
Step 3
Unroll crescent roll dough tubes onto a lightly floured surface. Press seams together to form rectangles. Spread cream cheese filling evenly over each rectangle, leaving a ½-inch border. In a separate bowl, mix 8 tablespoons light brown sugar with 2 tablespoons melted butter to form a paste, then sprinkle over the cream cheese. -
Step 4
Starting from a long side, tightly roll up each dough rectangle jelly-roll style. Slice each log into 8 equal pieces (16 total). Arrange cut-side up on a parchment-lined baking sheet. -
Step 5
Bake at 375°F (190°C) for 15-20 minutes, or until golden brown and puffed. Cool slightly on the baking sheet, then transfer to a wire rack. -
Step 6
Whisk together ½ cup powdered sugar, 1 teaspoon pure vanilla extract, and 4 teaspoons milk until smooth and drizzly. Drizzle glaze over warm danishes.
Important Information
Nutrition Facts (Per Serving)
It is important to consider this information as approximate and not to use it as definitive health advice.
Allergy Information
Please check ingredients for potential allergens and consult a health professional if in doubt.